Context
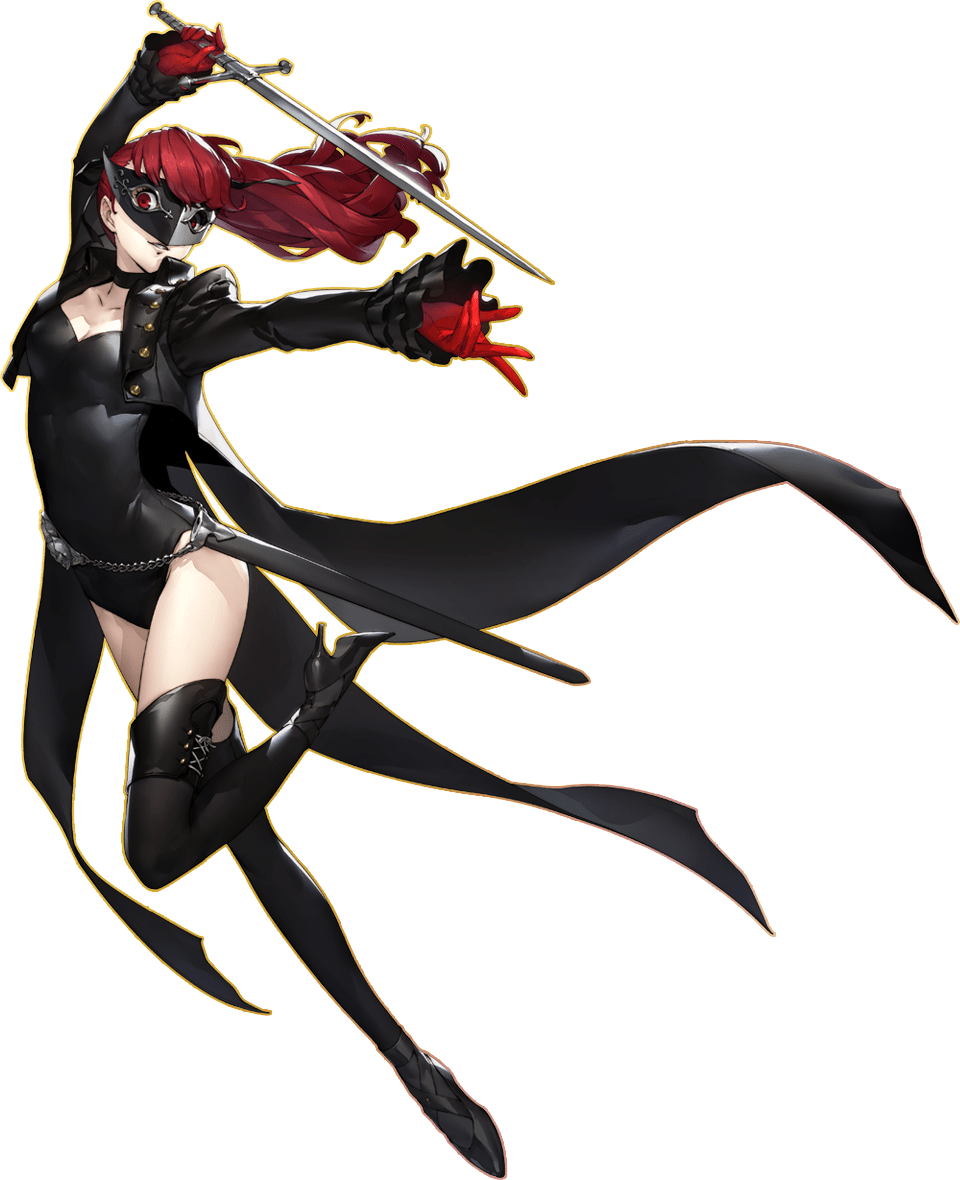
In 2019, Atlus announced they were doing a re-release of their famous game Persona 5, but with new content. The top thing they announced was that the new version, dubbed Persona 5 Royale, would have a brand new character who is a badass ballerina. I knew I had to be this character for Halloween, just in time for its October 31, 2019 release date!
 |
The Process
Making the jacket
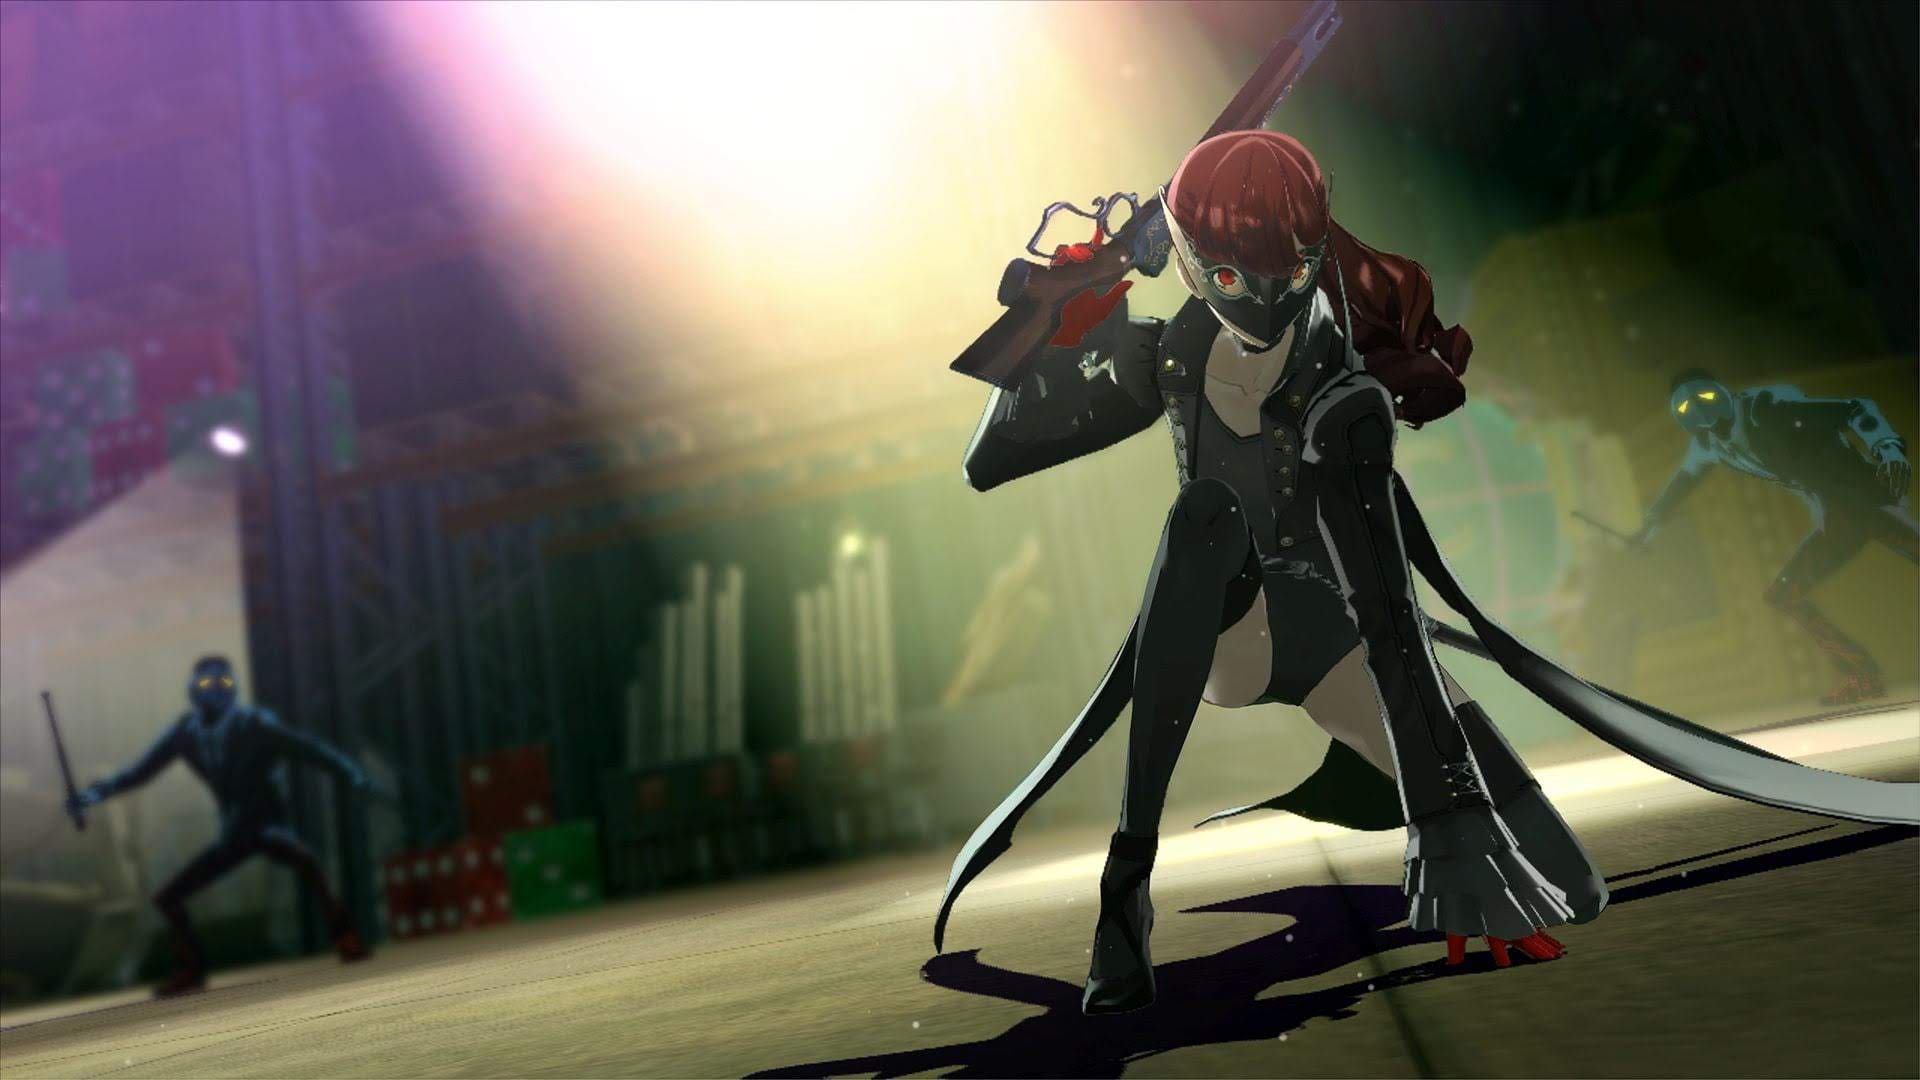
First thing to do was to make a jacket pattern. The concept art was a good enough reference for the front of the jacket, but none of the official art showed the back of the jacket. I combed through the trailer for the game to find a shot of it.
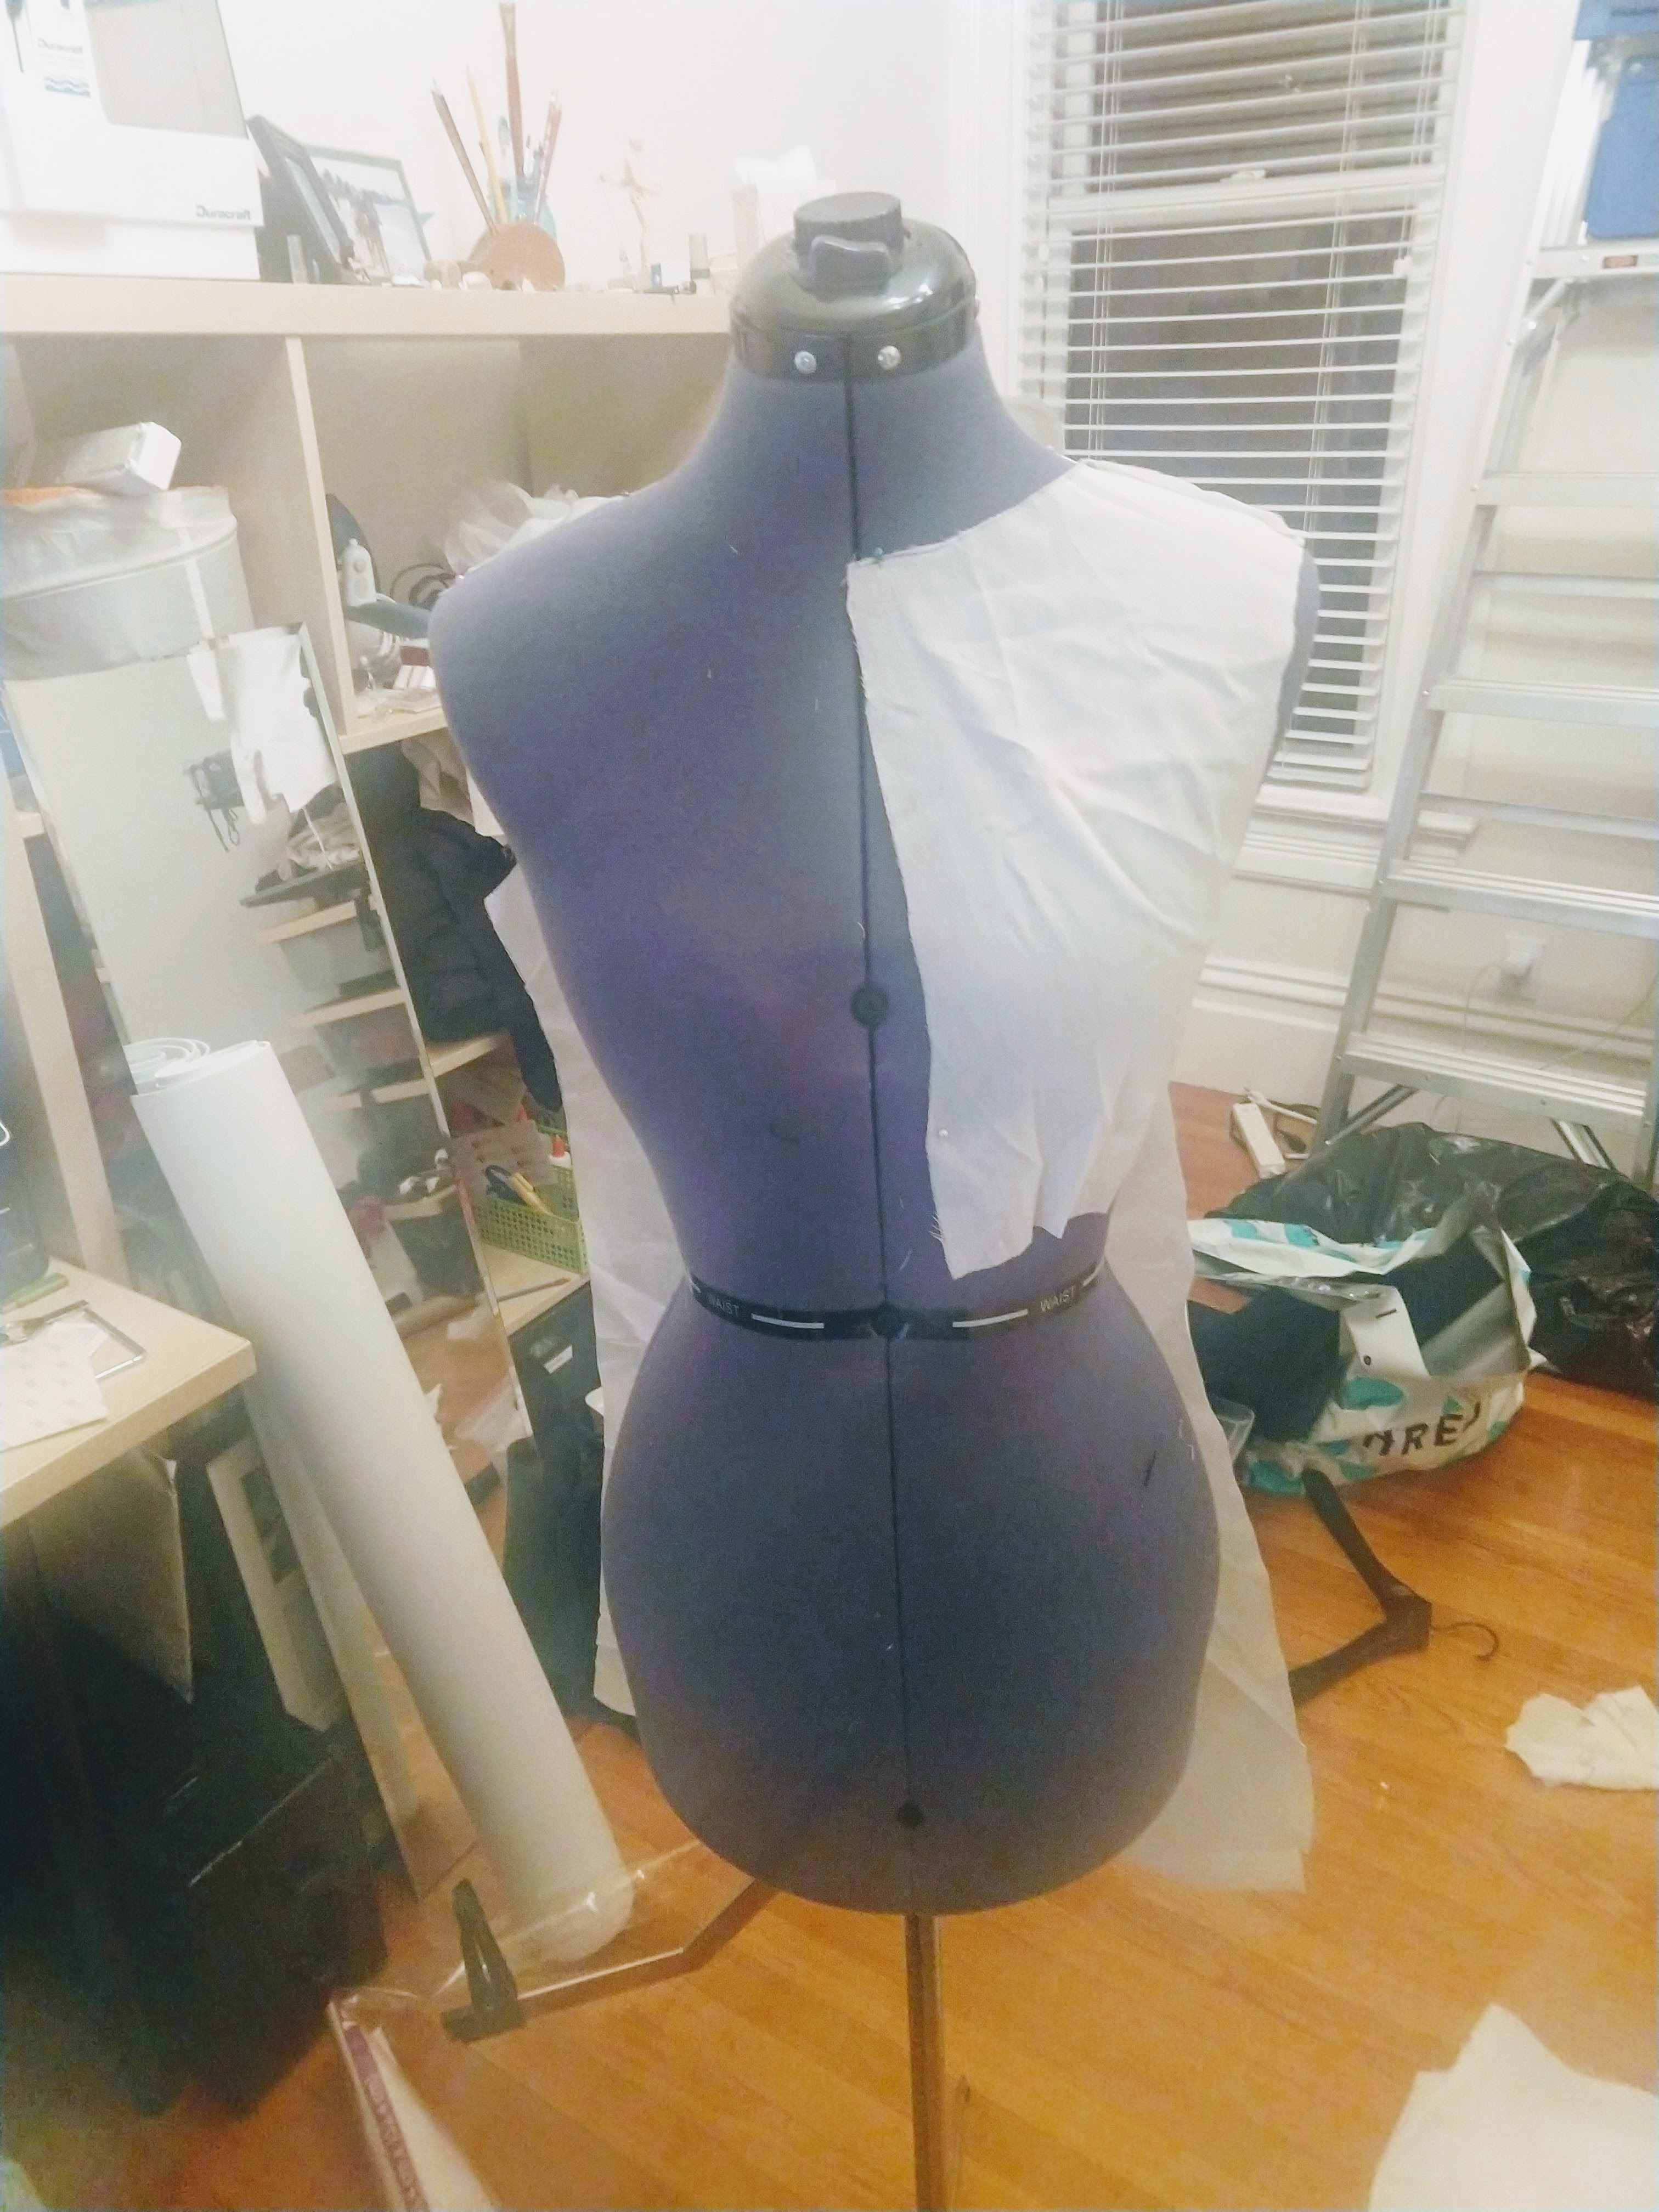
Using my mannequin, I first worked on making a pattern for this triple-tailed anime jacket out of butcher paper and then muslin.
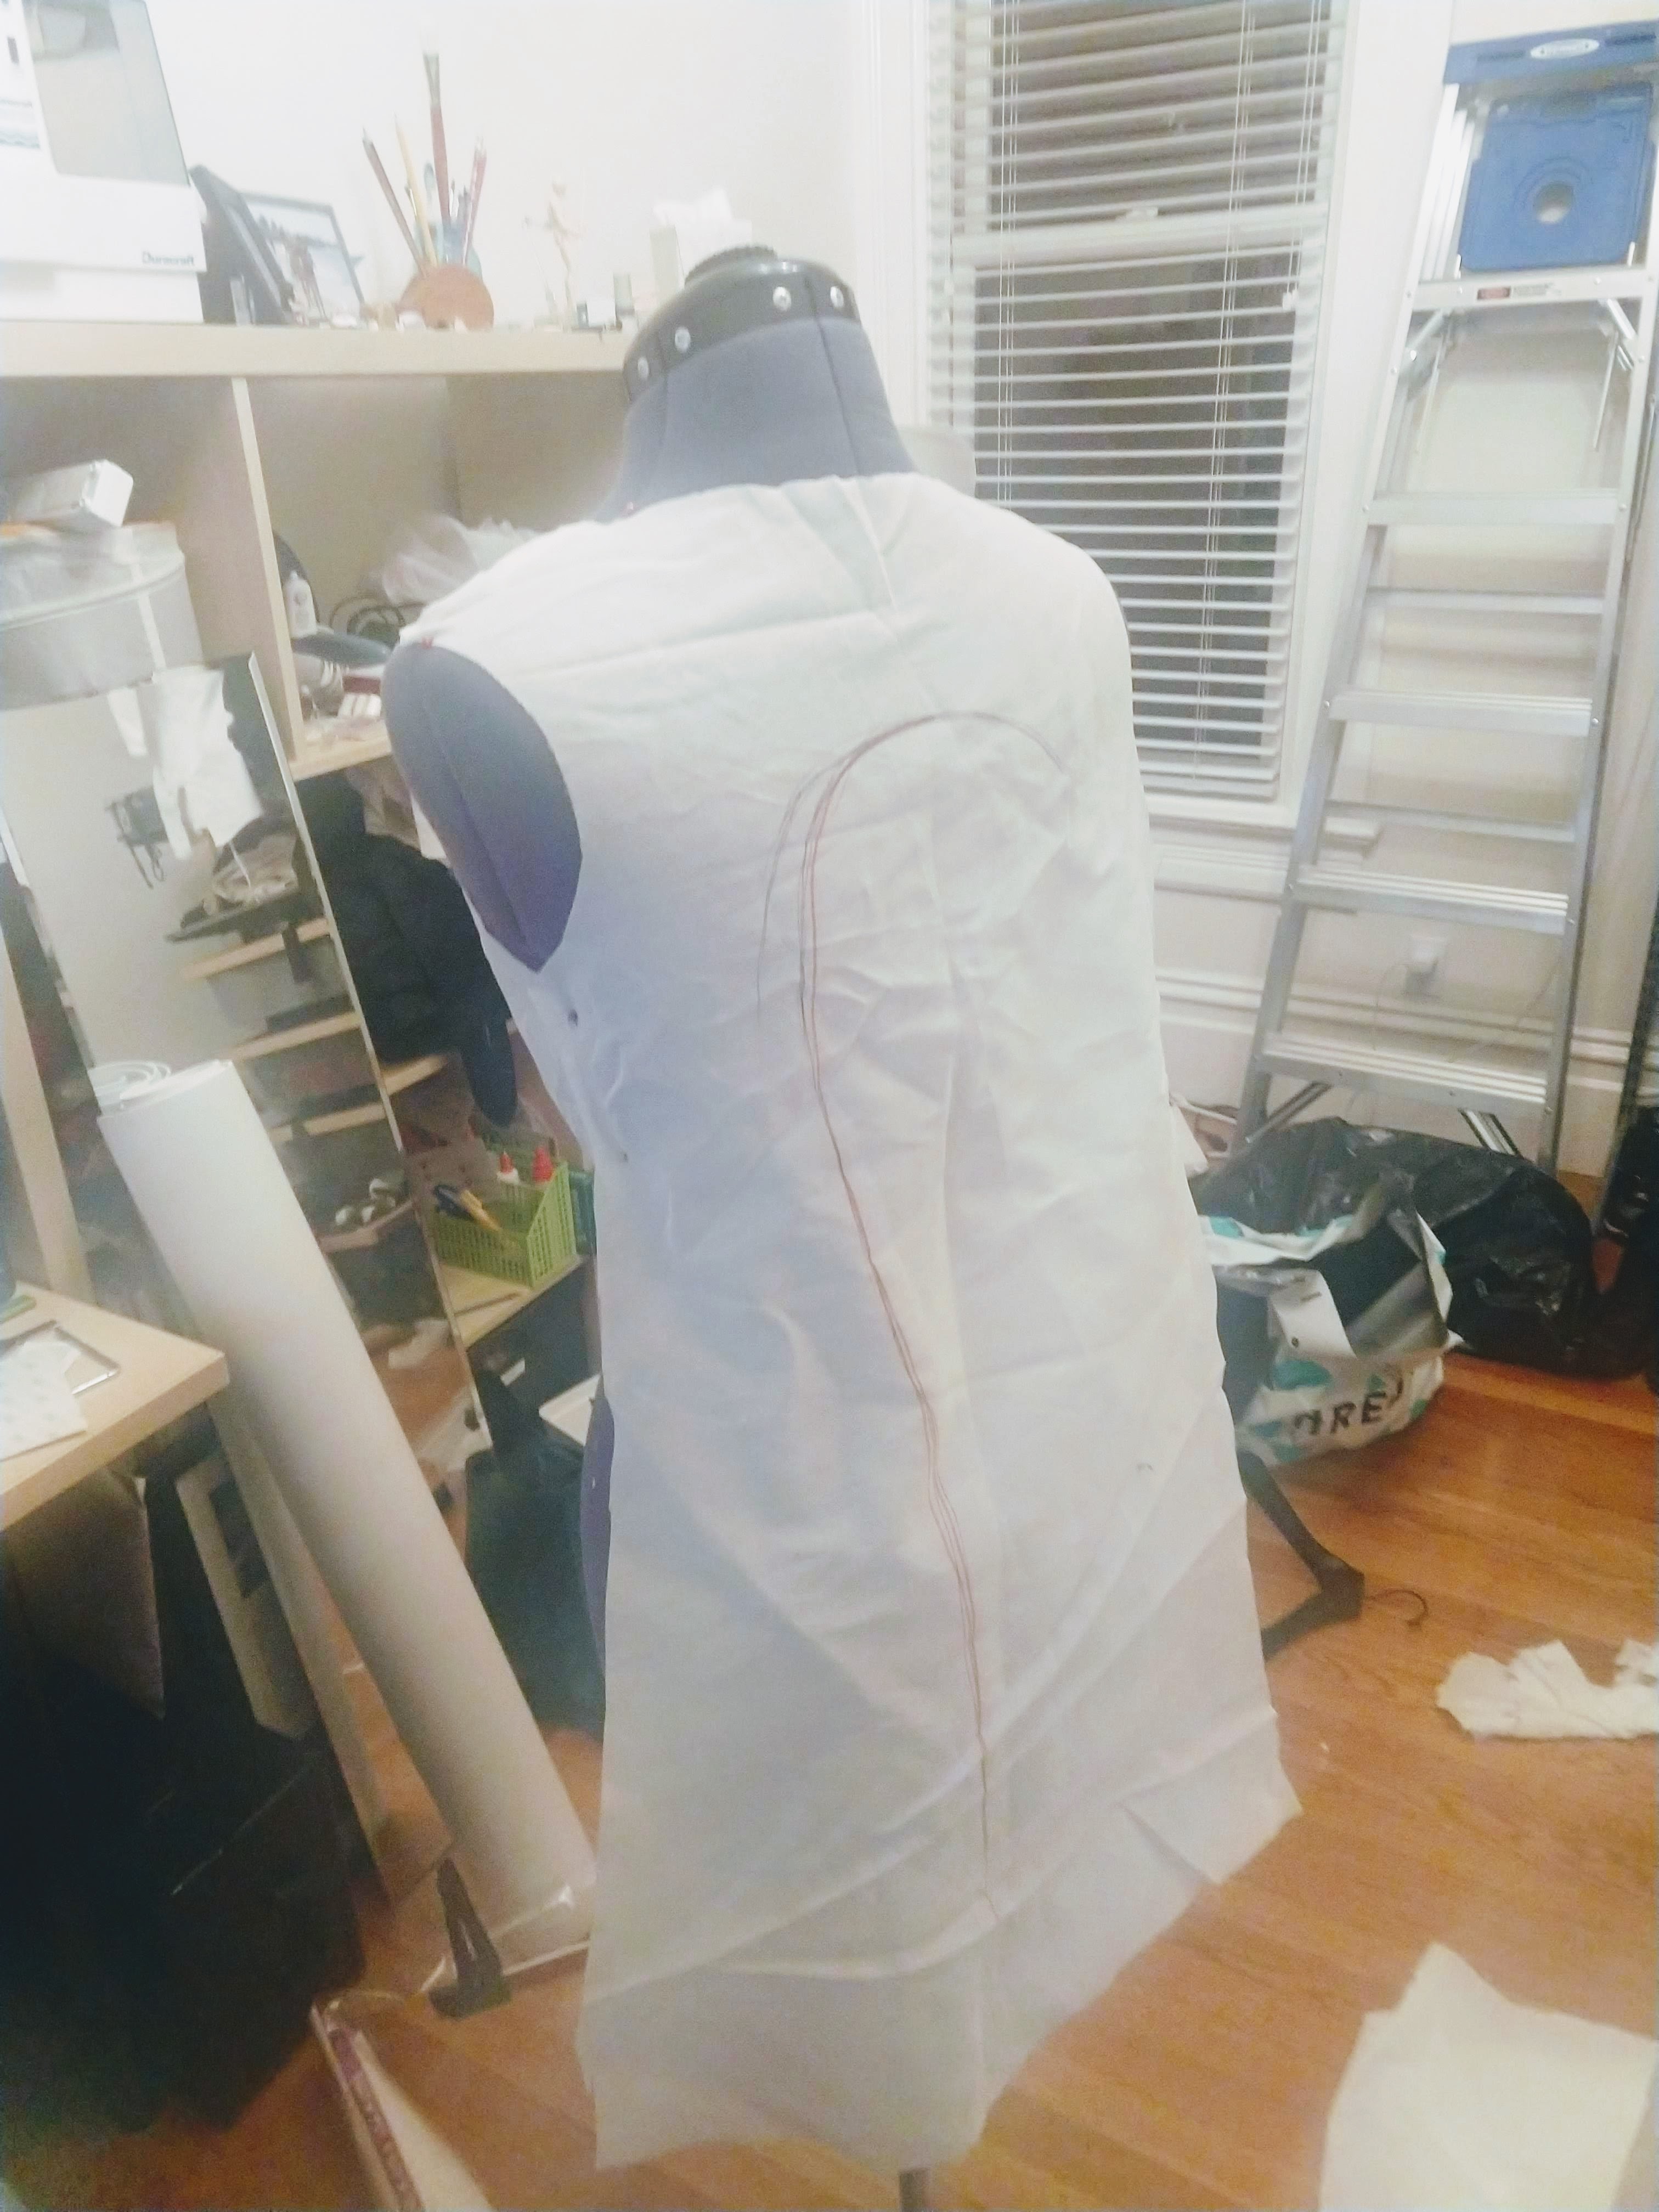
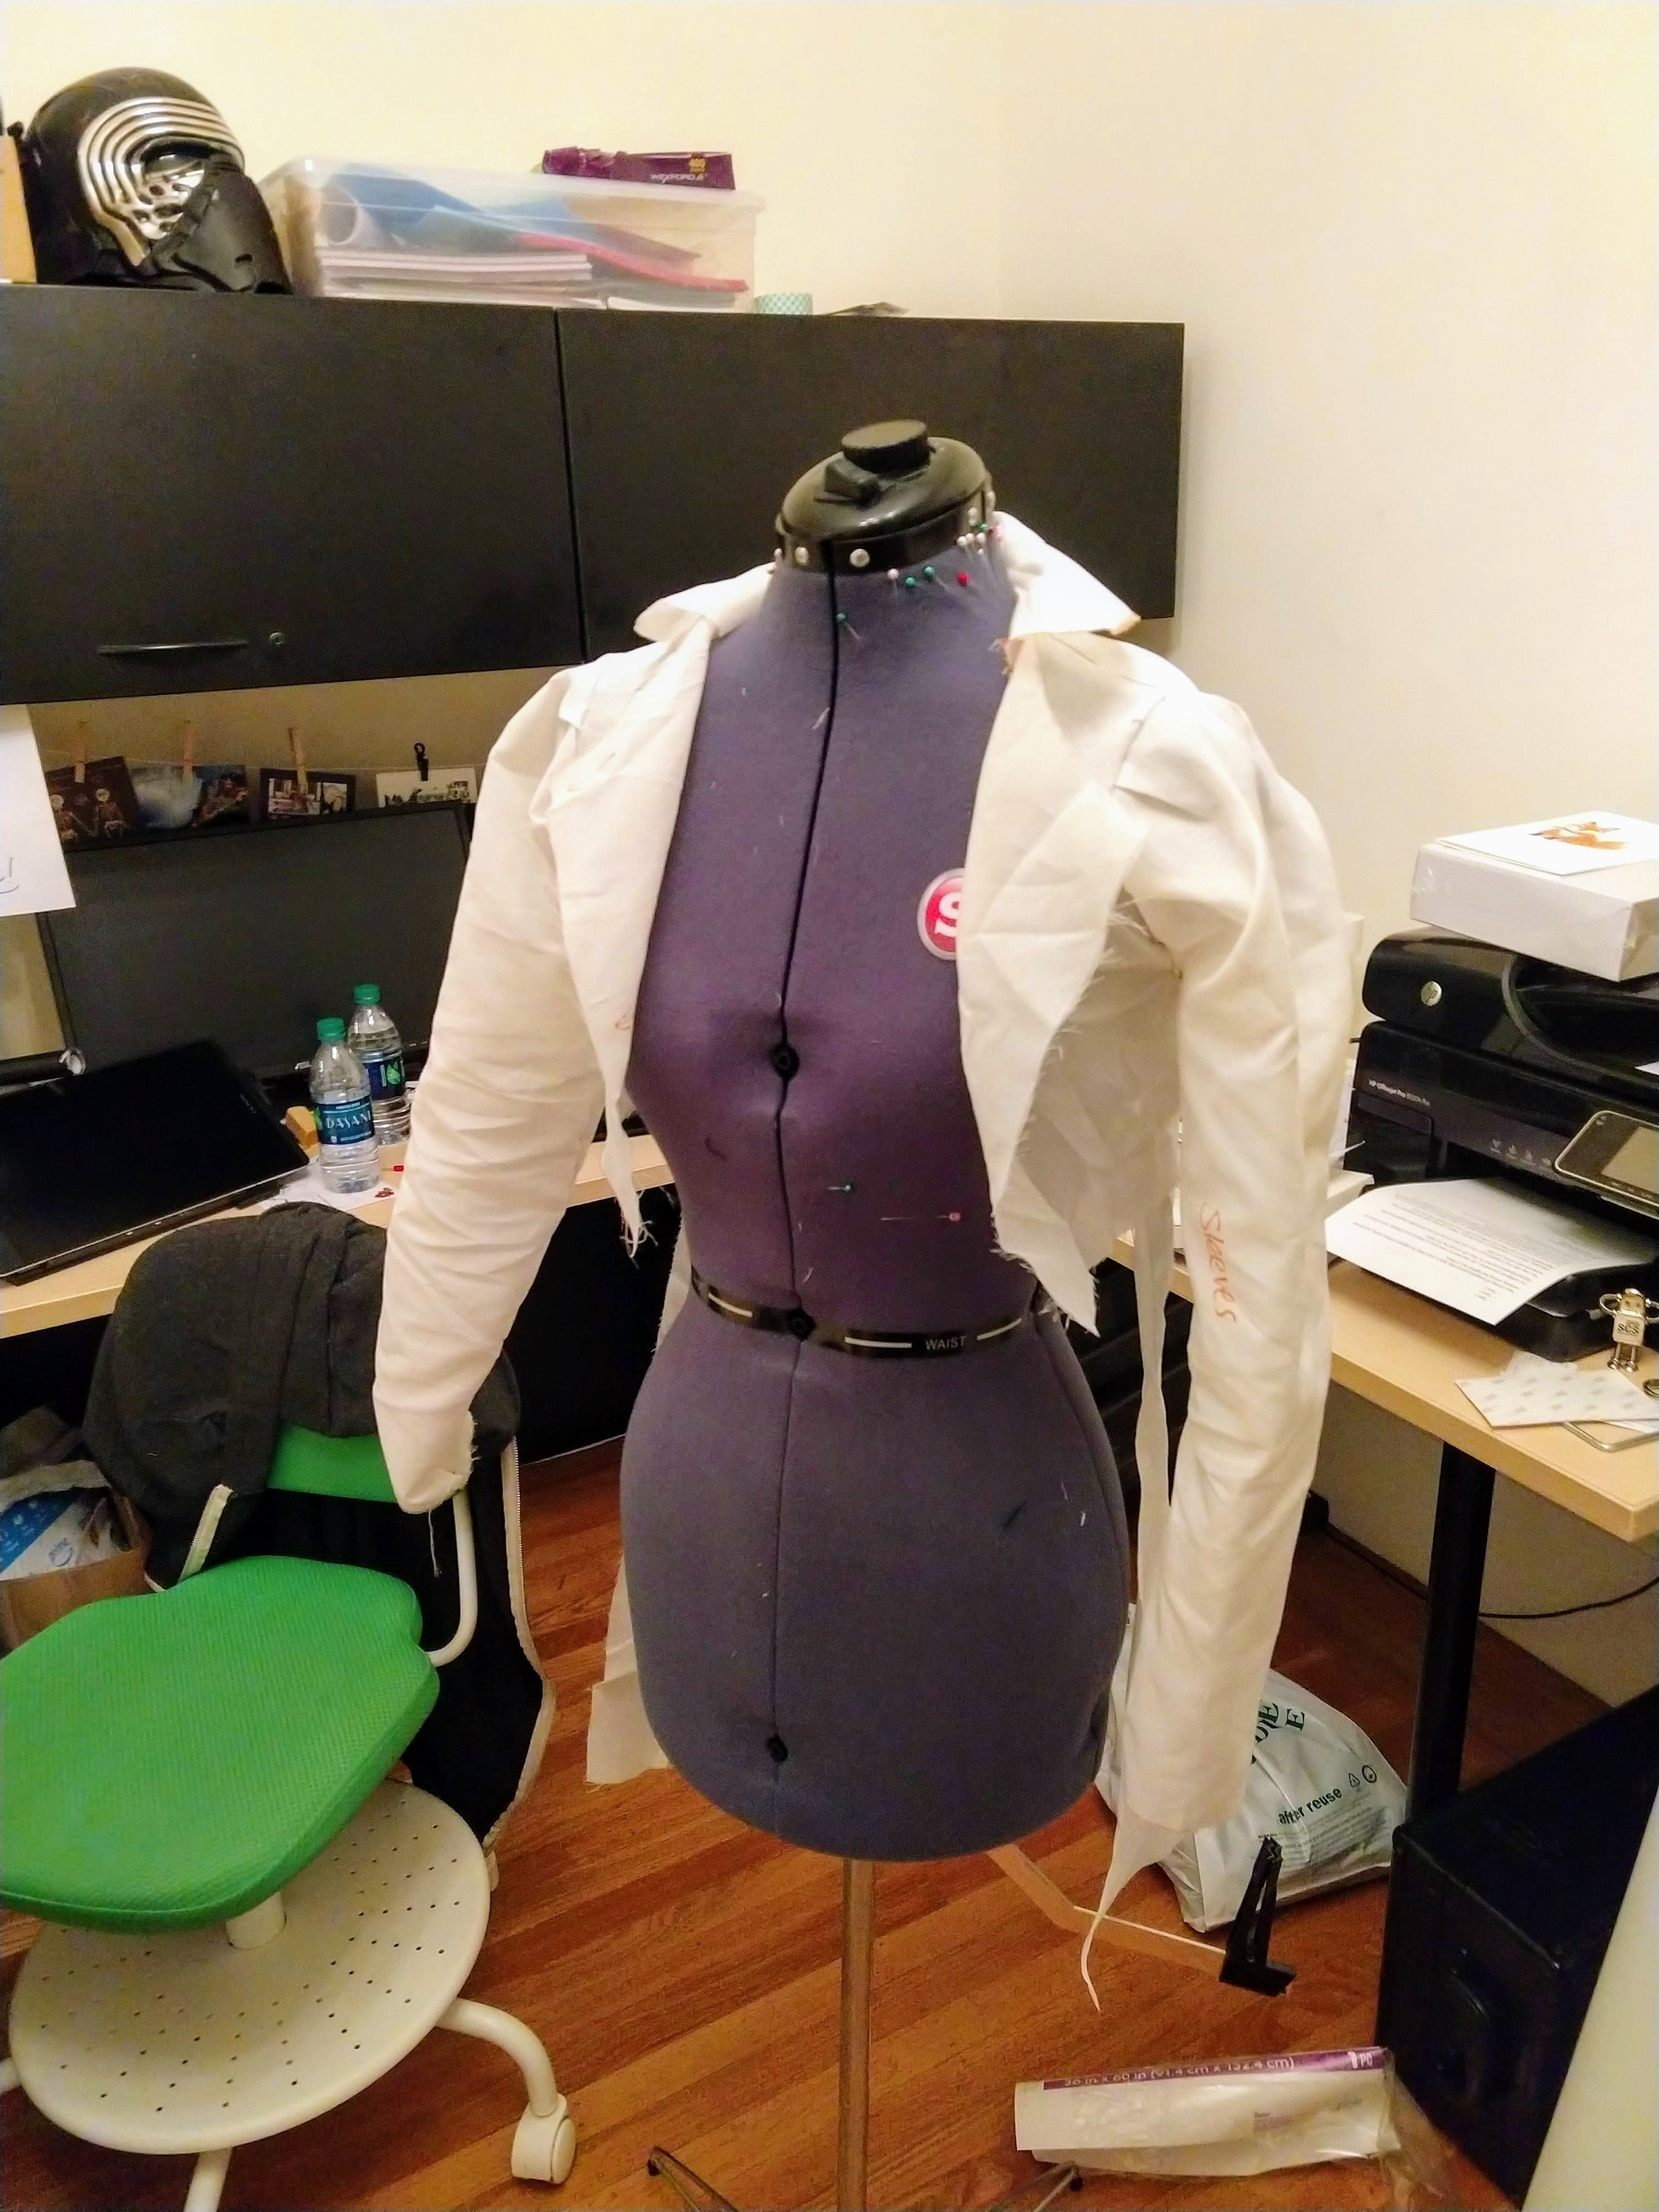
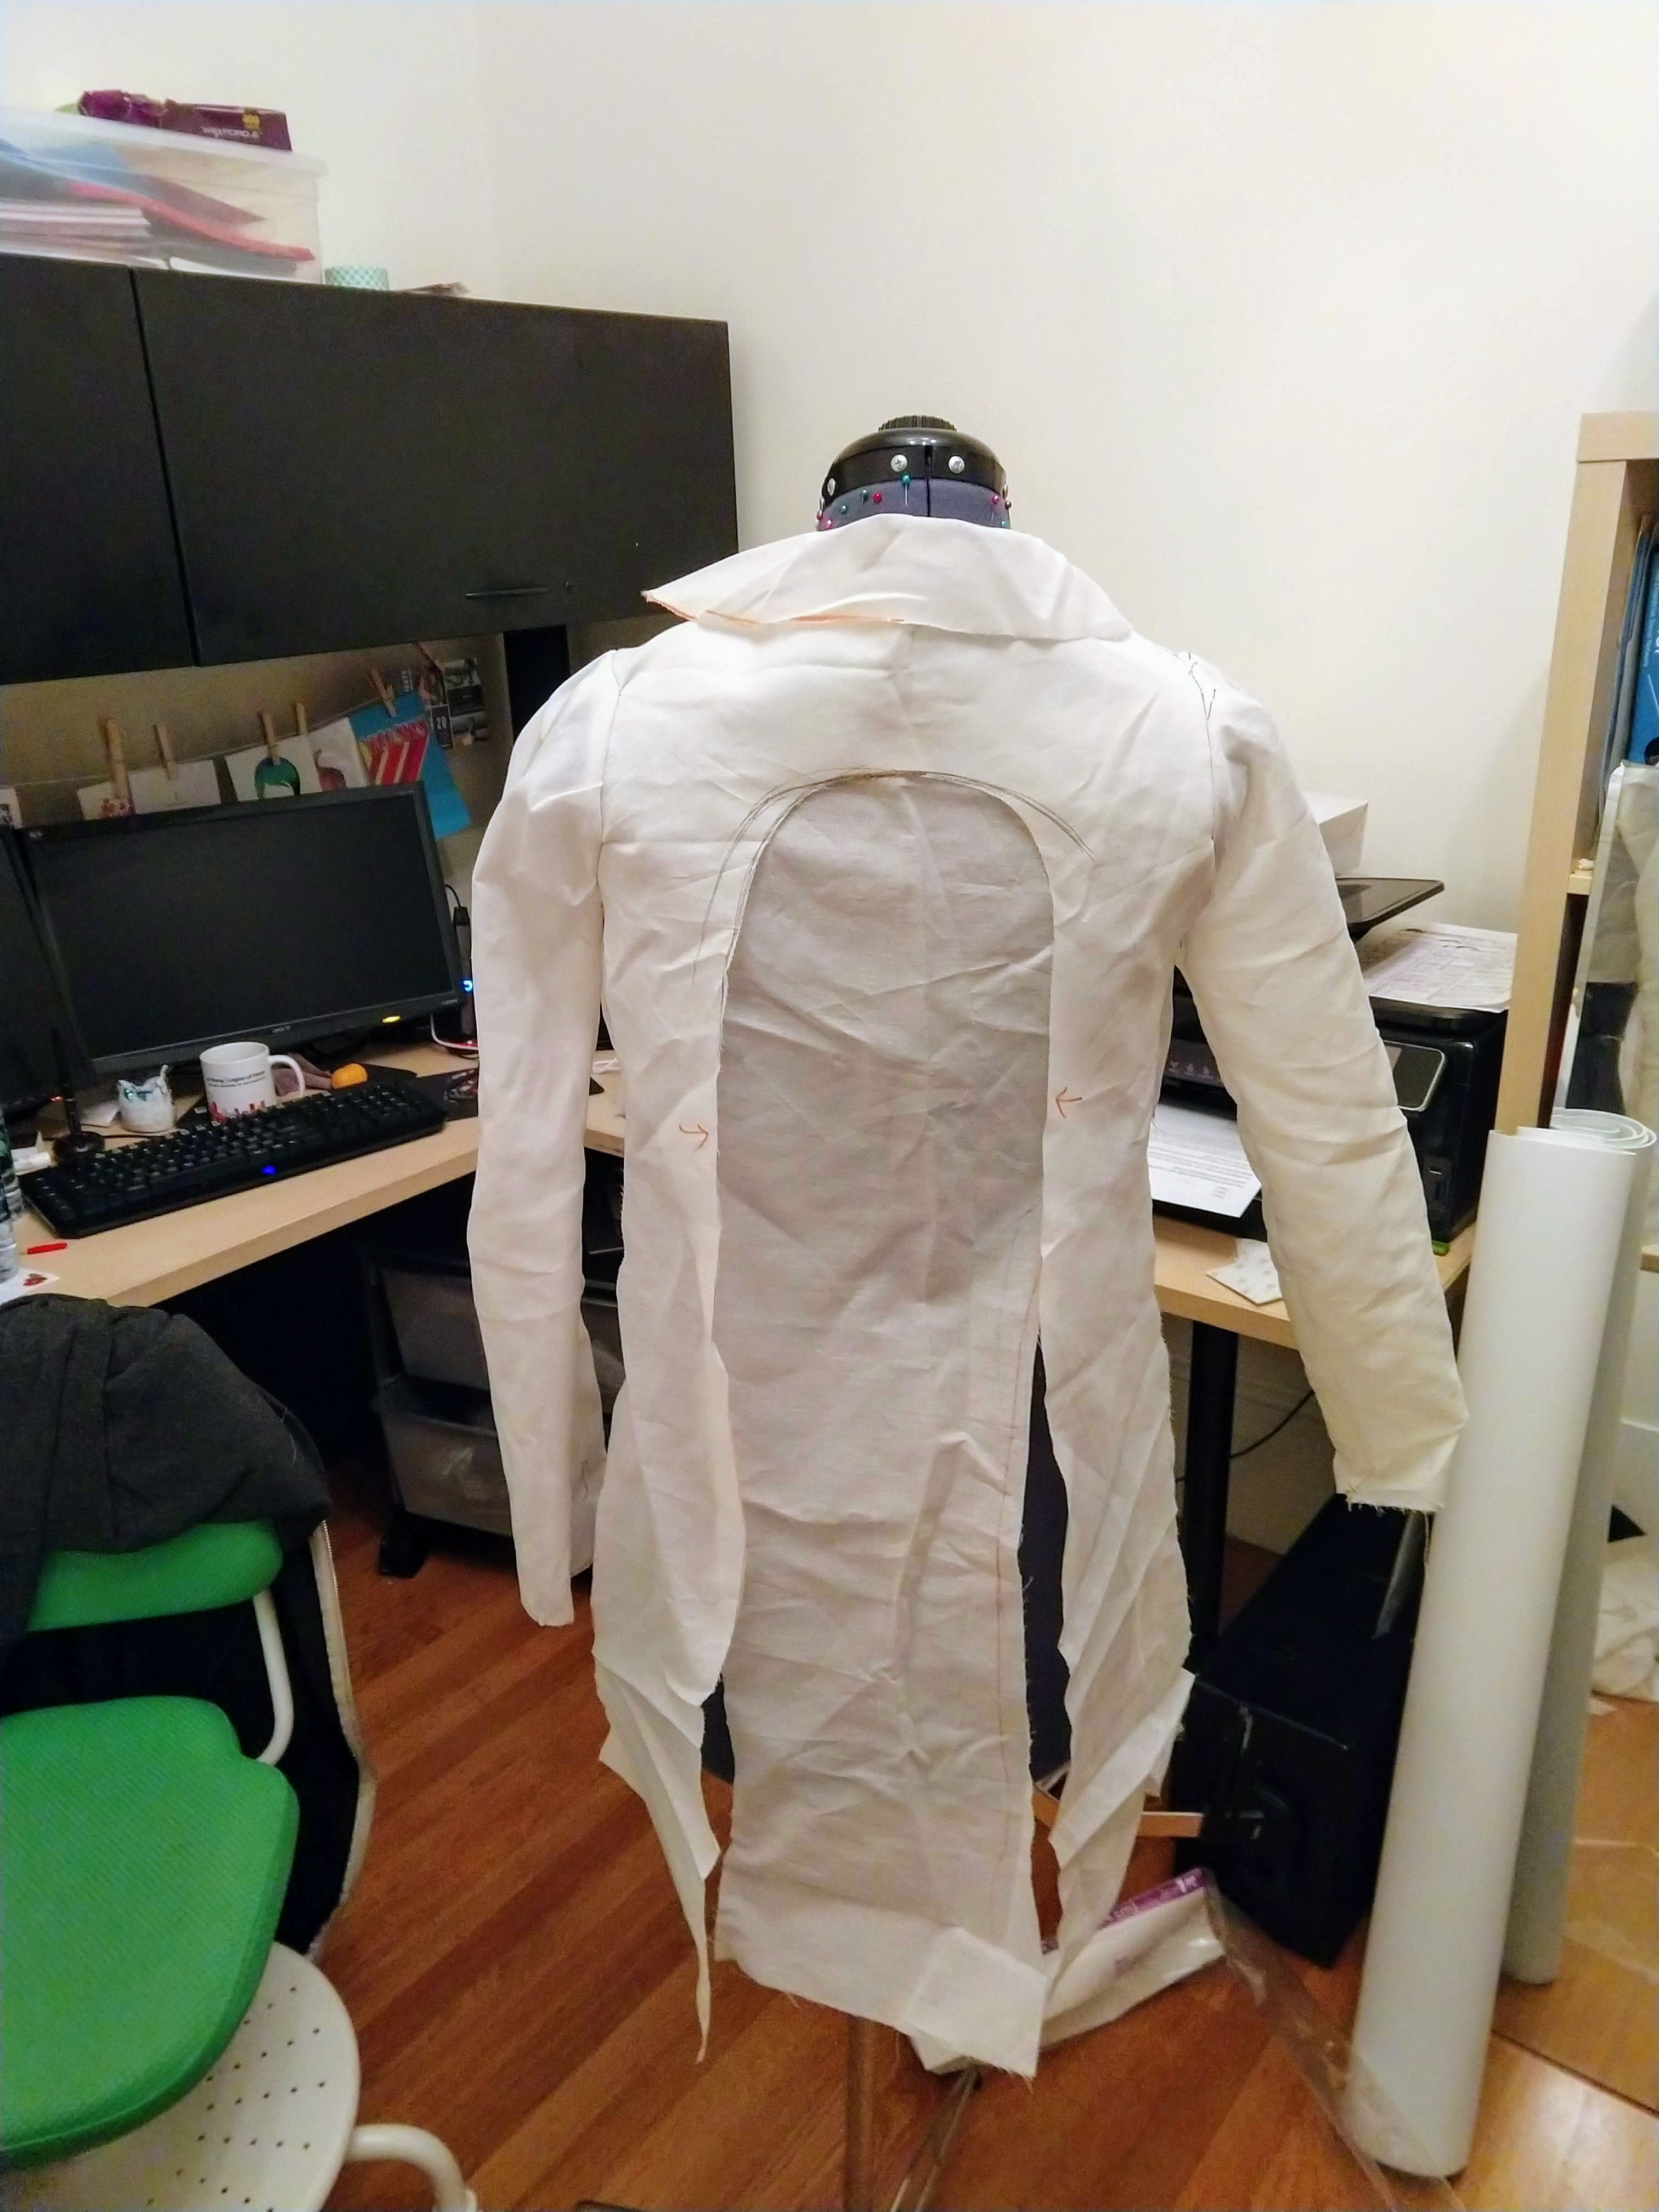
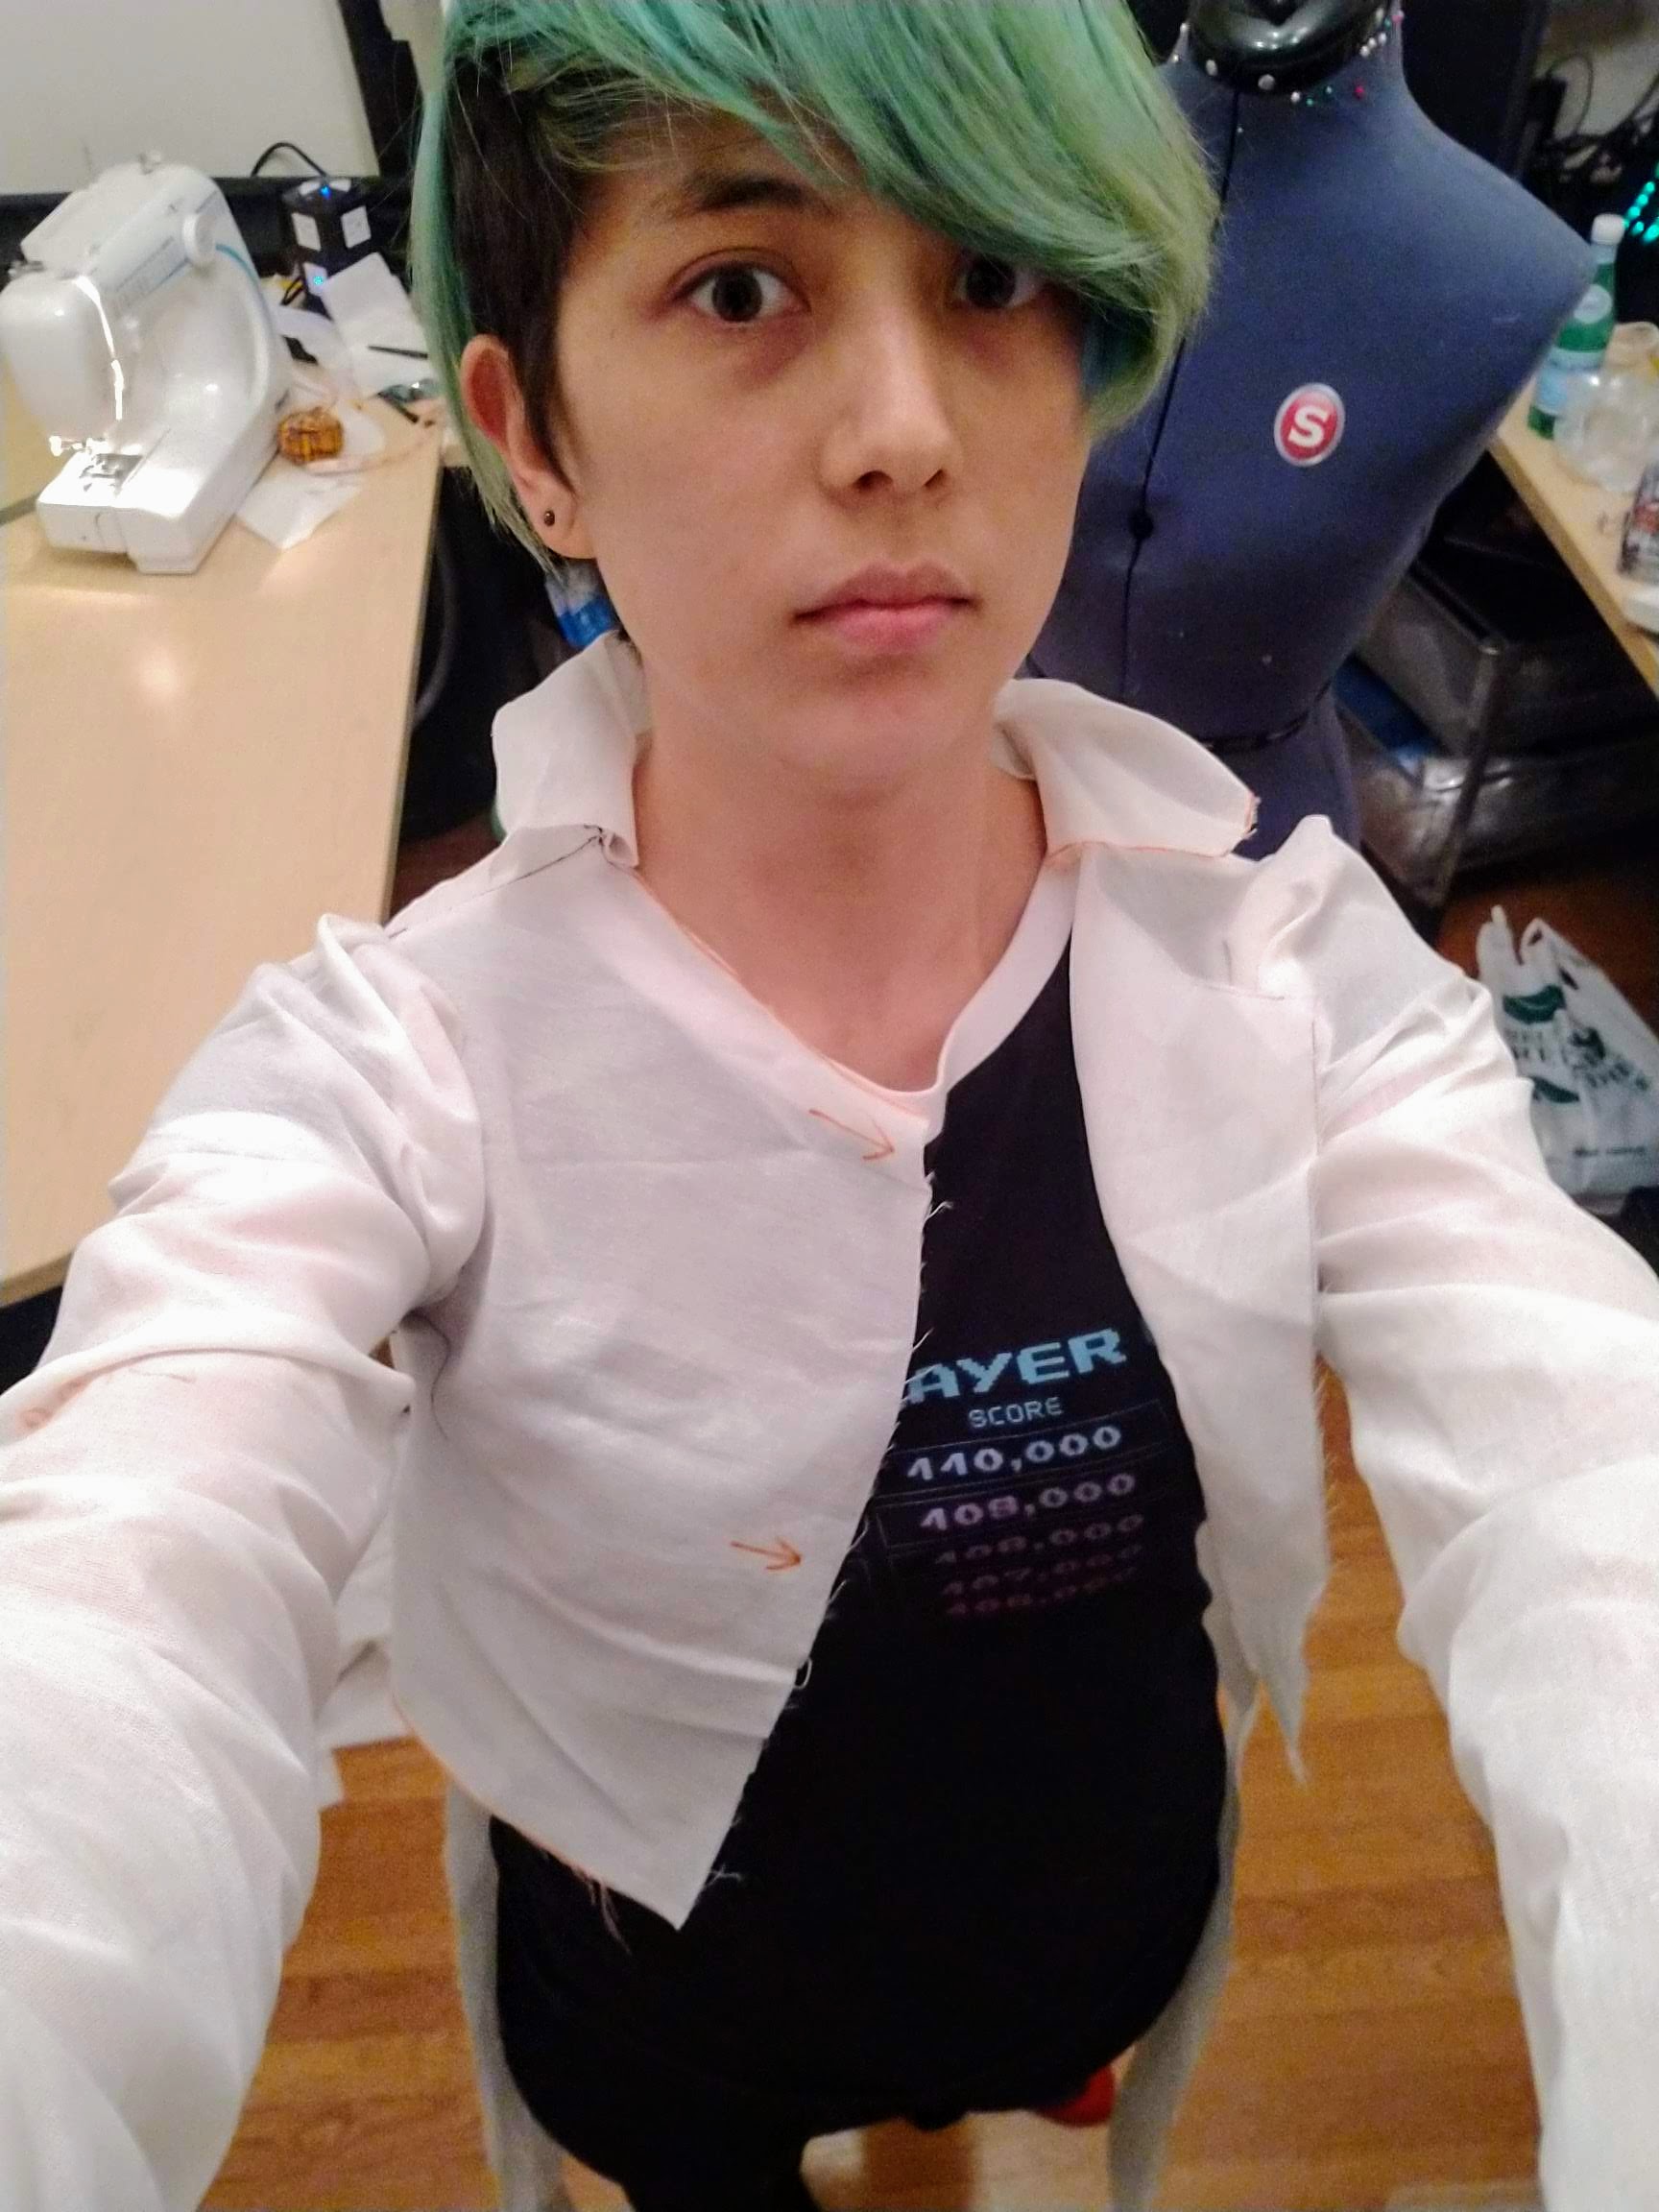
With a pattern now complete, I could get to work cutting and sewing the real fabric.
I've never made a jacket before, so I was fascinated to learn how to make a collar. After watching a bunch of YouTube videos to learn how to use fusible interfacing, I came up with this little dude:
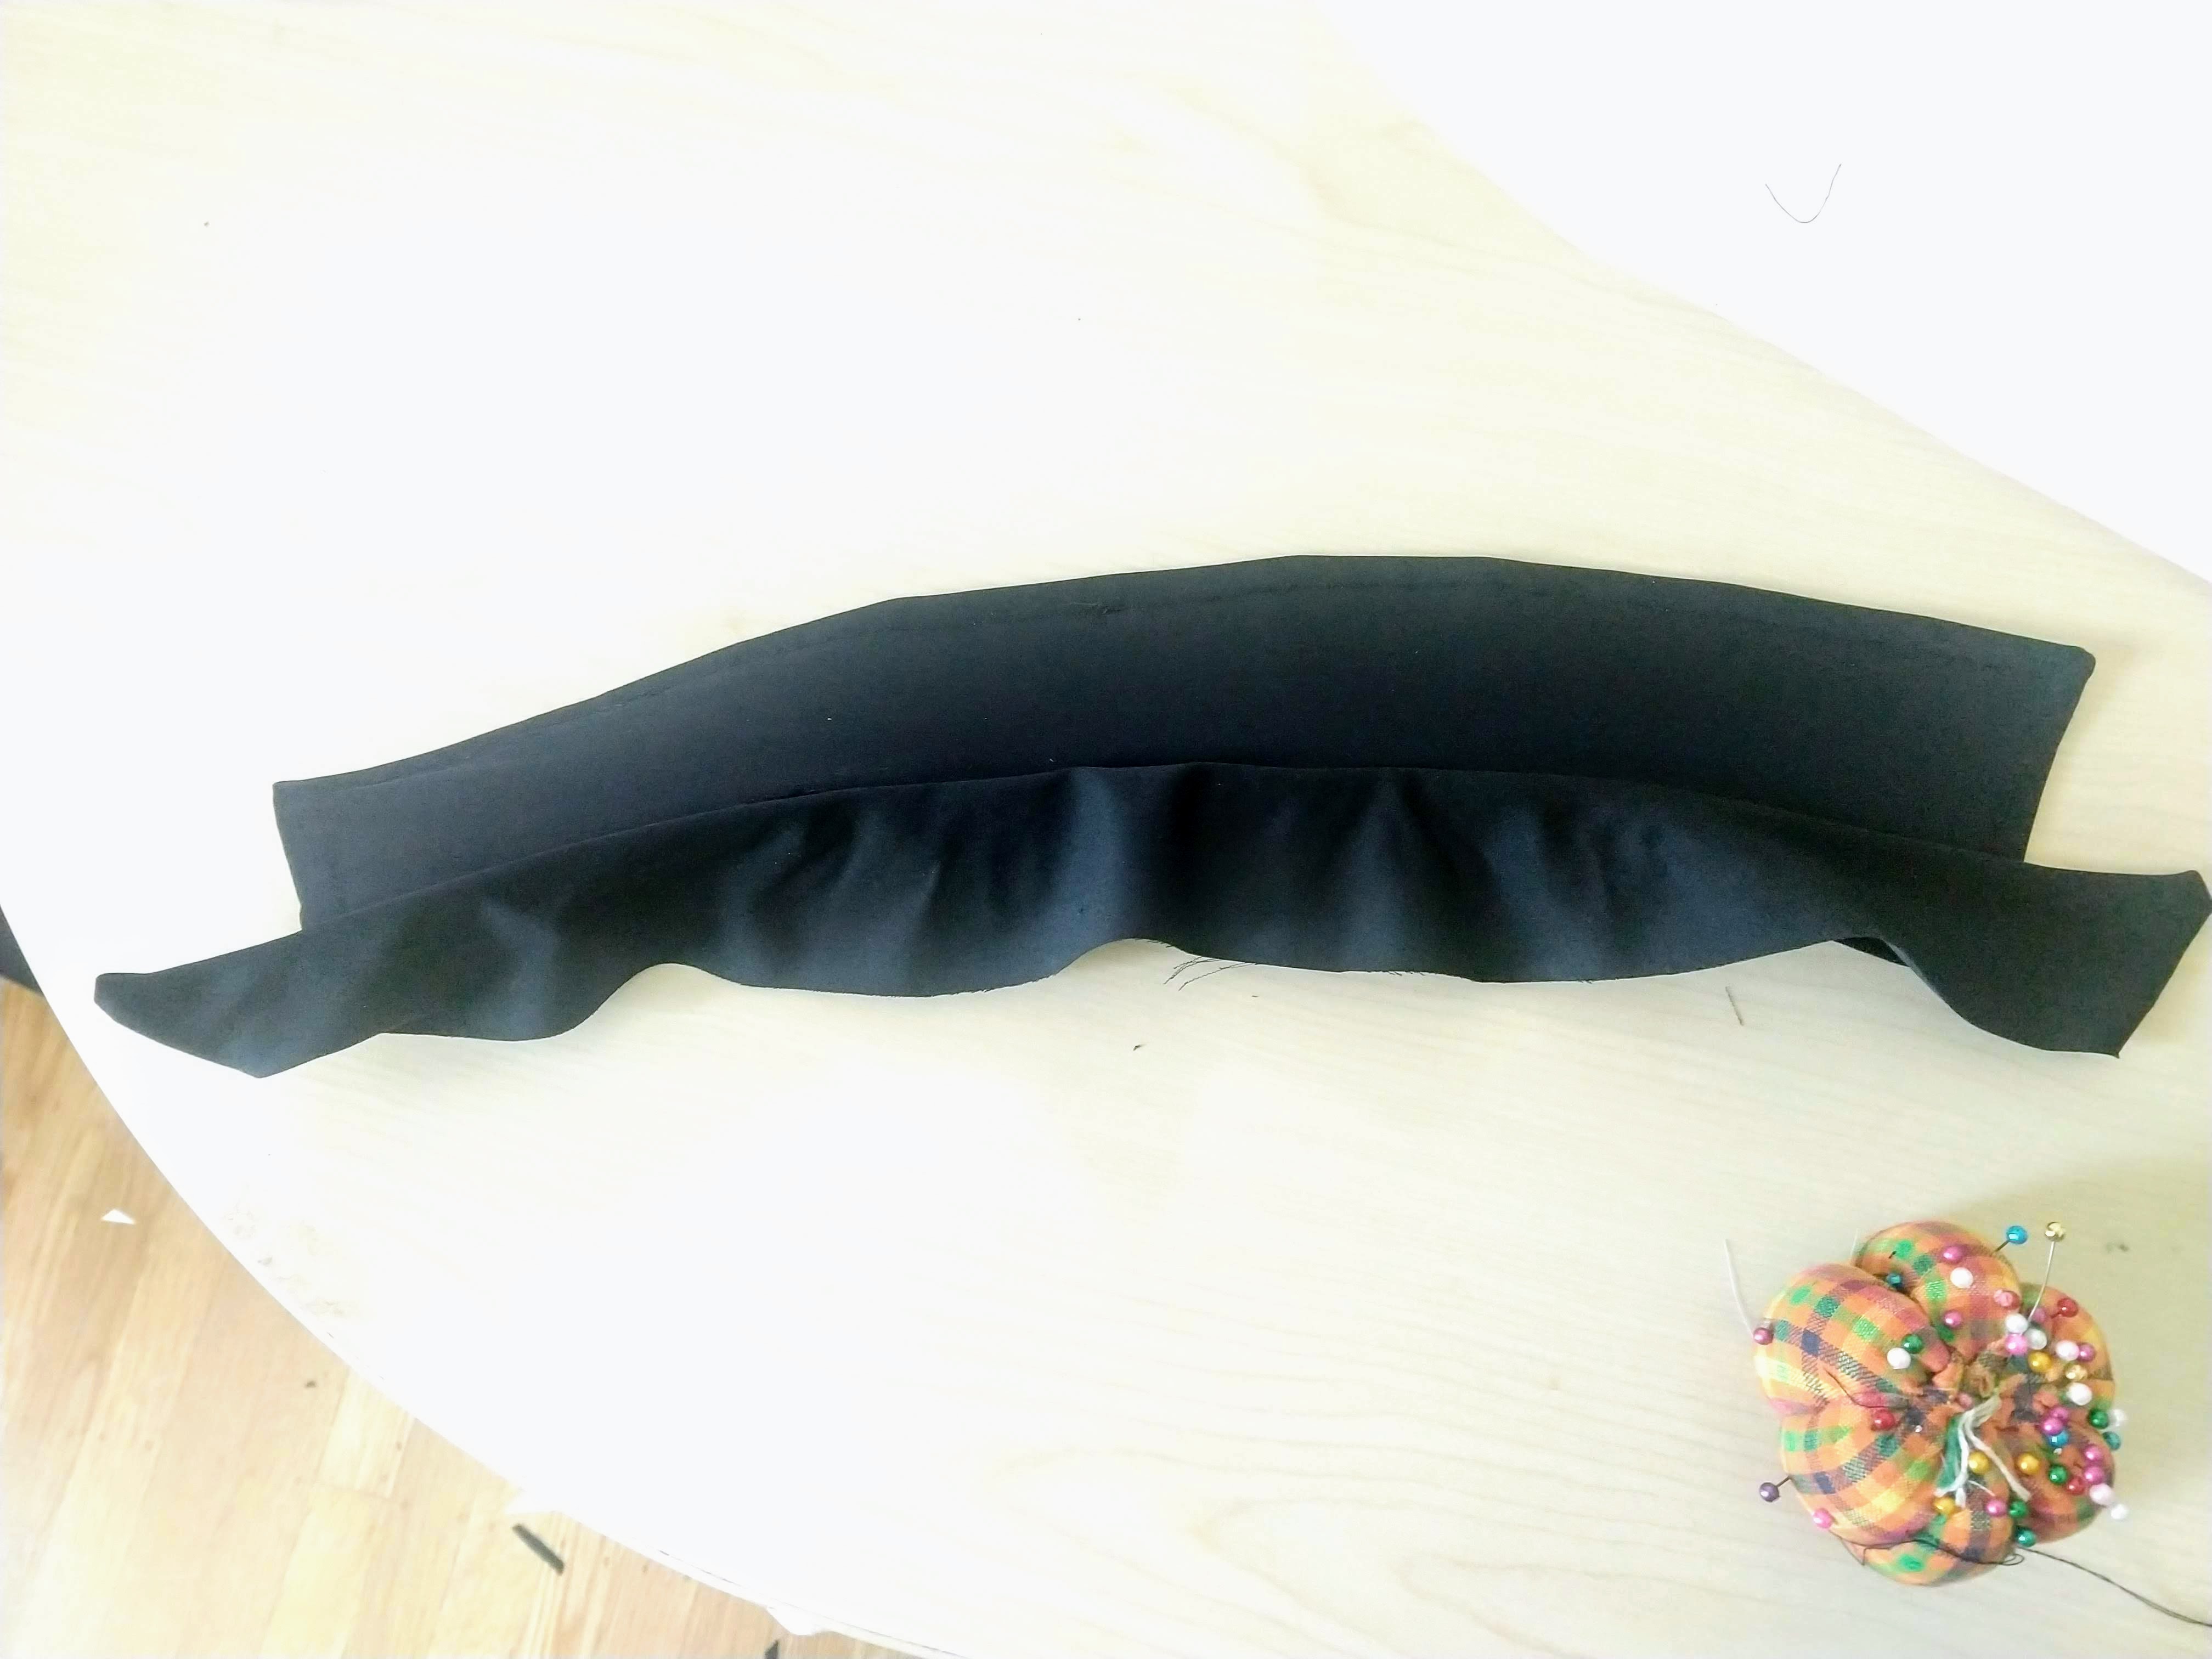
Then I sewed that onto what I had...
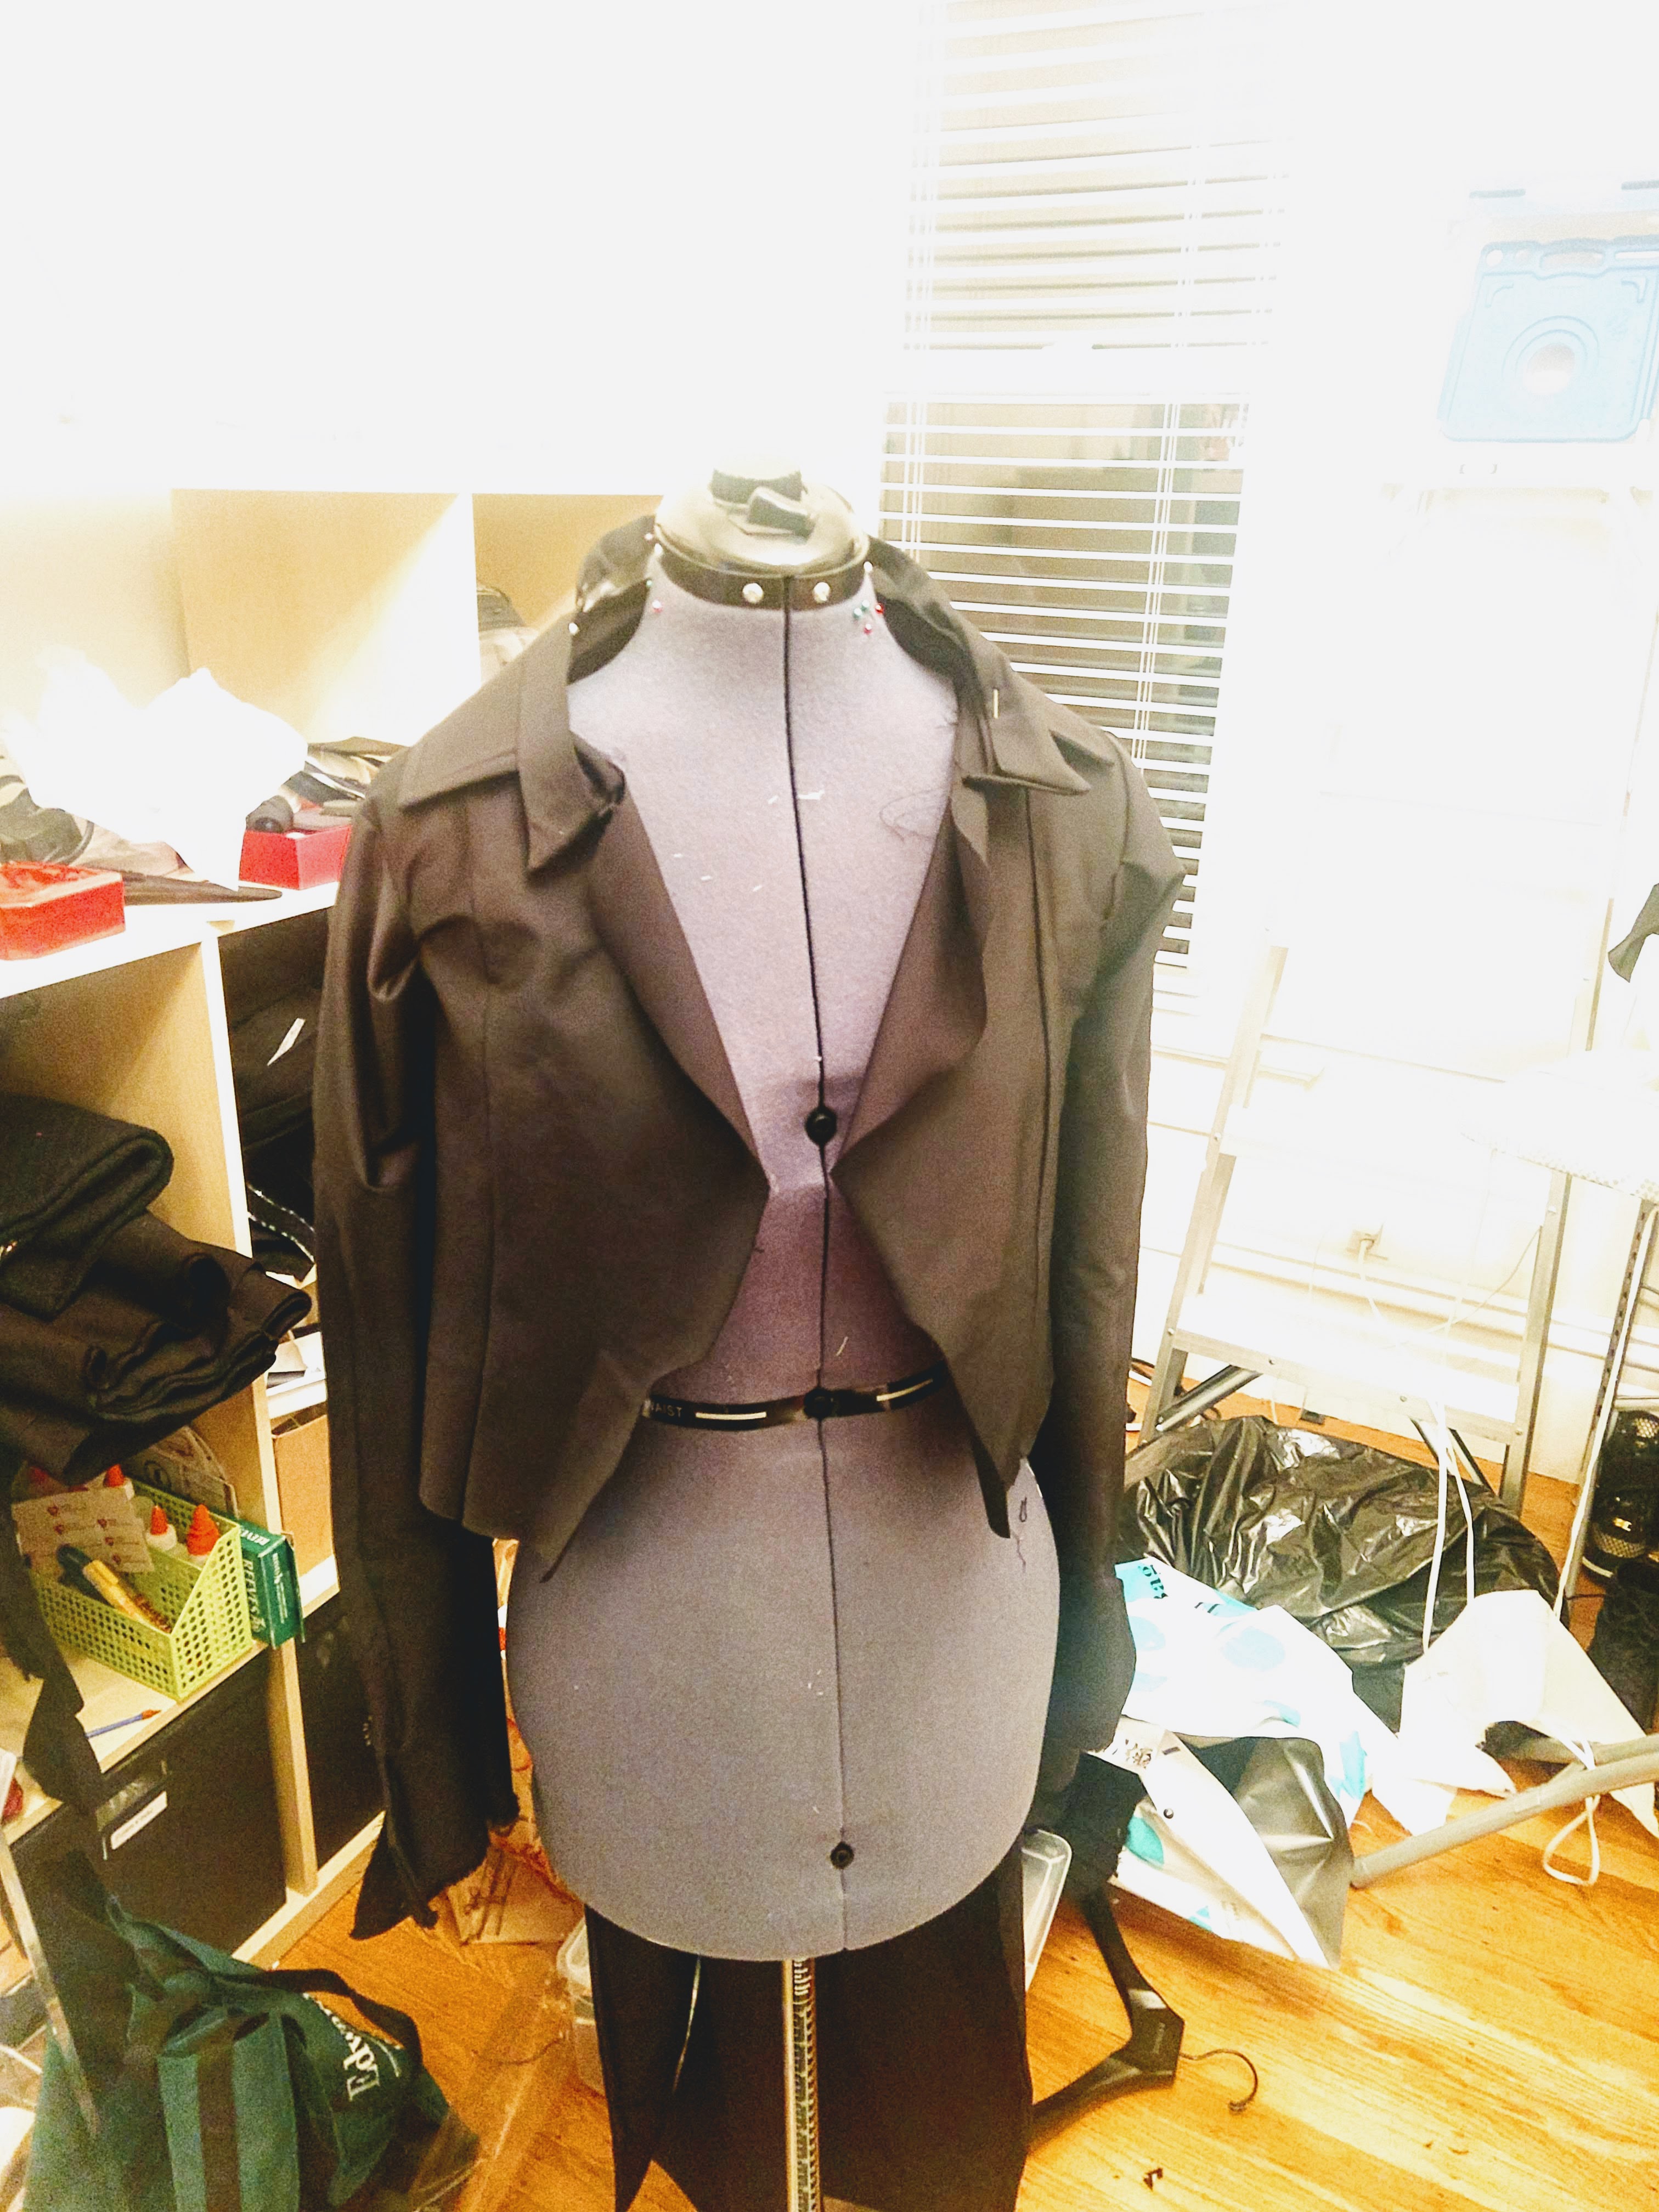 | 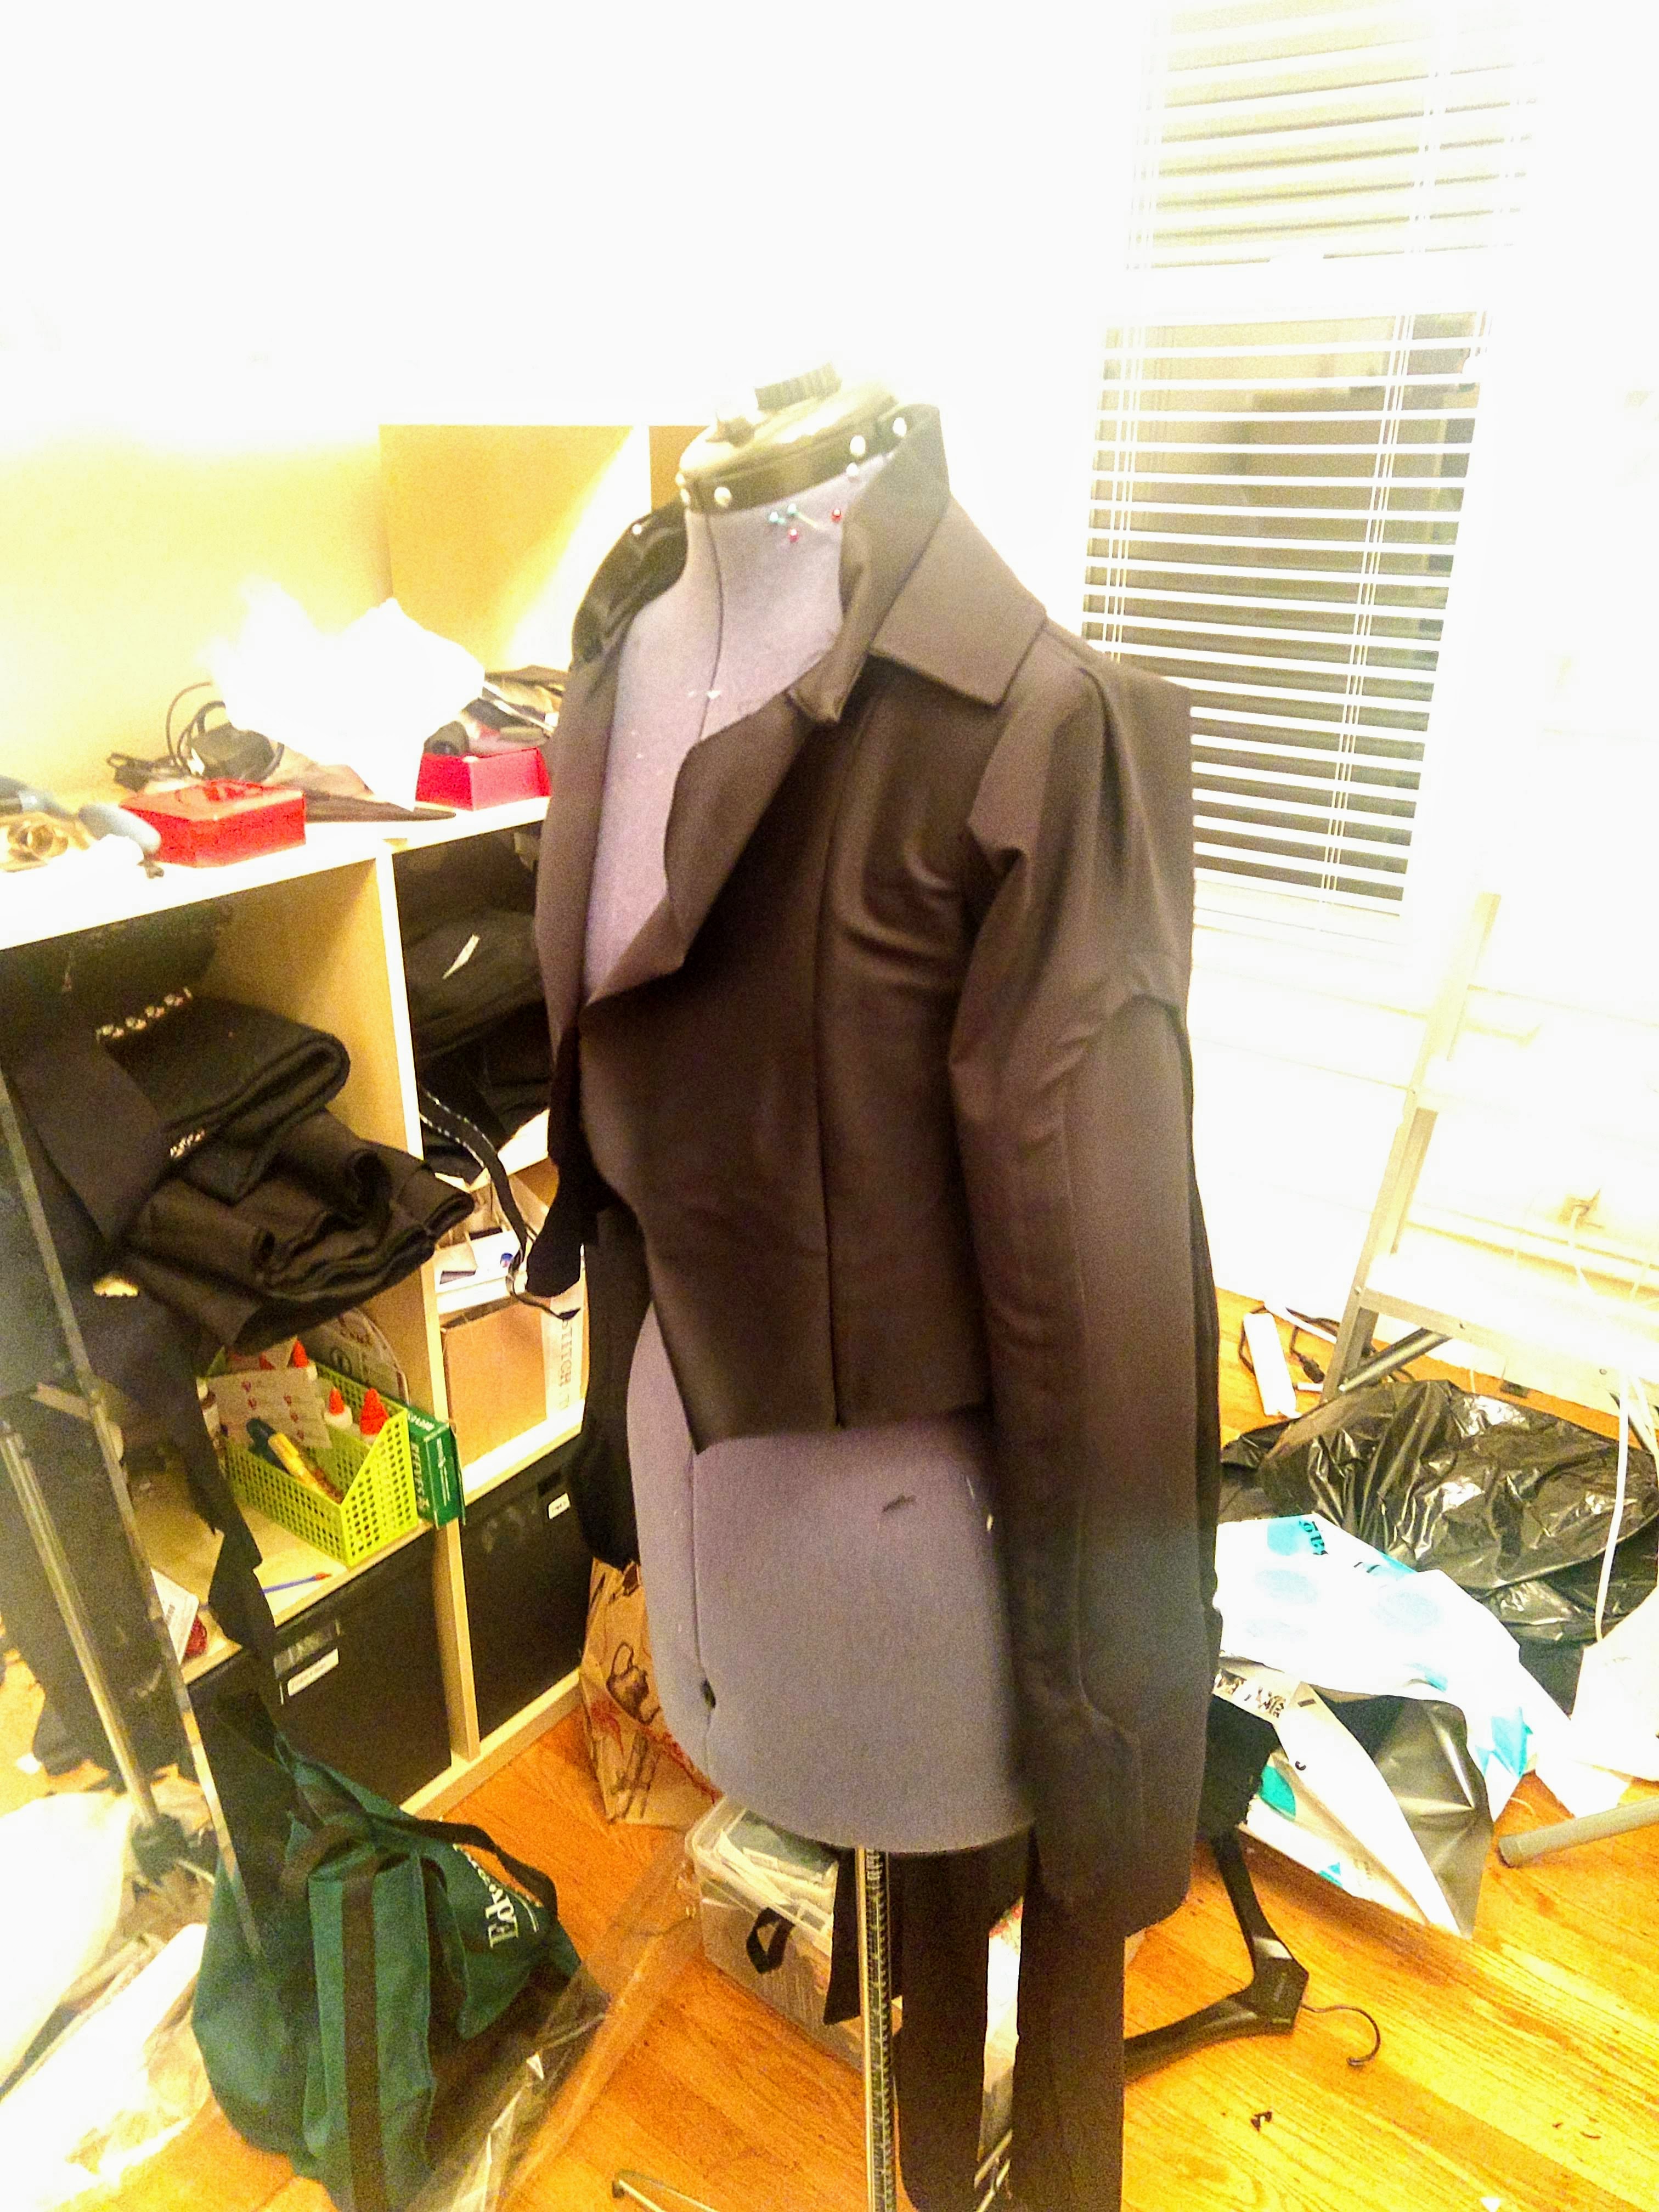 | 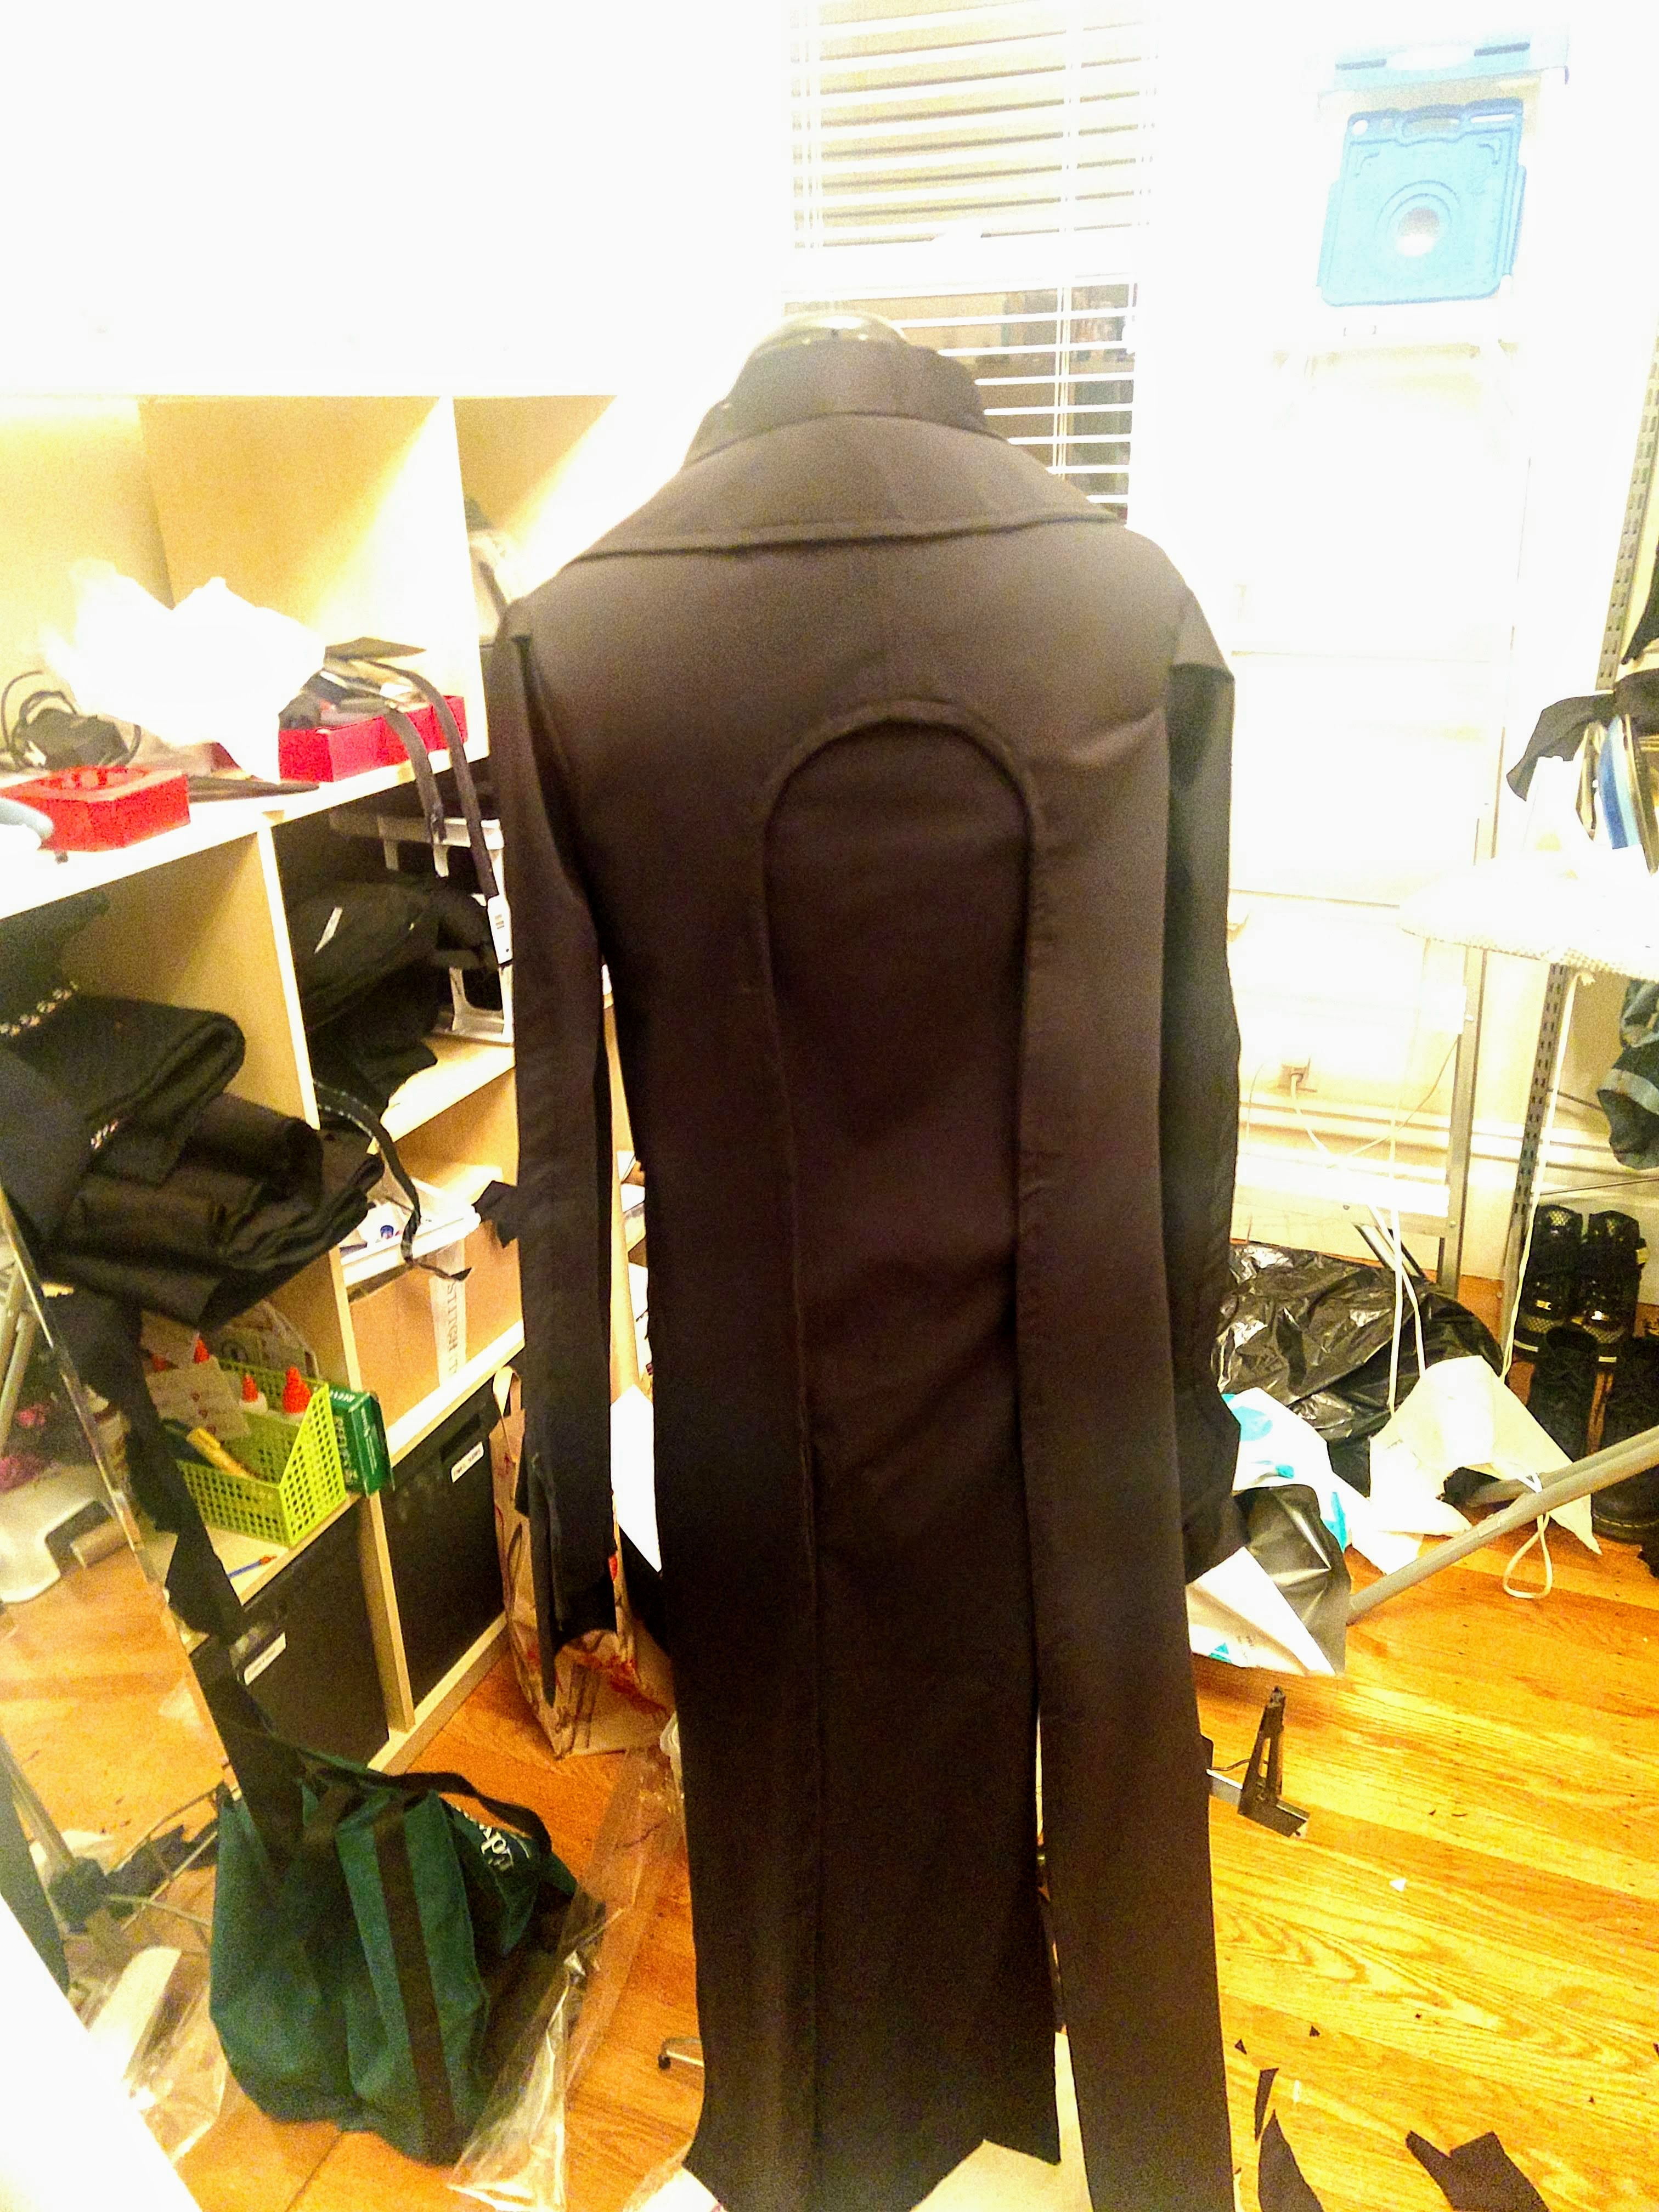 |
After ensuring it fit, it was time to line it, put in the shoulder pads, and affix the buttons!
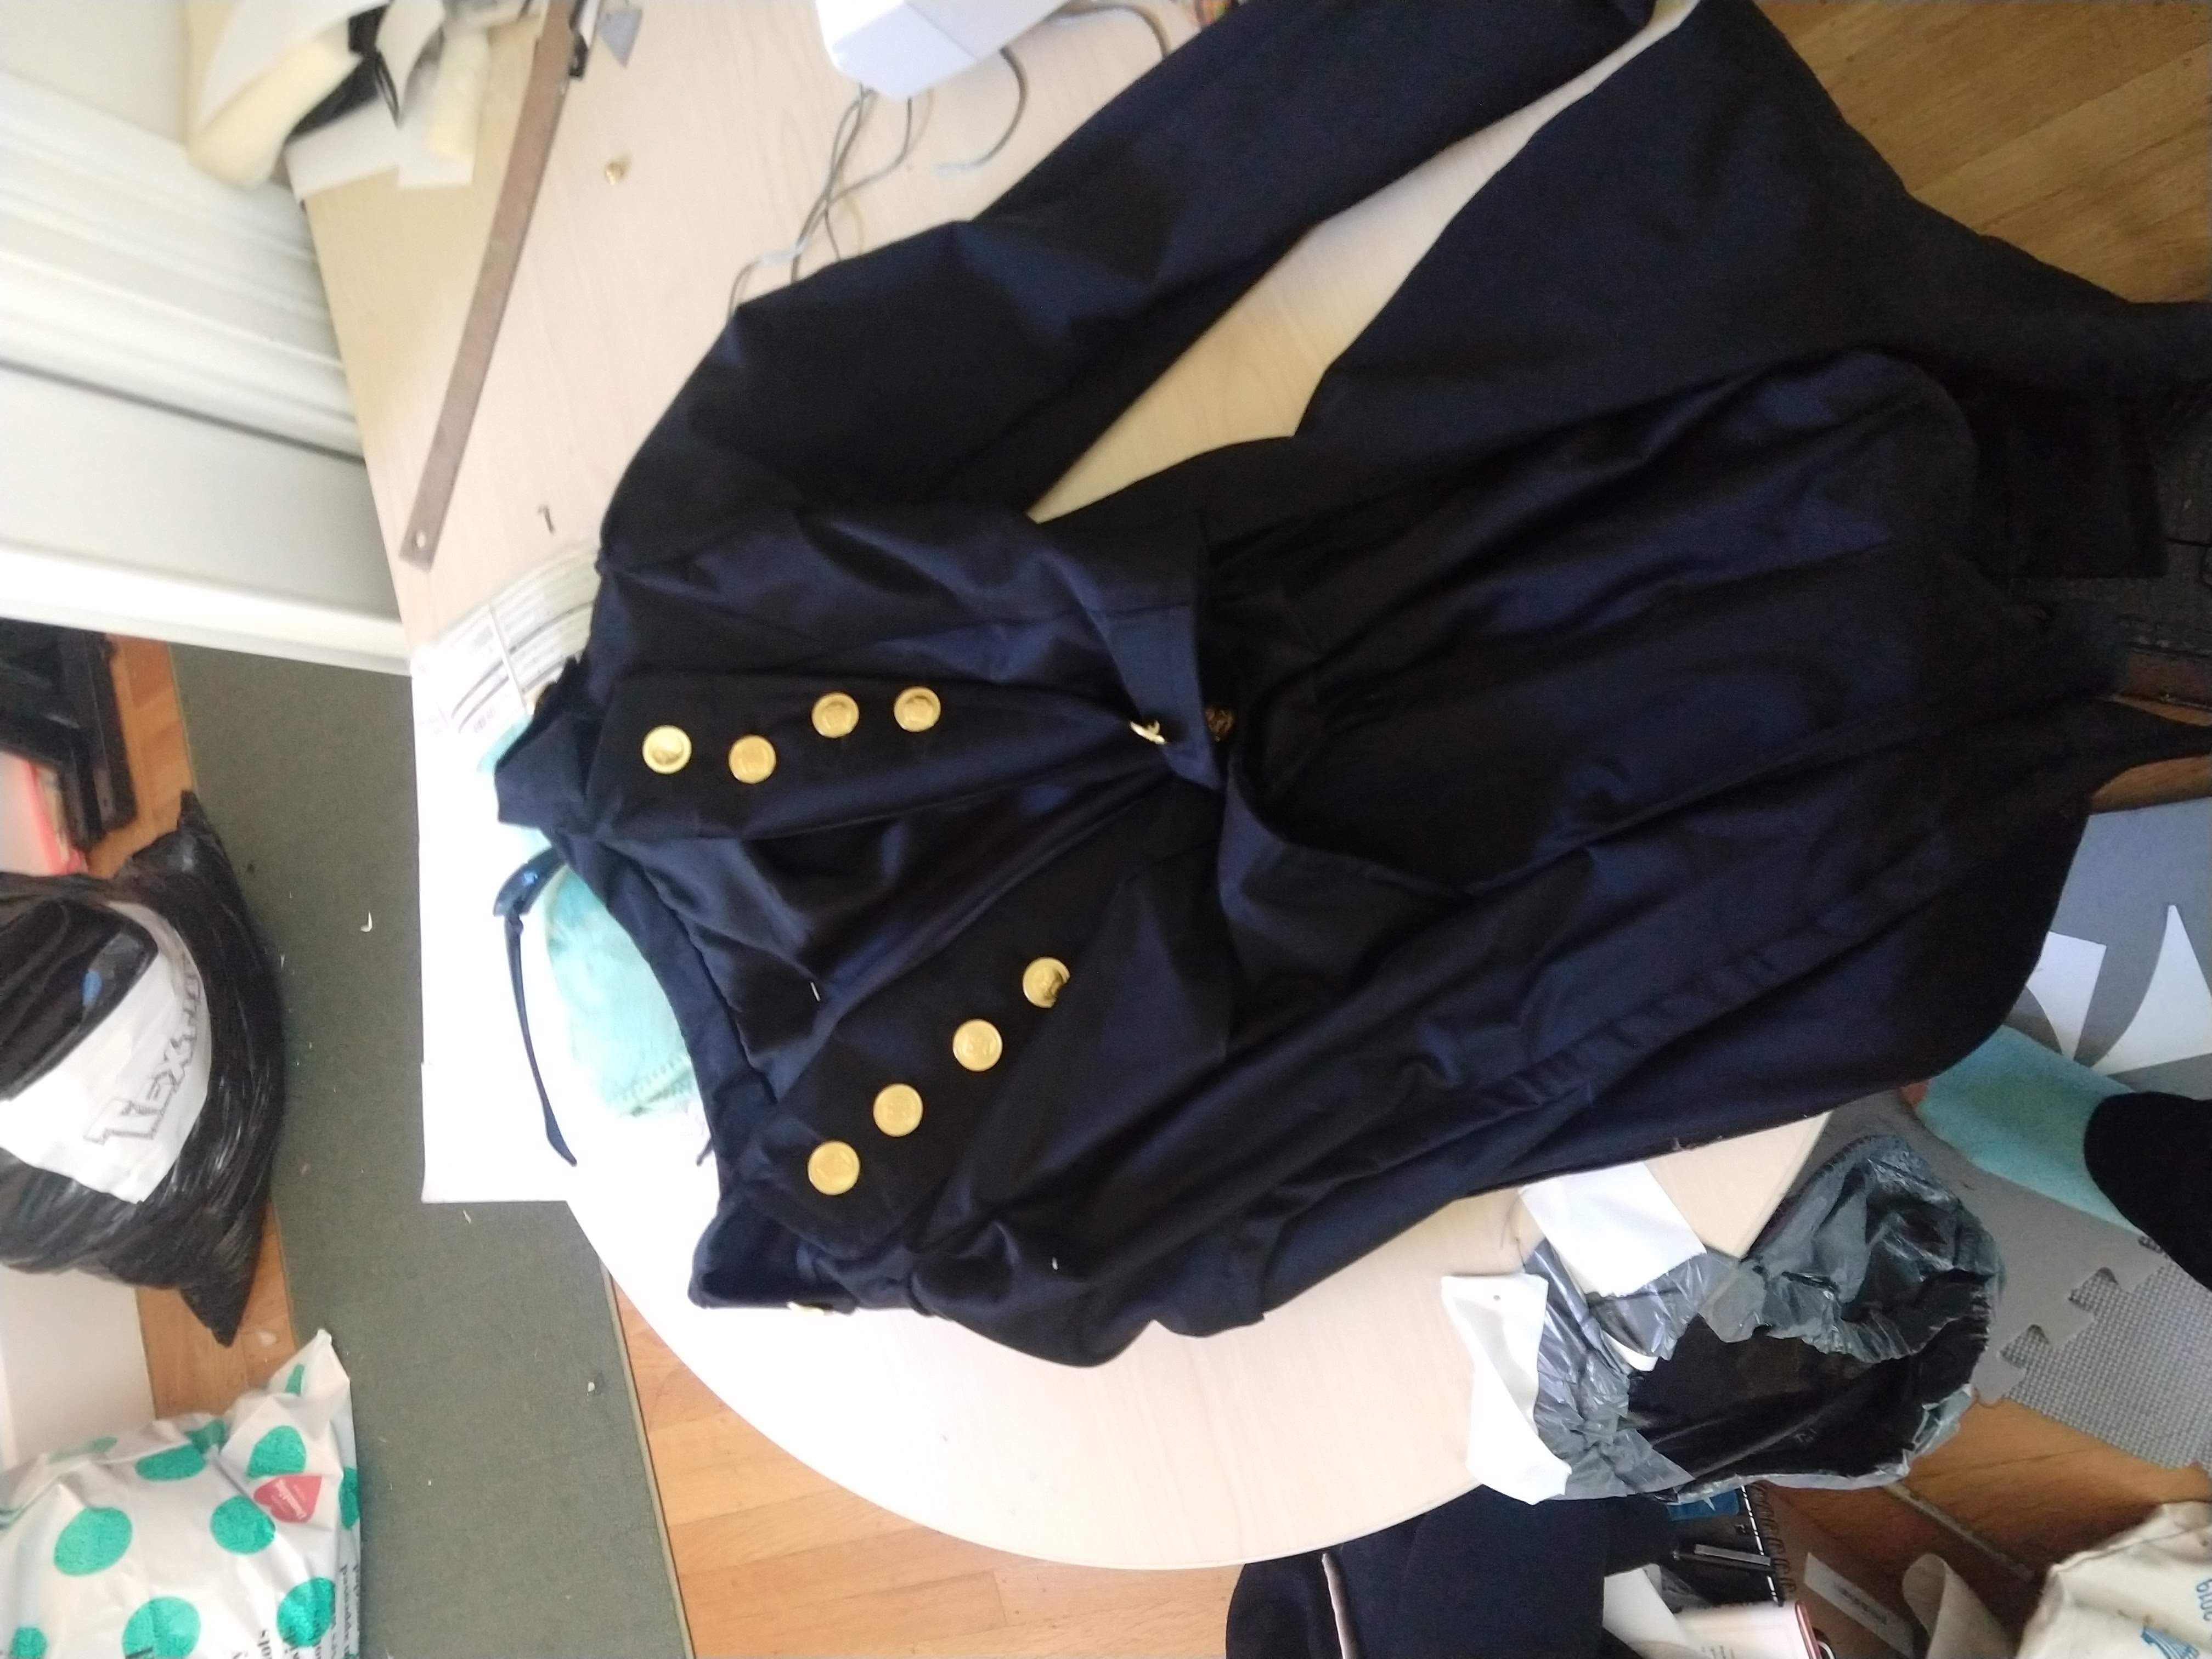 | 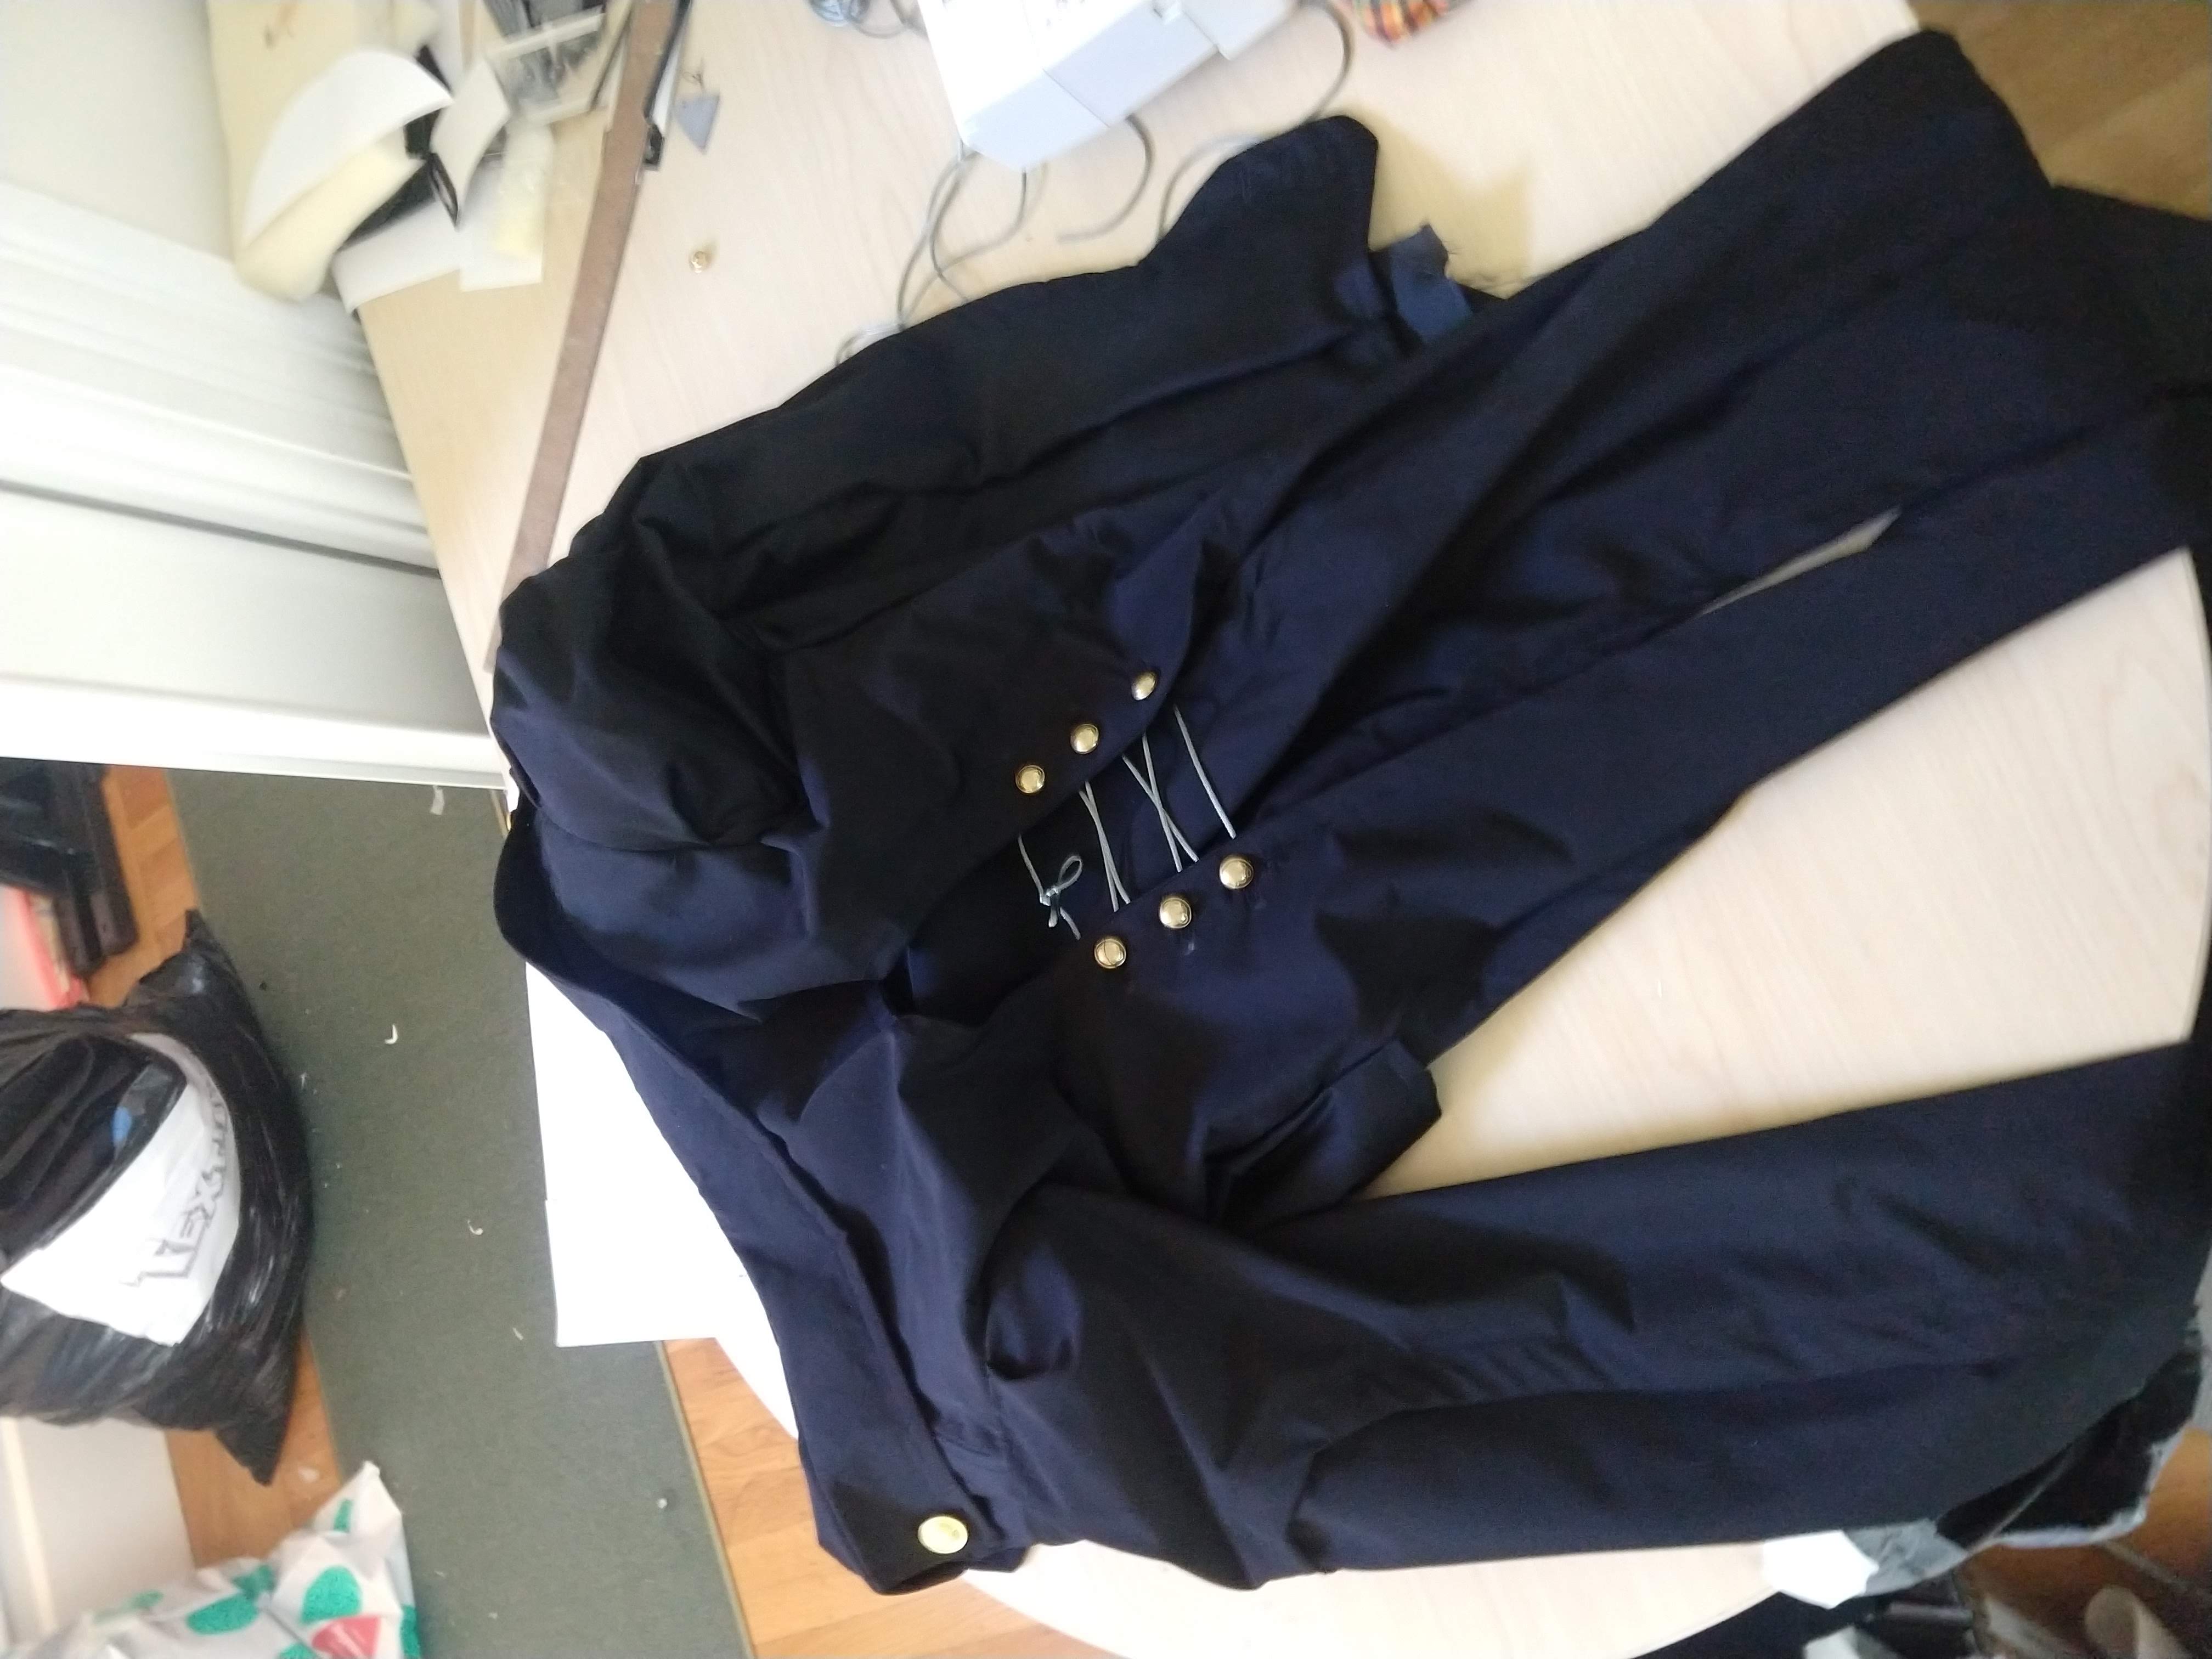 |
Jacket done!
Making the belt
Kasumi has a very elaborate looking belt:
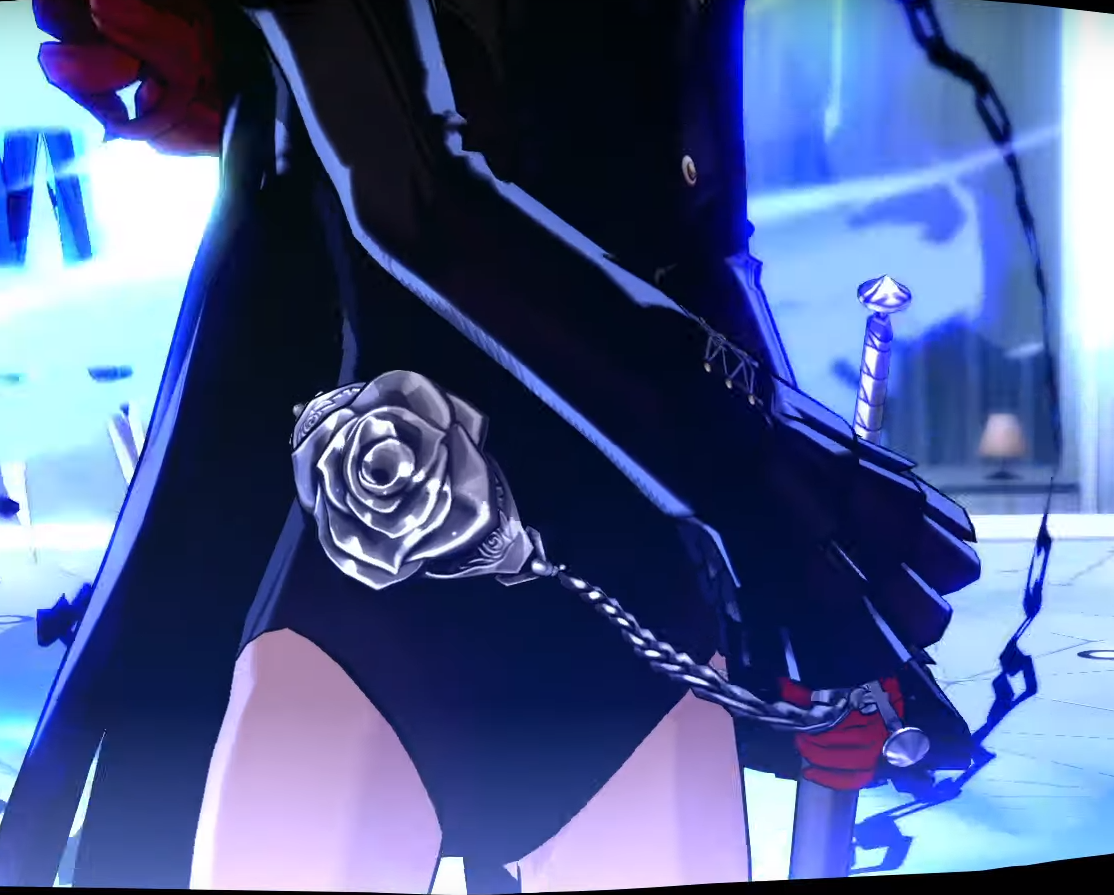
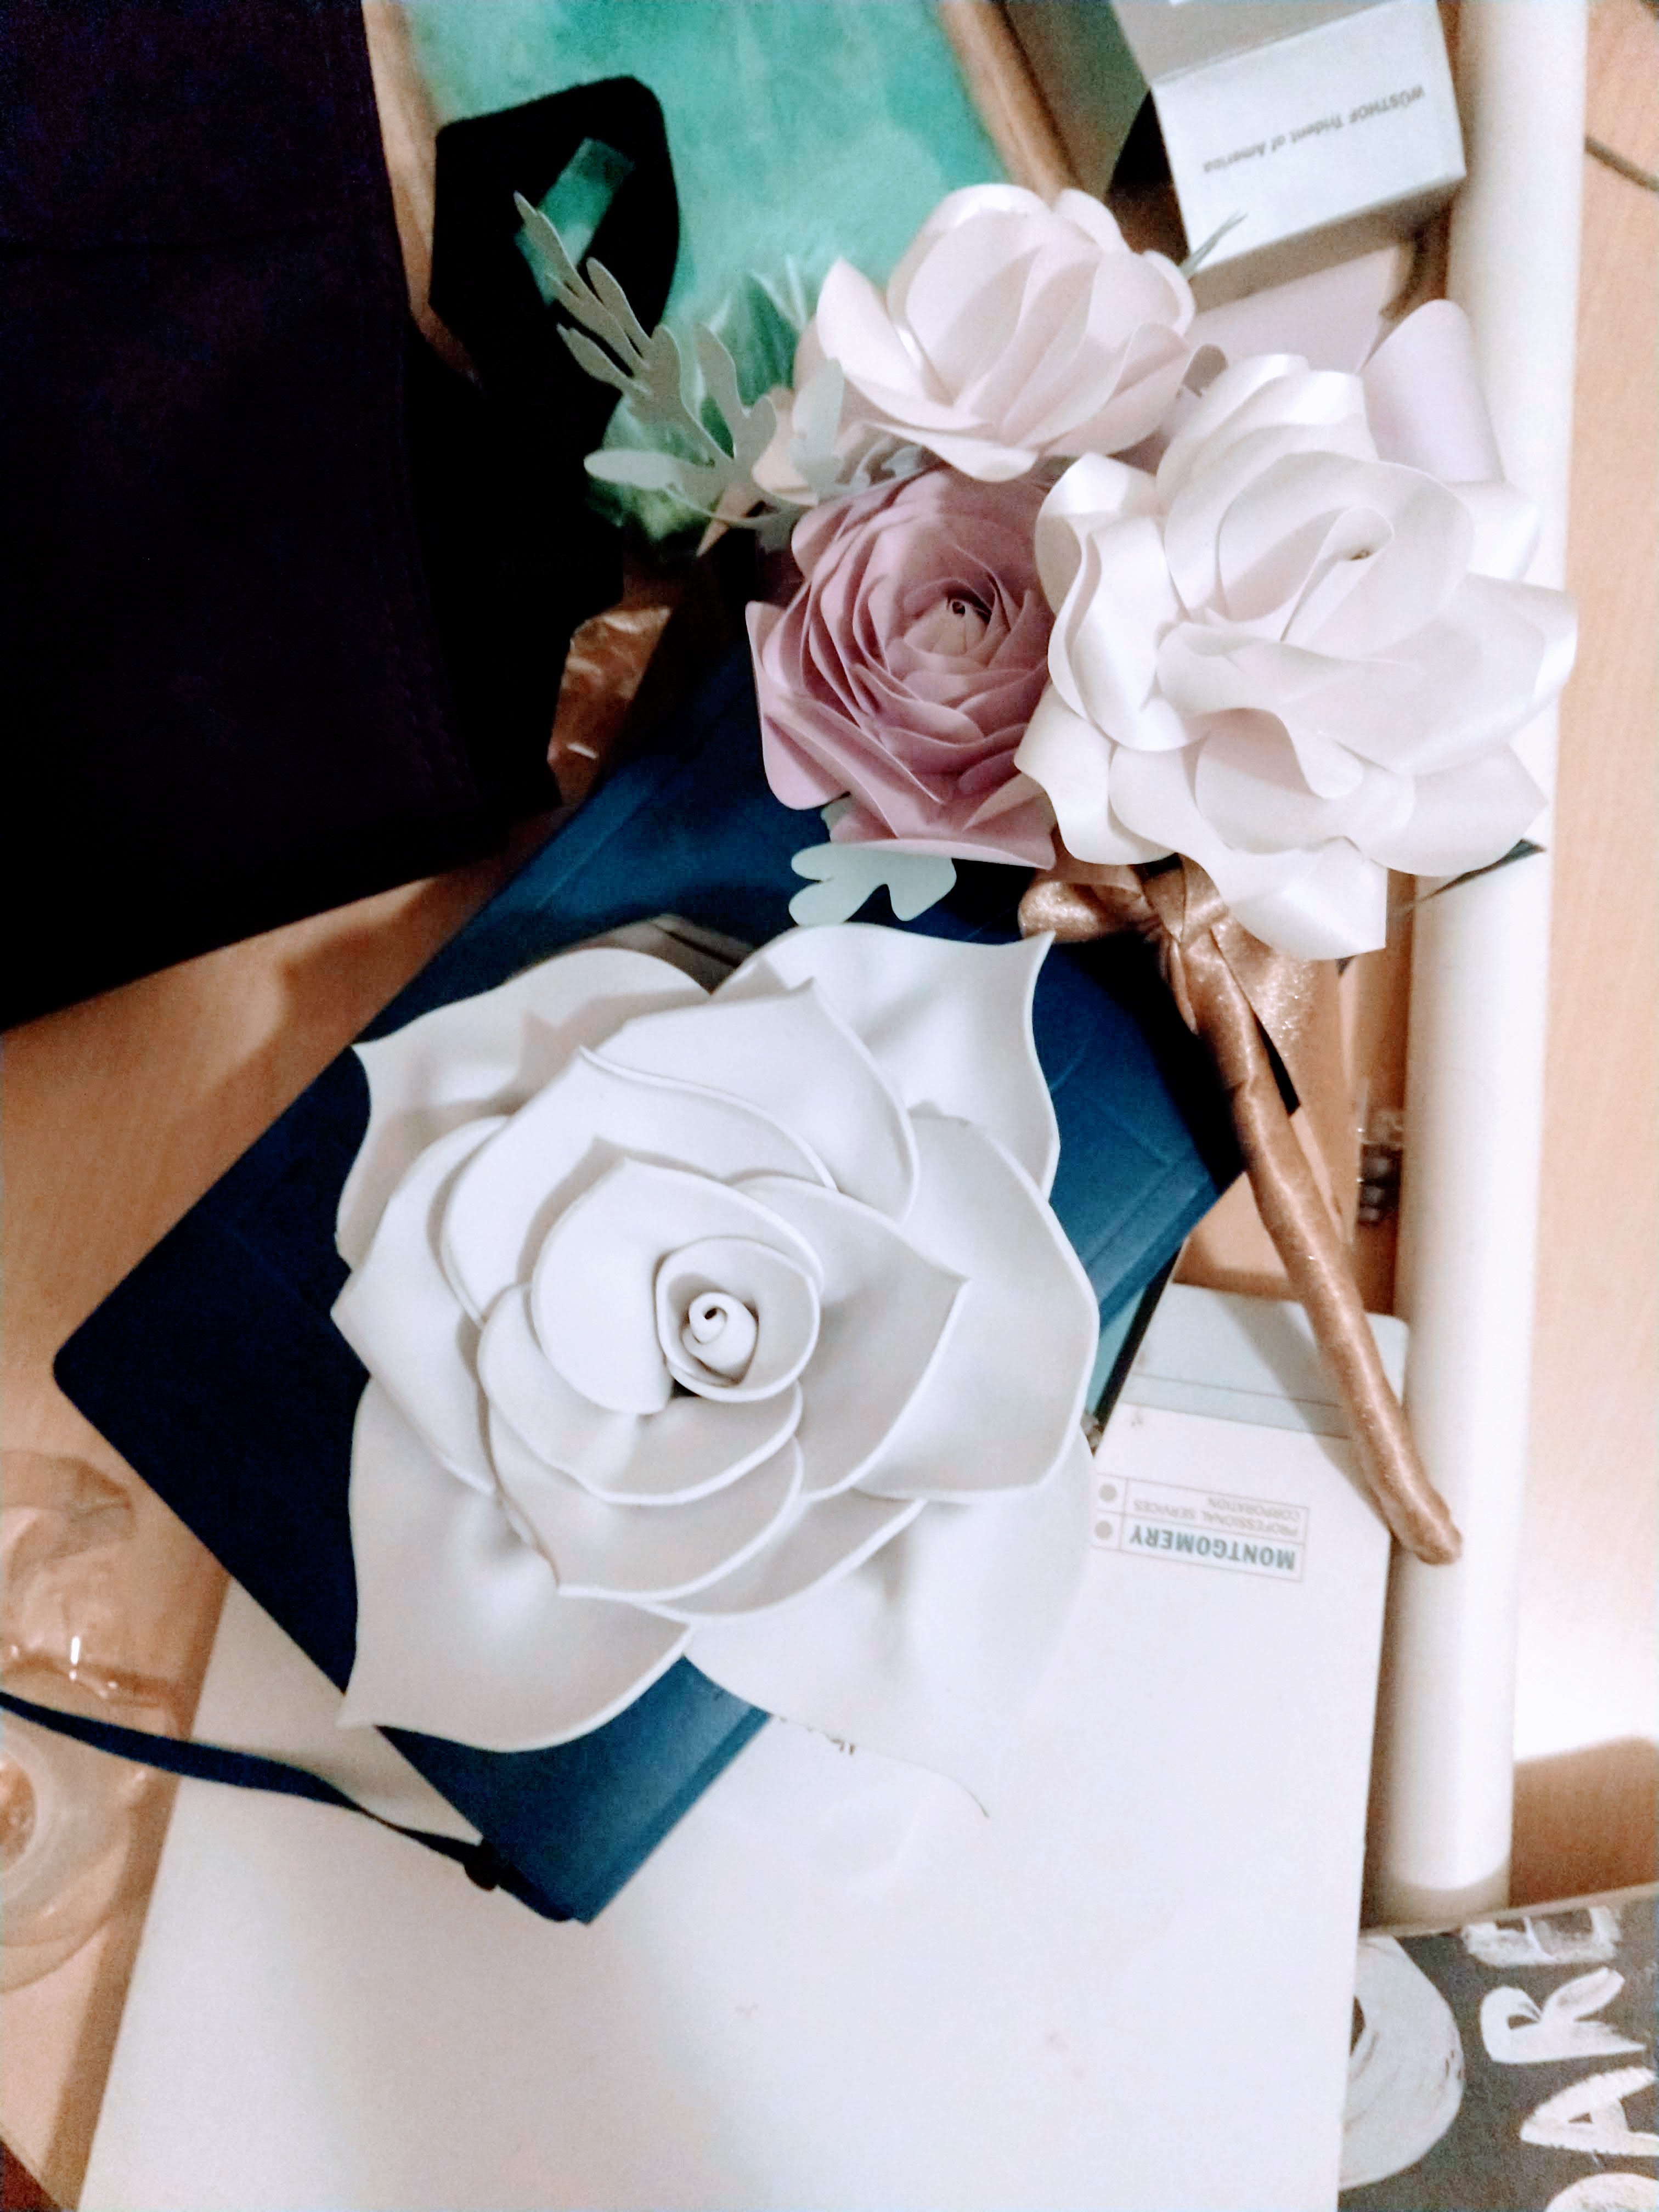
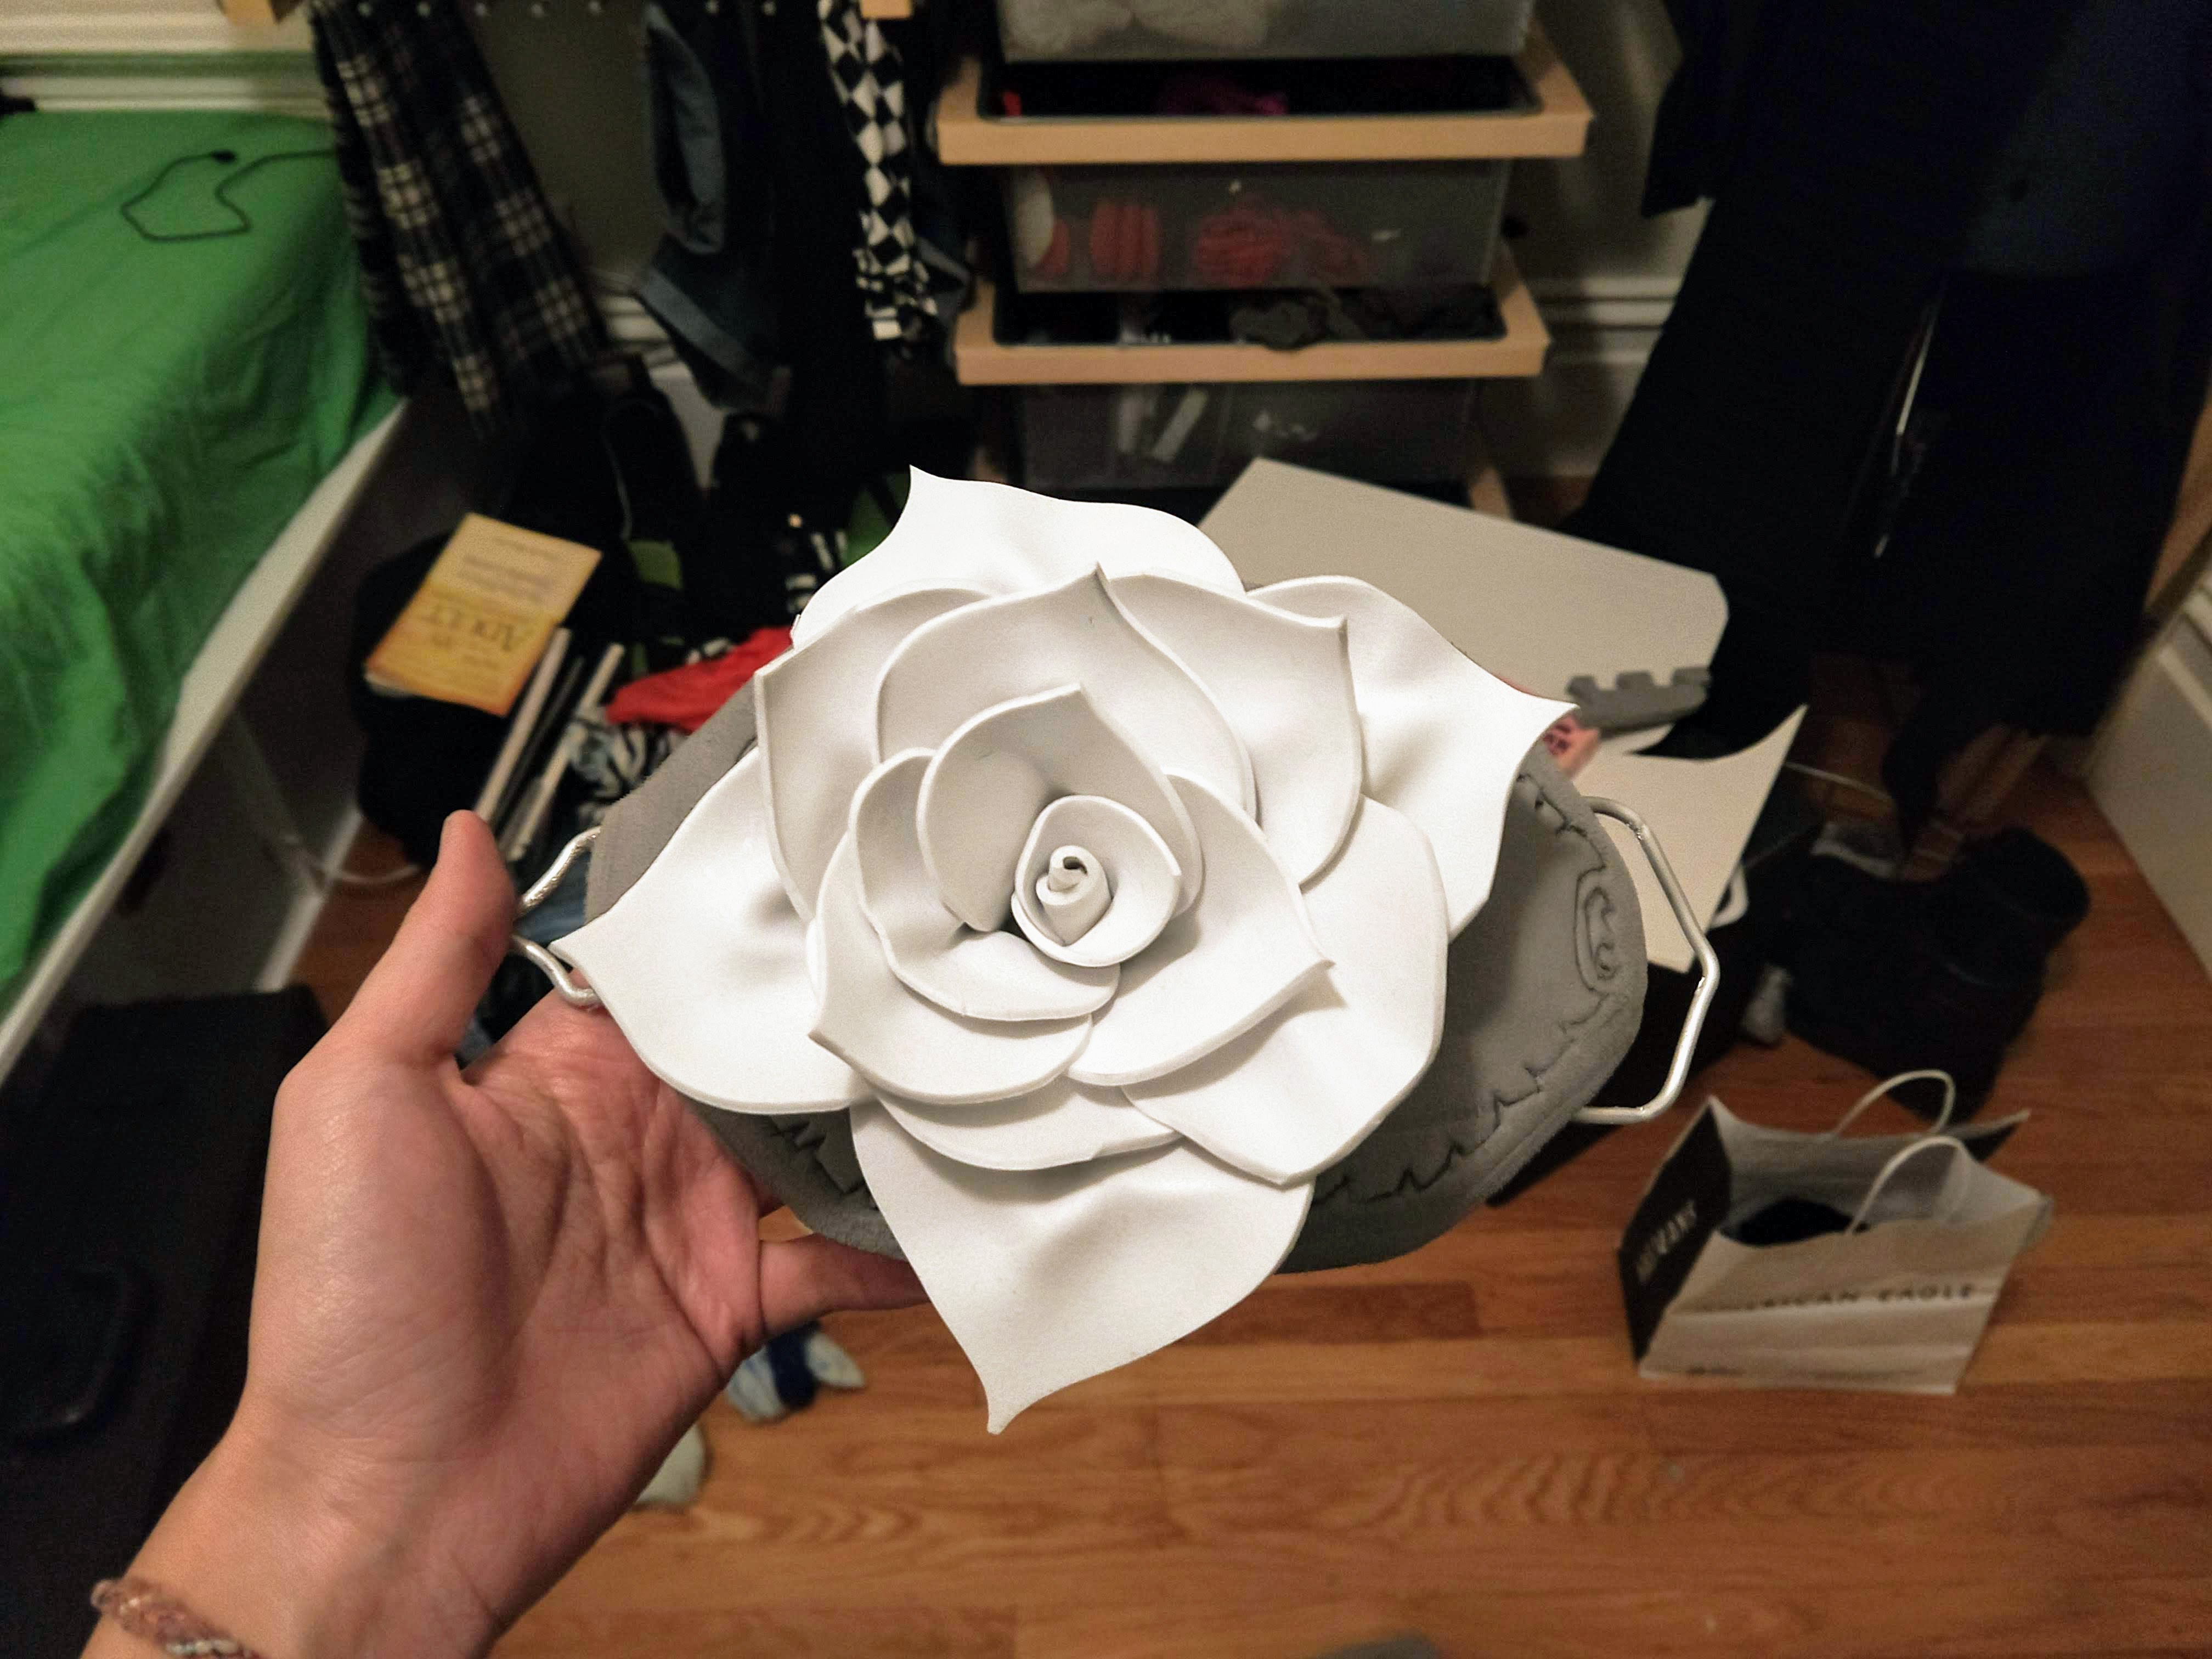
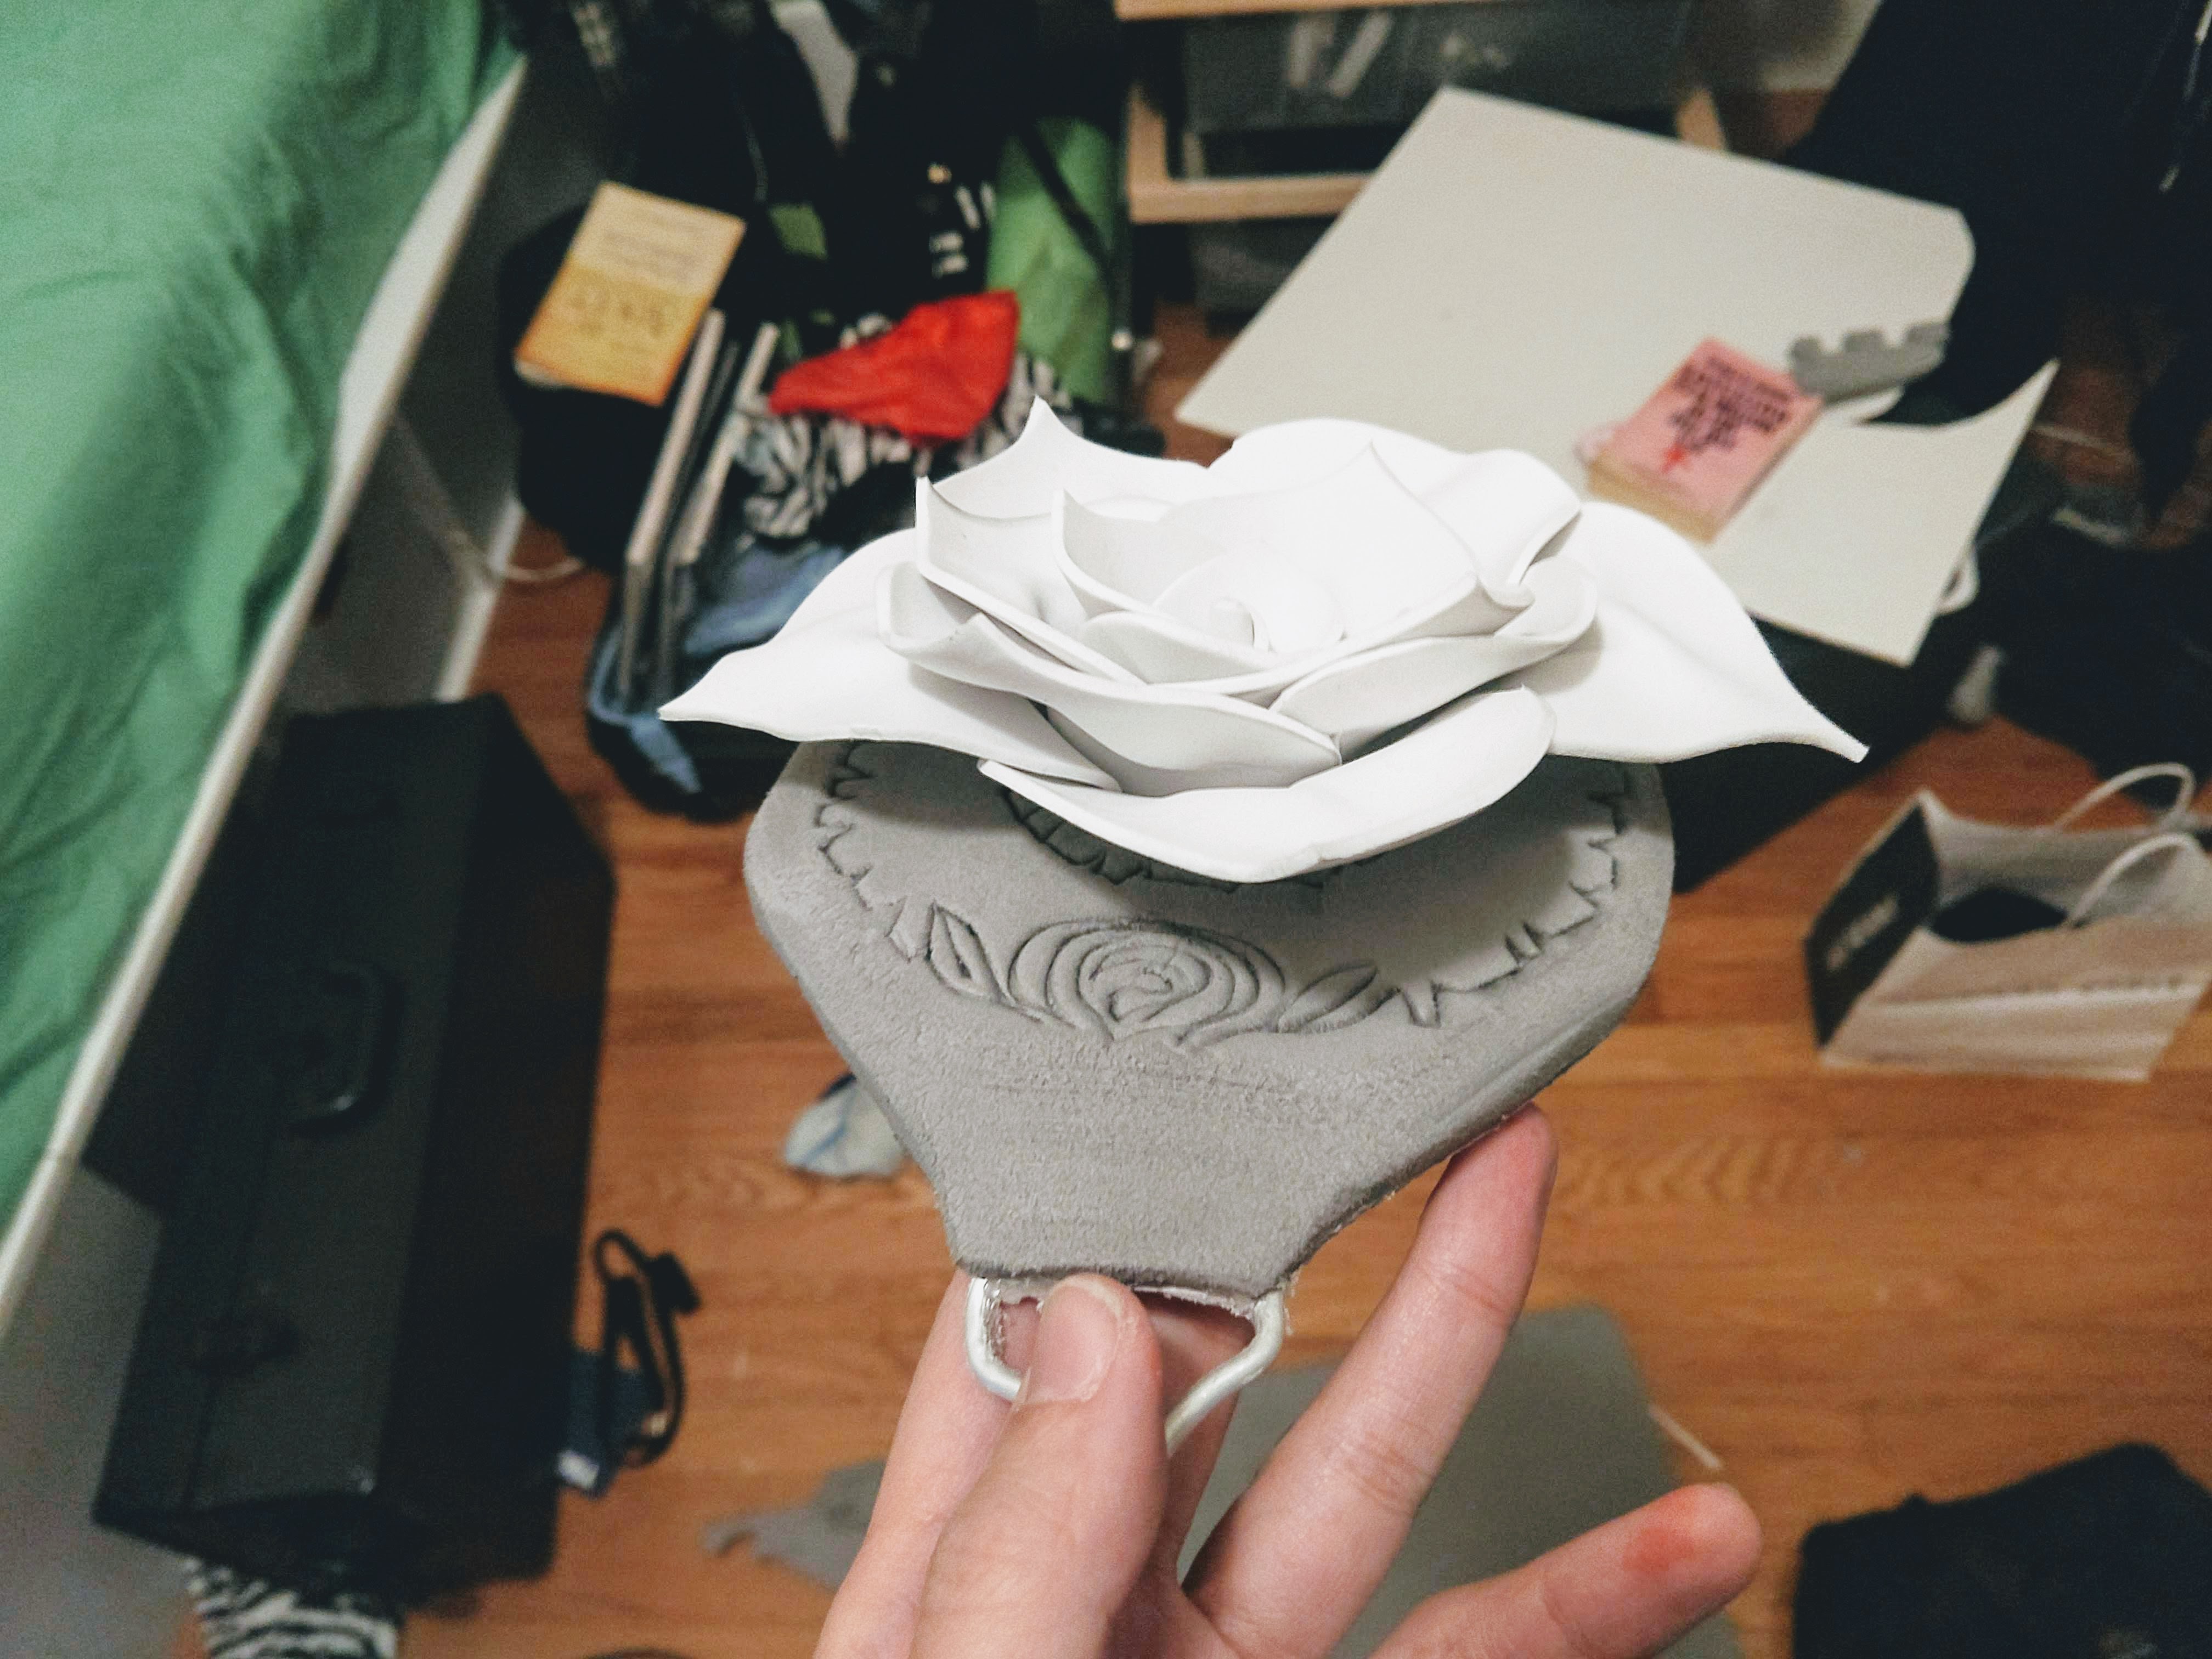
First I had to make the rose. Just months prior, I had made paper flowers for my friend's wedding, so it was time to test those skills. I got craft foam and cut out each individual petal and glued them at the bottom to make some foam roses. I then carved the flat belt part out of EVA foam, used an engraver to put in the engraved detailing, then affixed armature wire at the ends for the chain.
 |  |  |
Now all there was left for the belt was to paint it. But before that...
Making the Mask
What's a superhero without her mask? Every character in the Persona series has an interesting mask, and Kasumi is no exception. Once again, I combed through the trailer to find the perfect shot of Kasumi's mask.
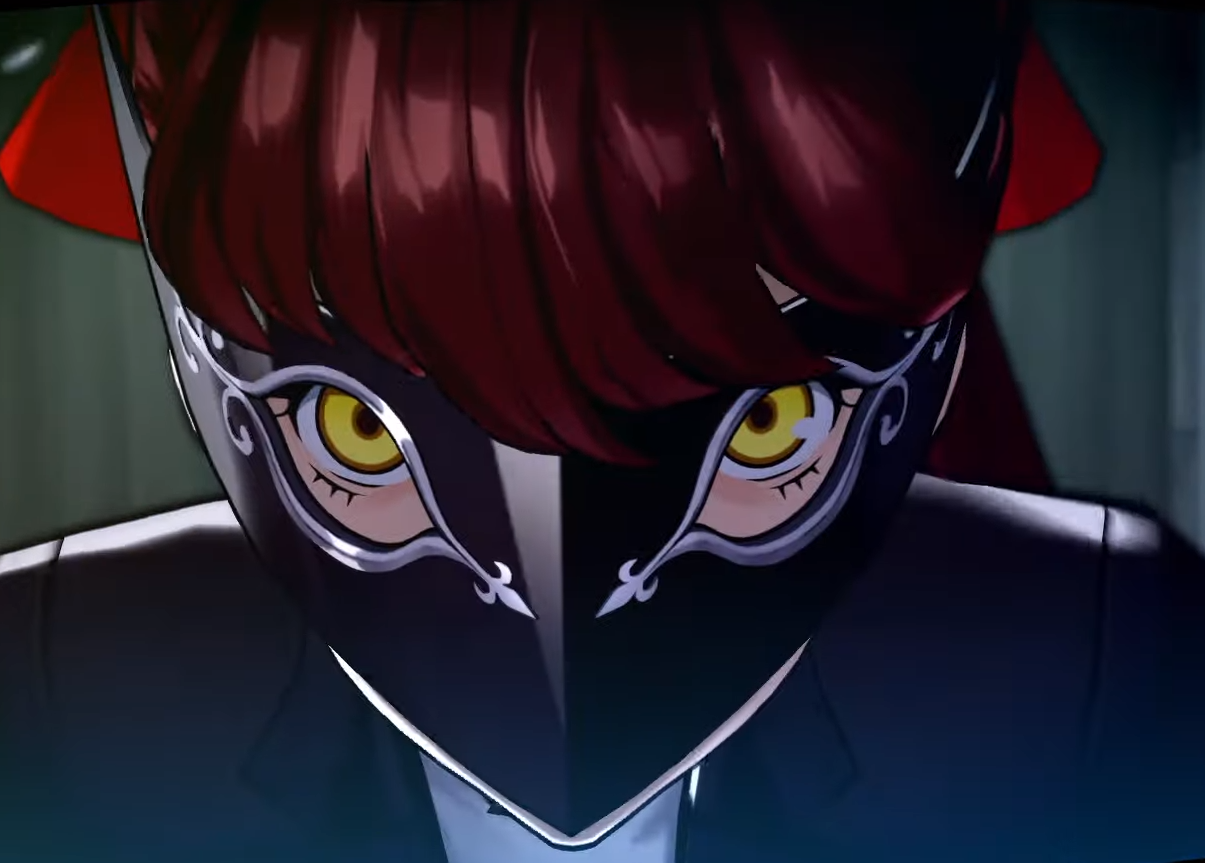
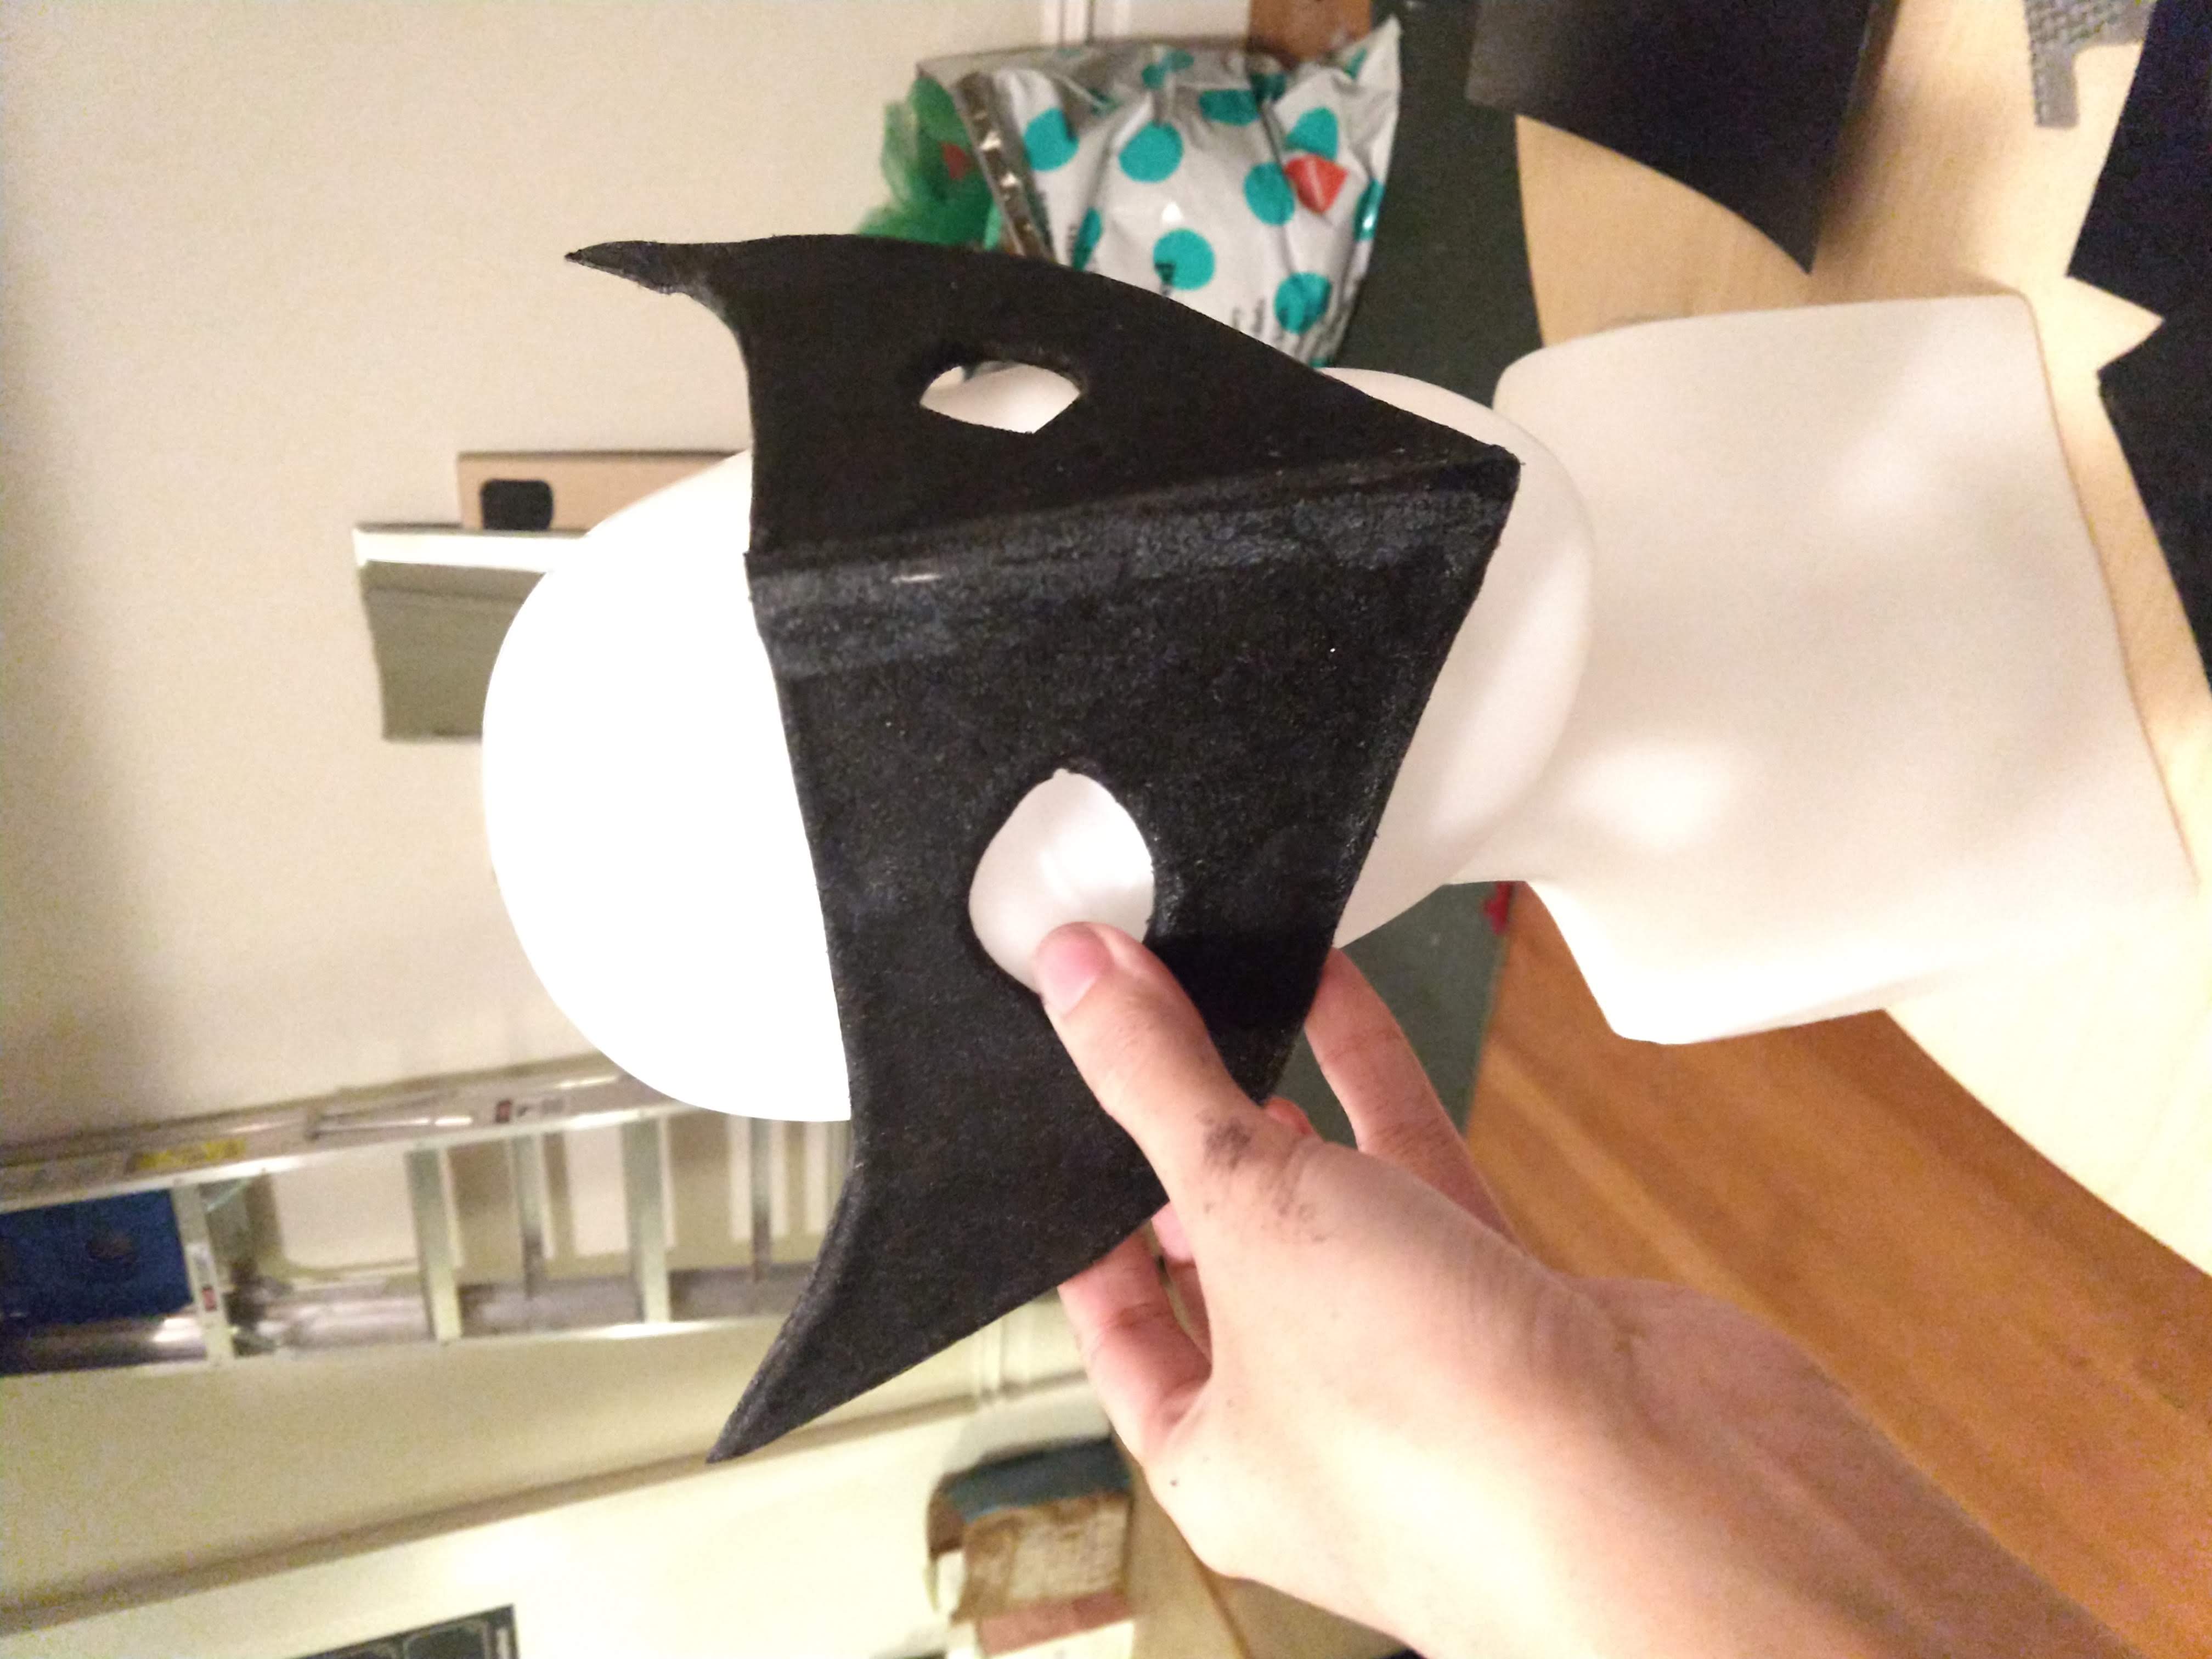
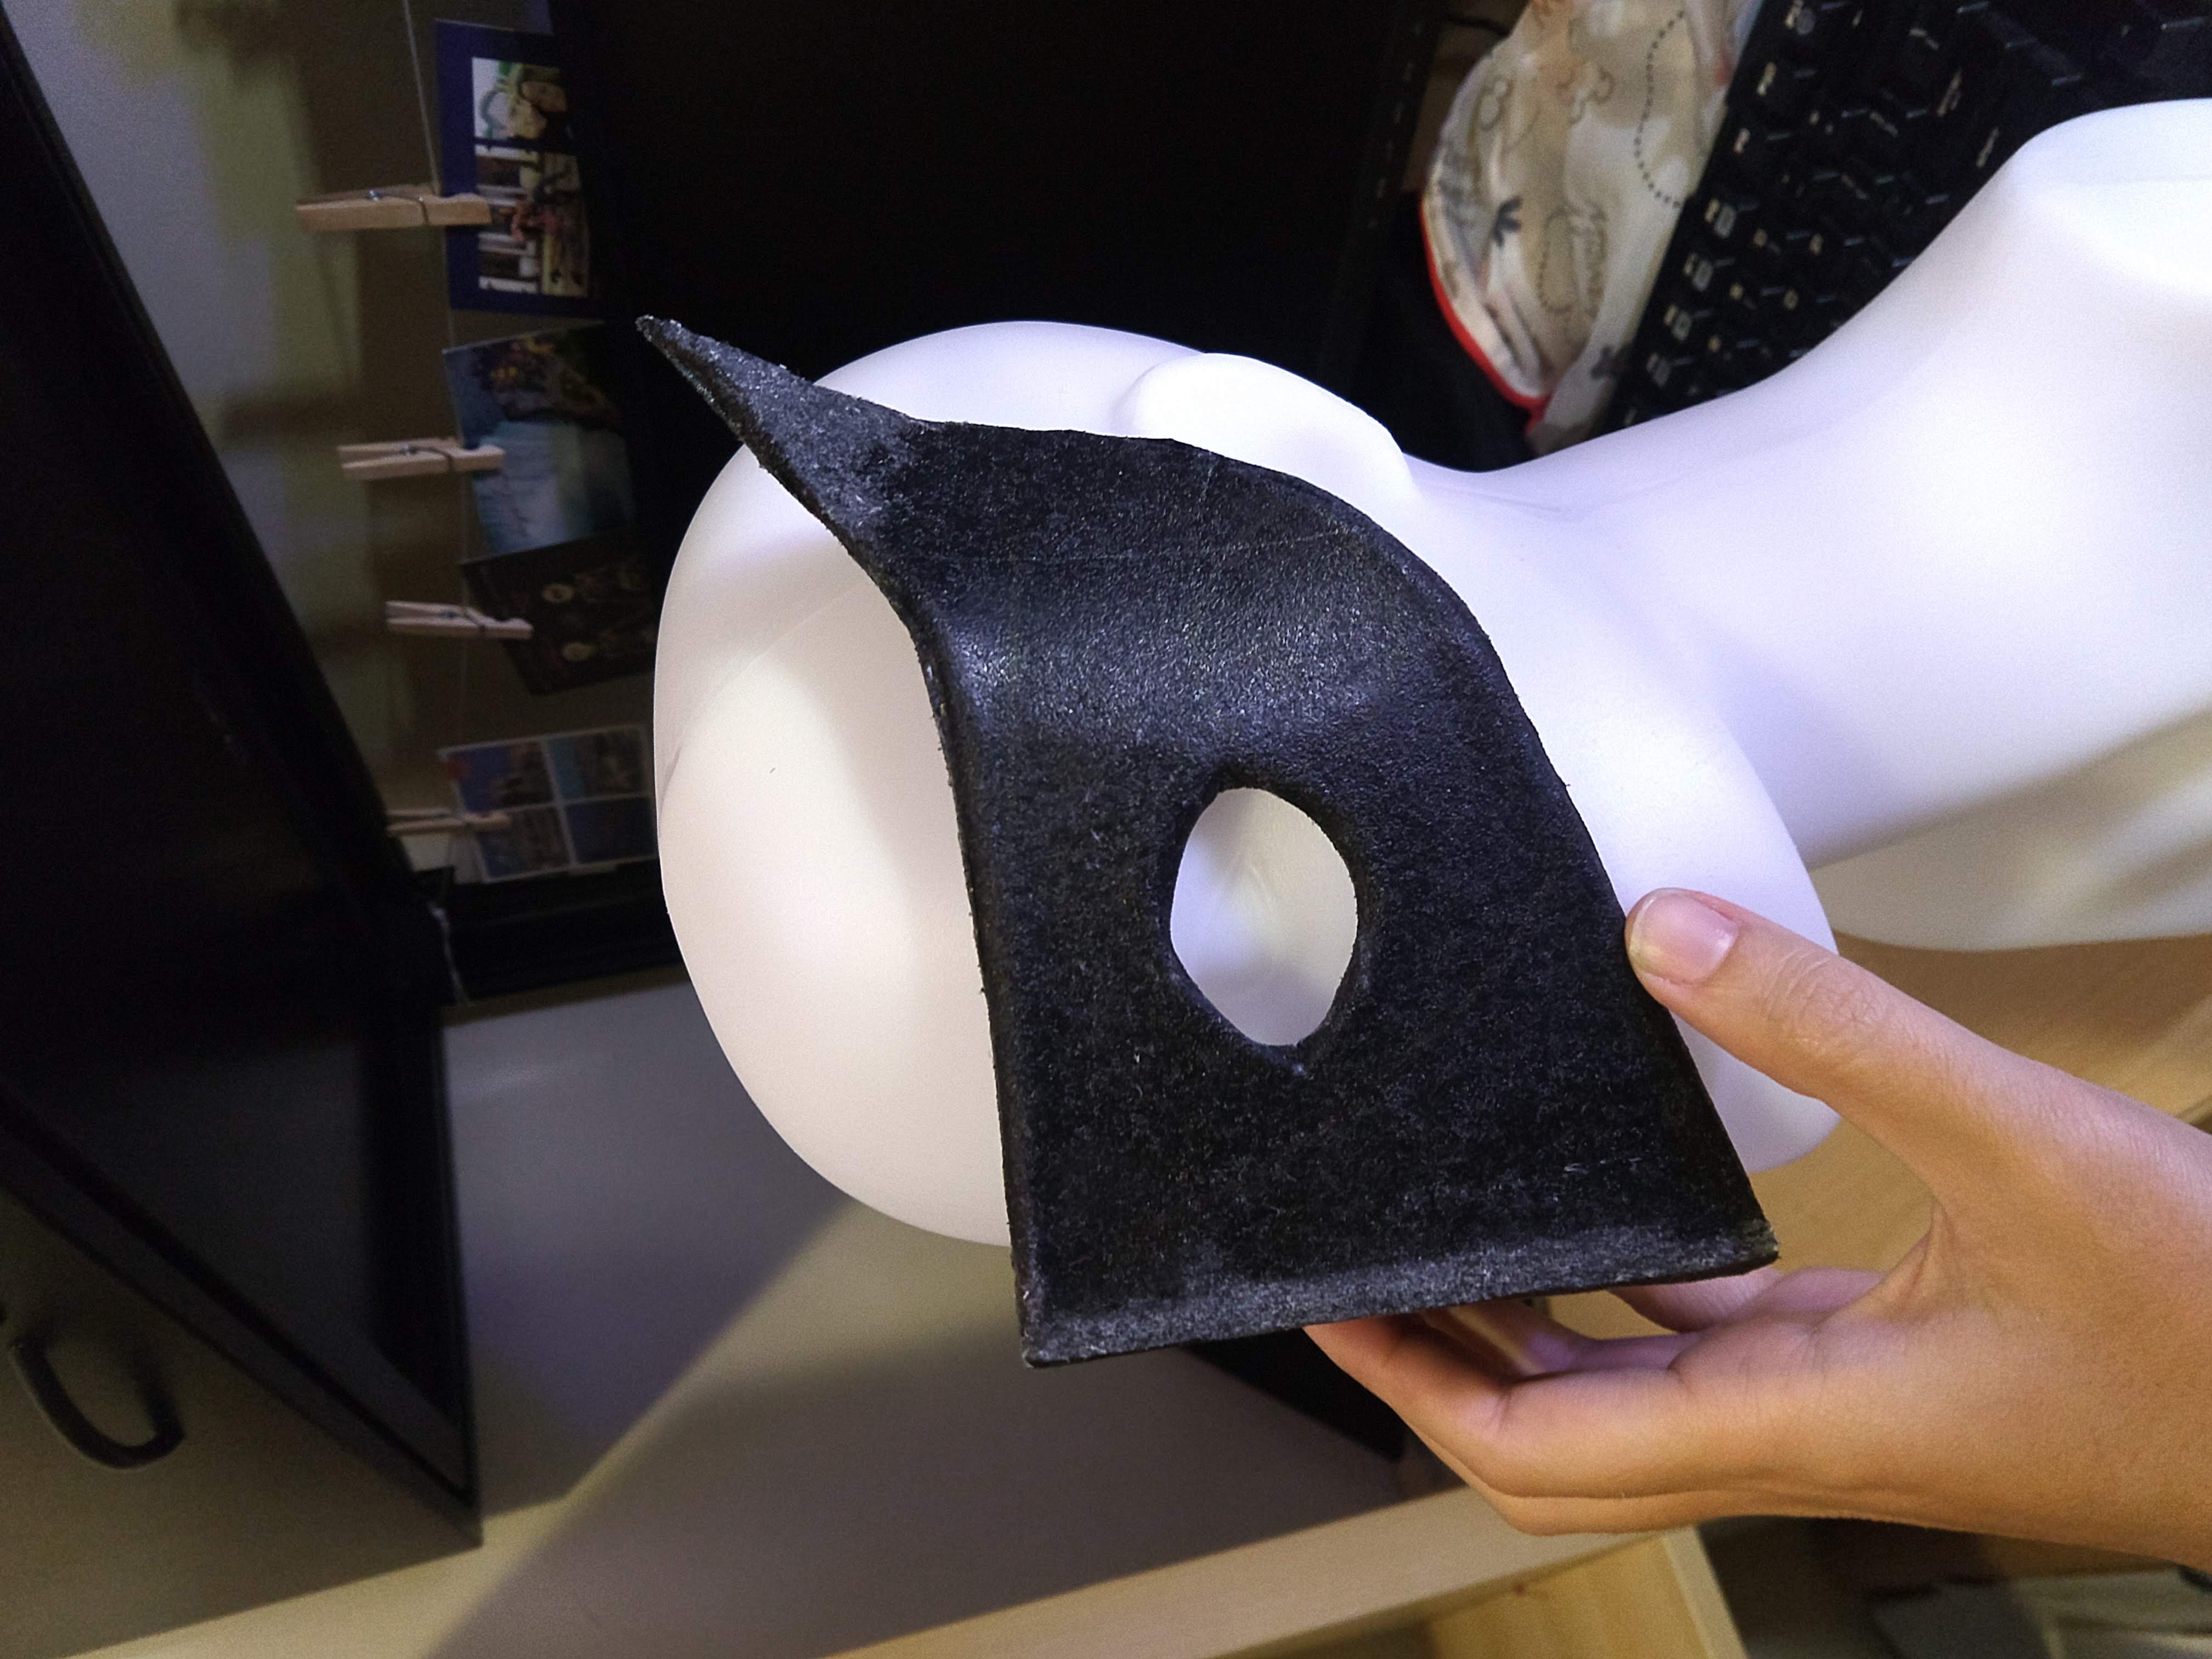
I decided to cut each half of the mask out of cardboard, glue at the center, and enclose in Worbla. Worbla is an easy-to-use thermoplastic that is commonly used in the cosplayer community. It is expensive as hell, but it makes things like this a breeze to make.
I made it on my mannequin head, then tested it on myself to make sure it fit me correctly.
 |  | 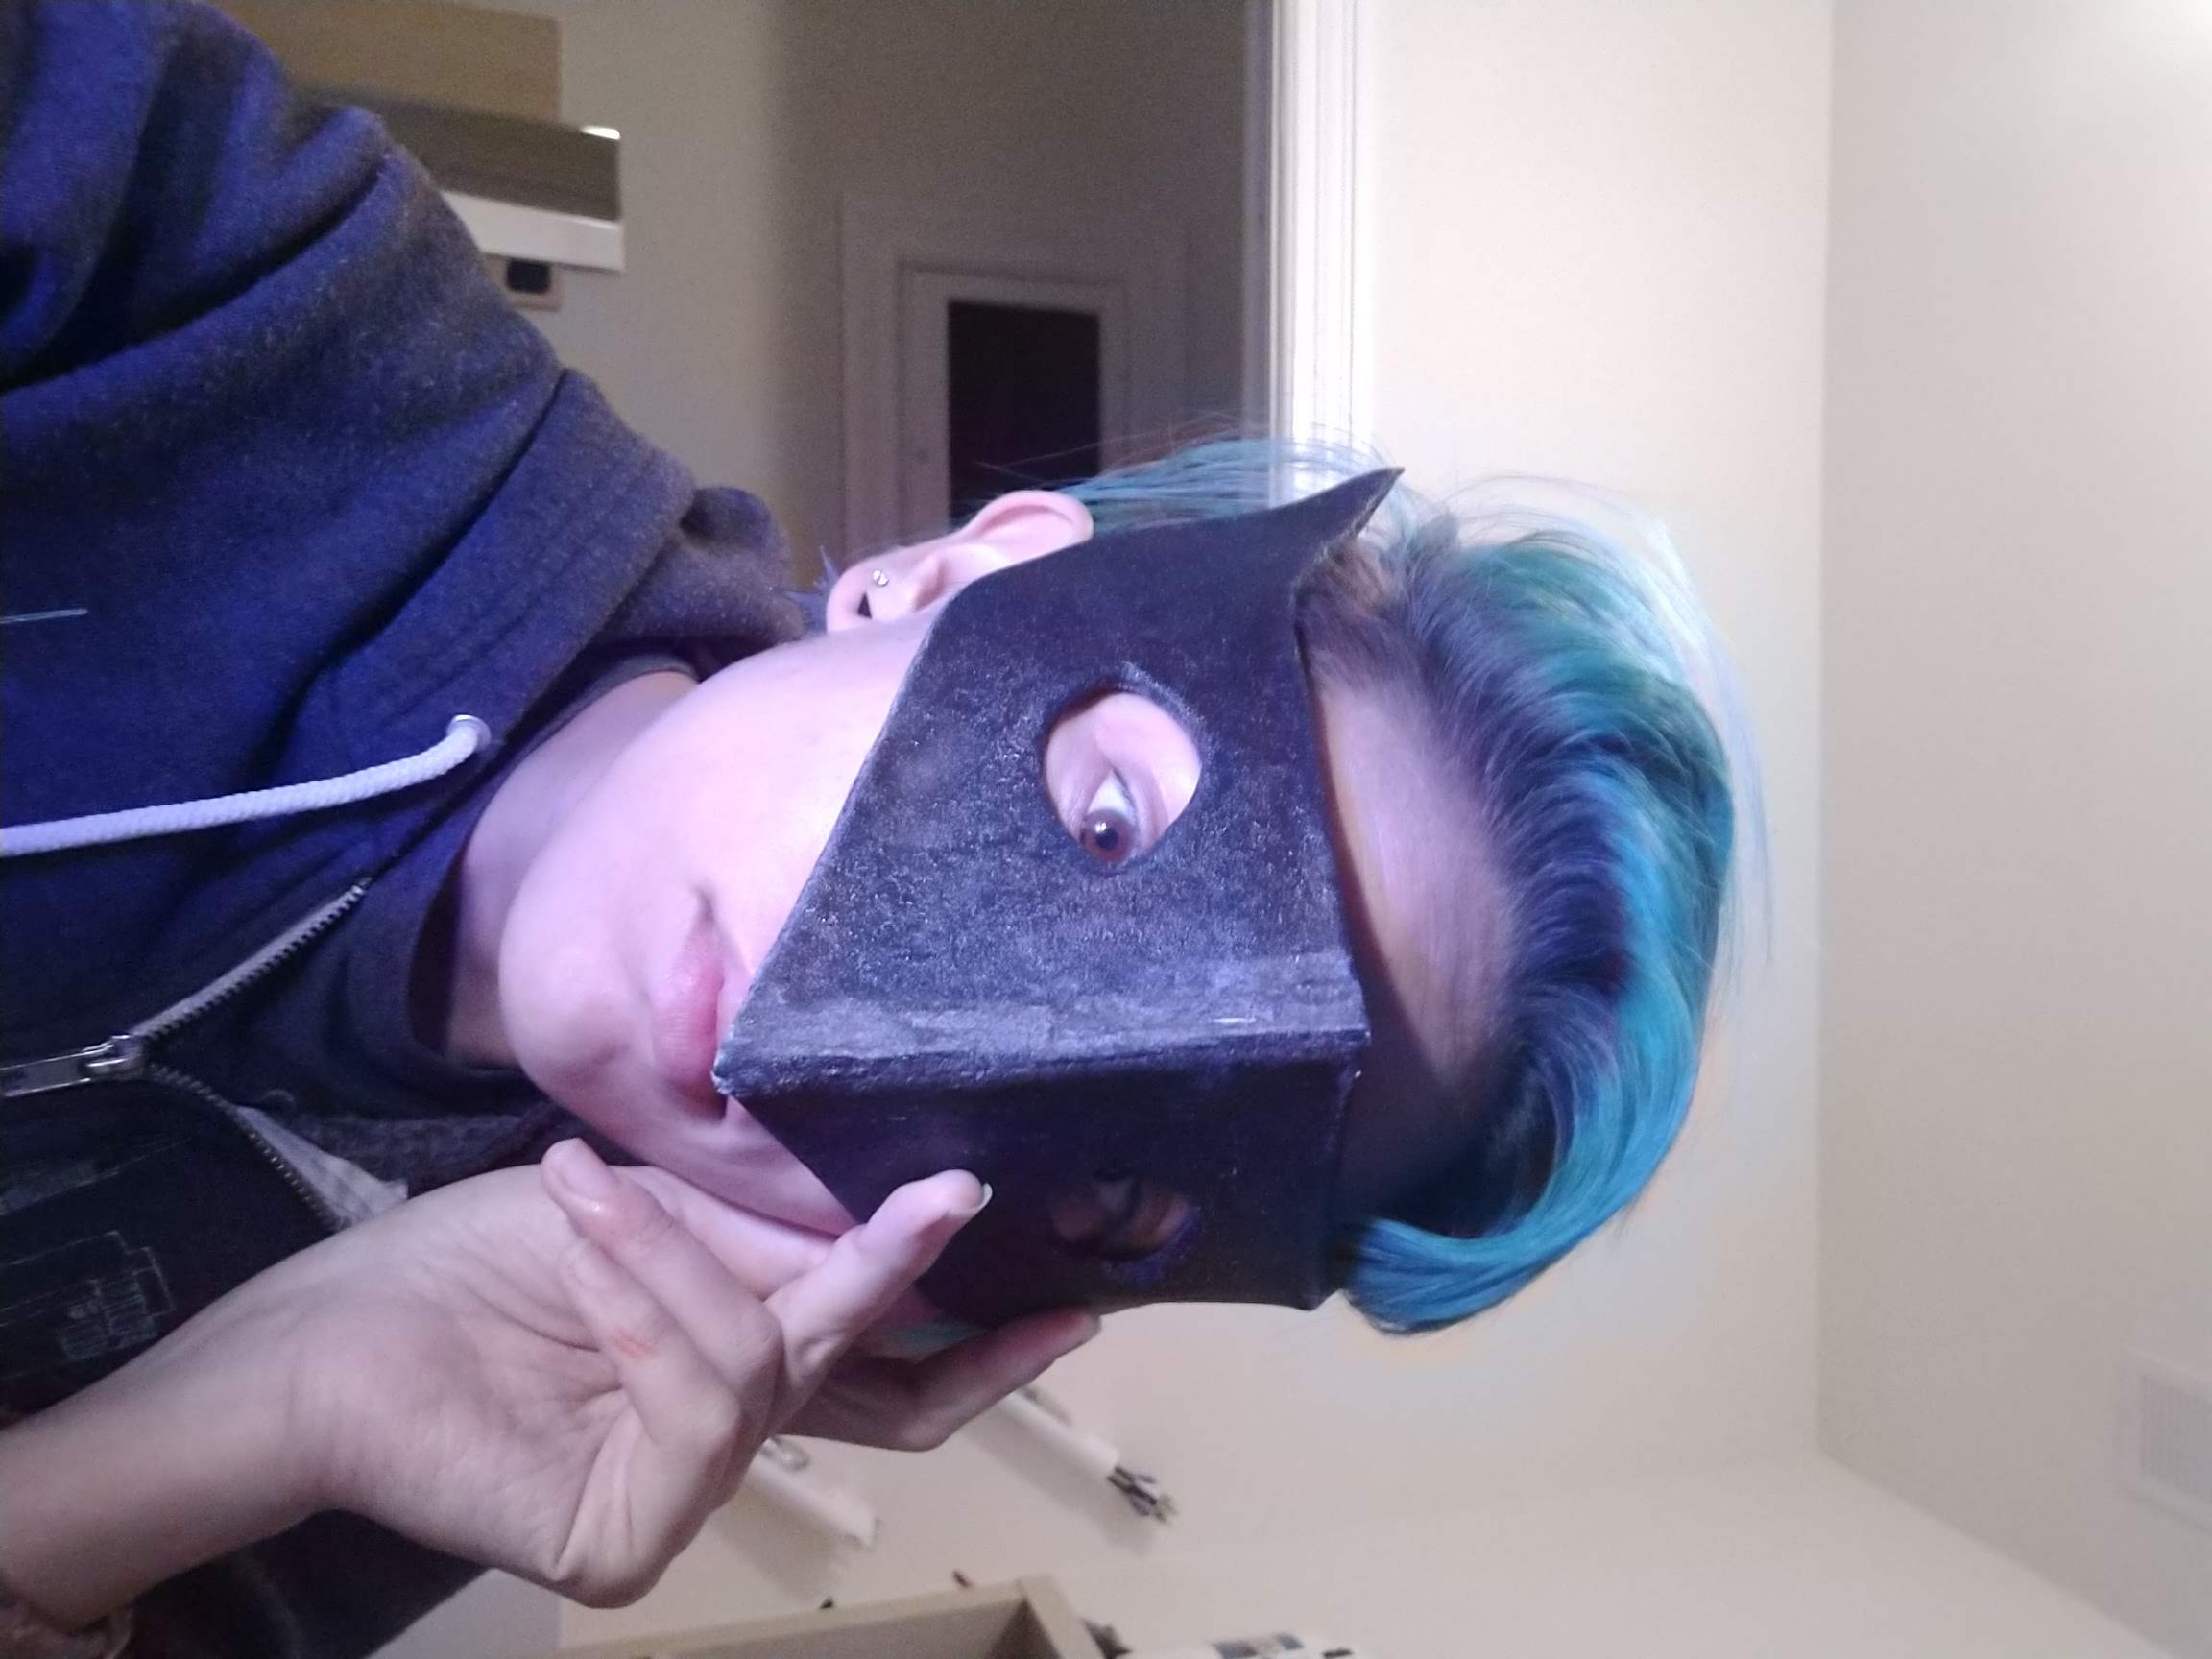 |
Once I ensure the fit was good, I made the detailing out of craft foam leftover from making the belt.
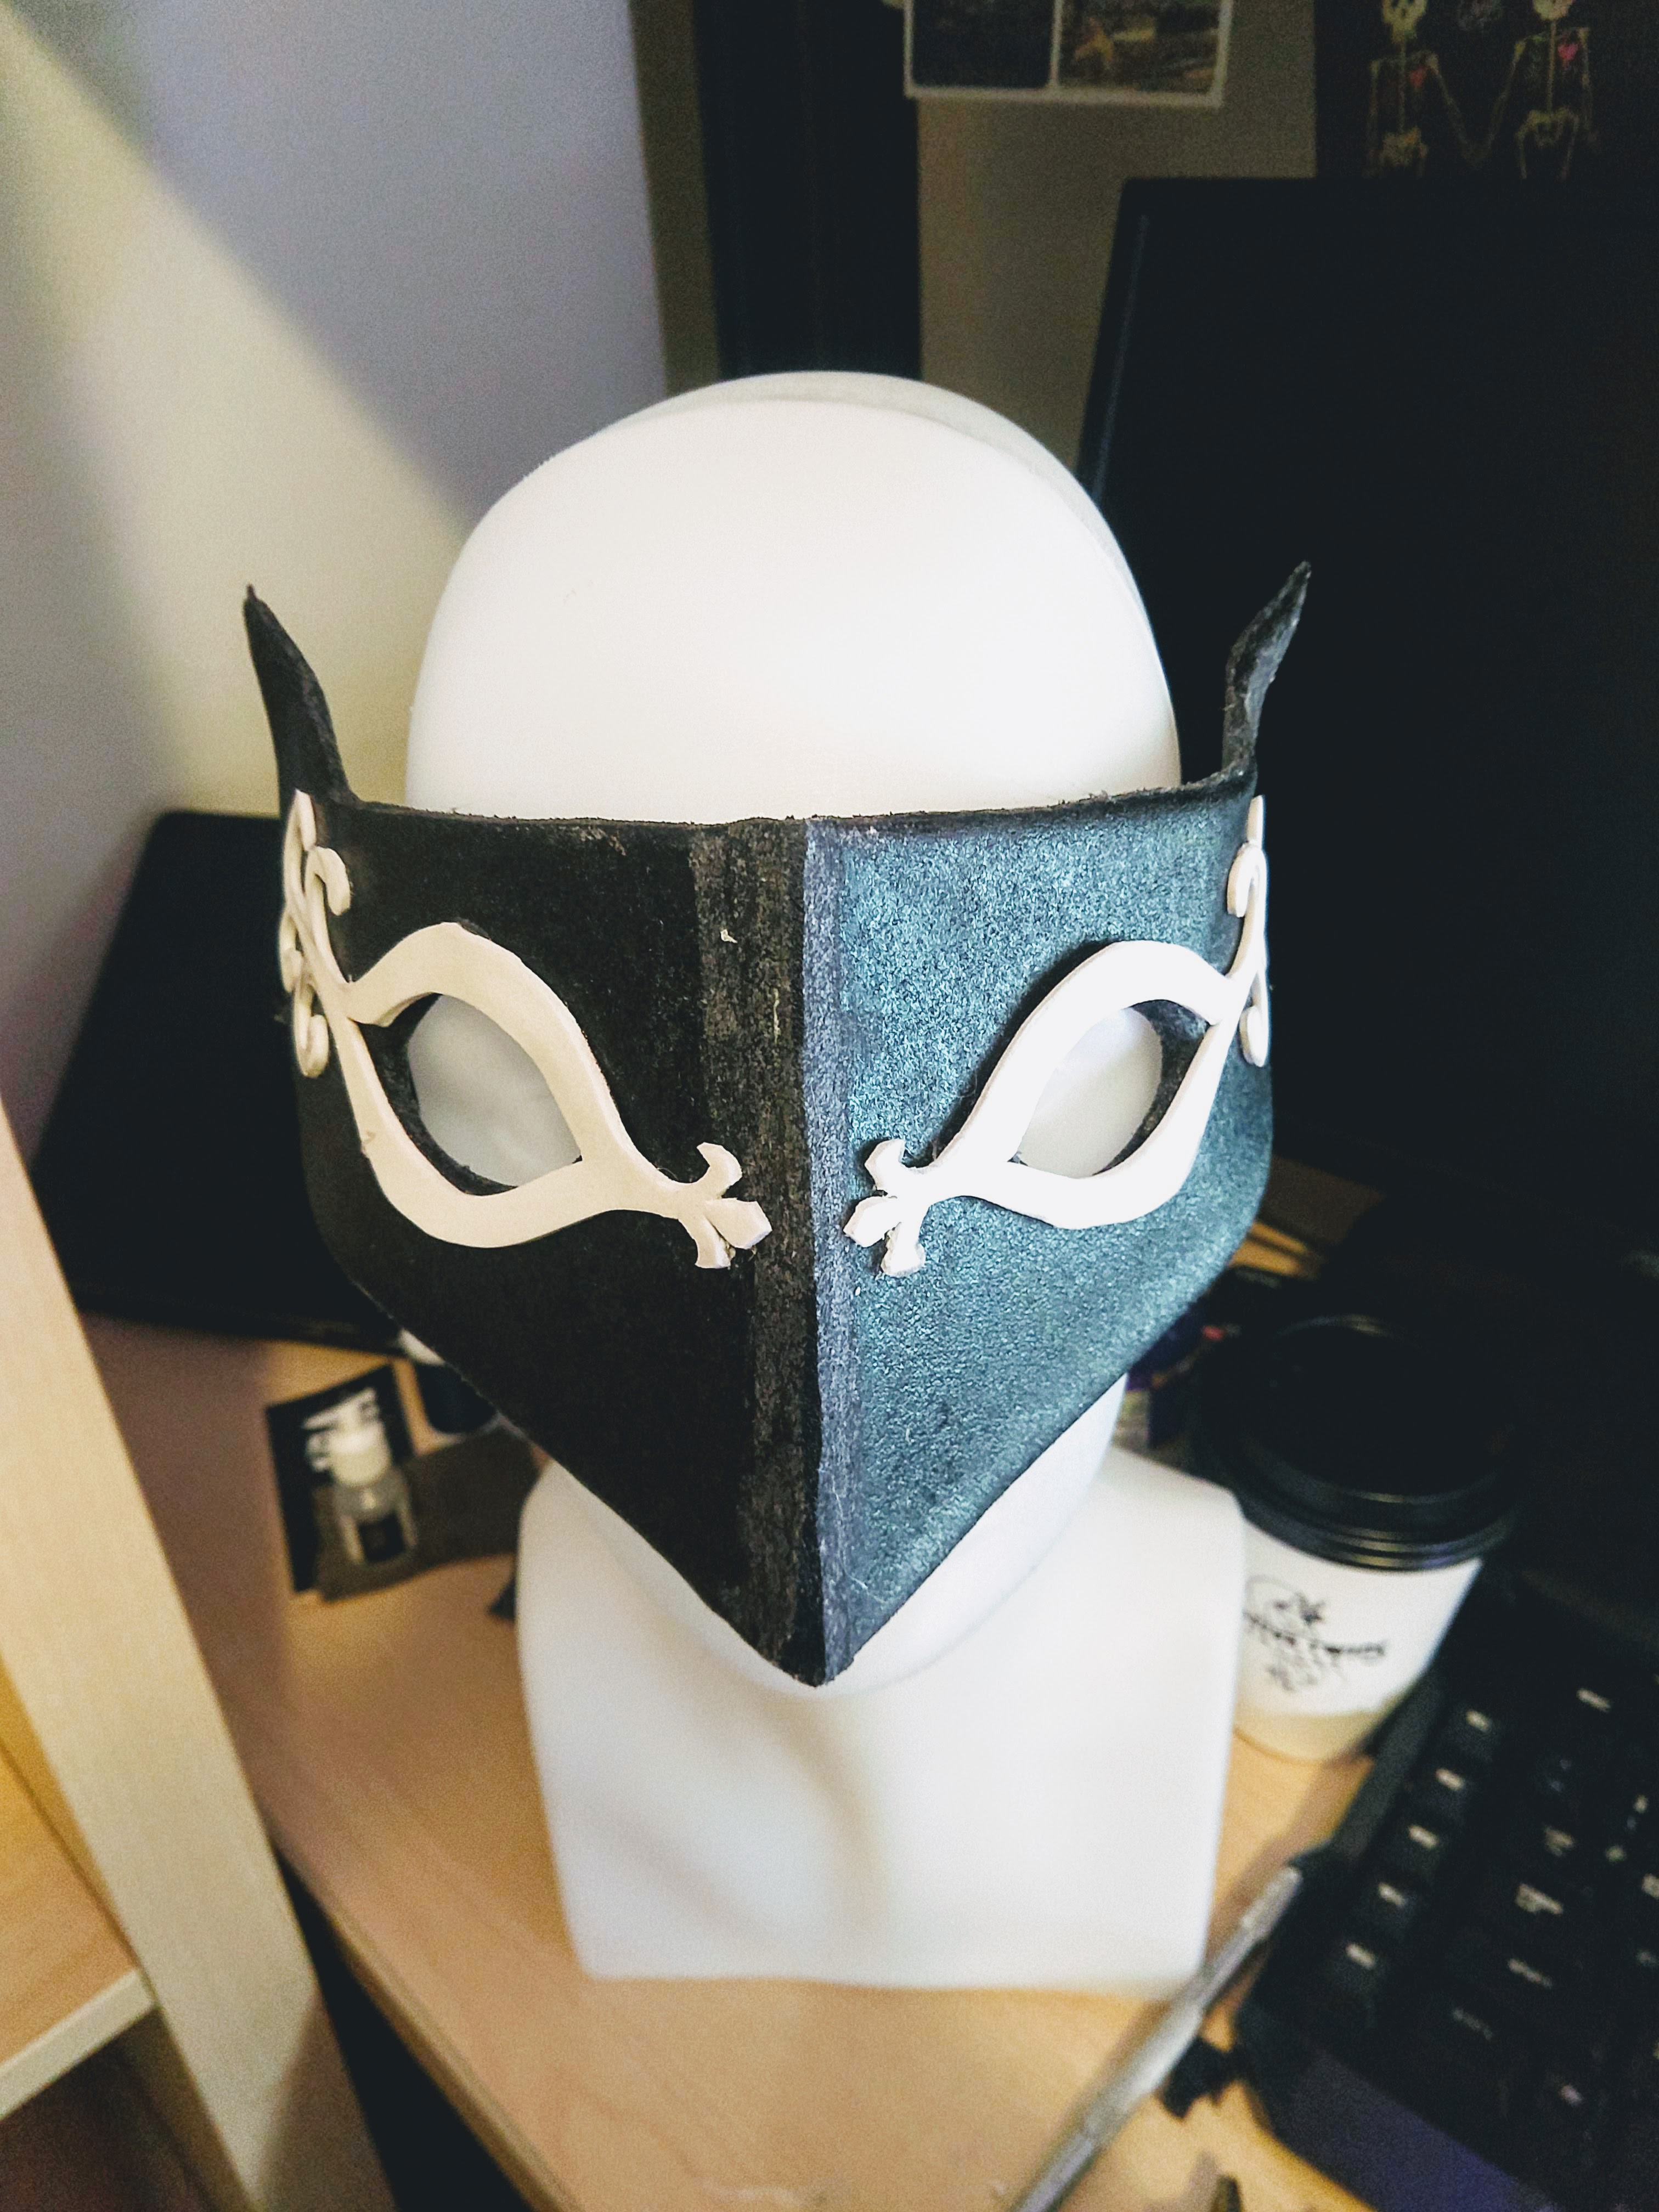 | 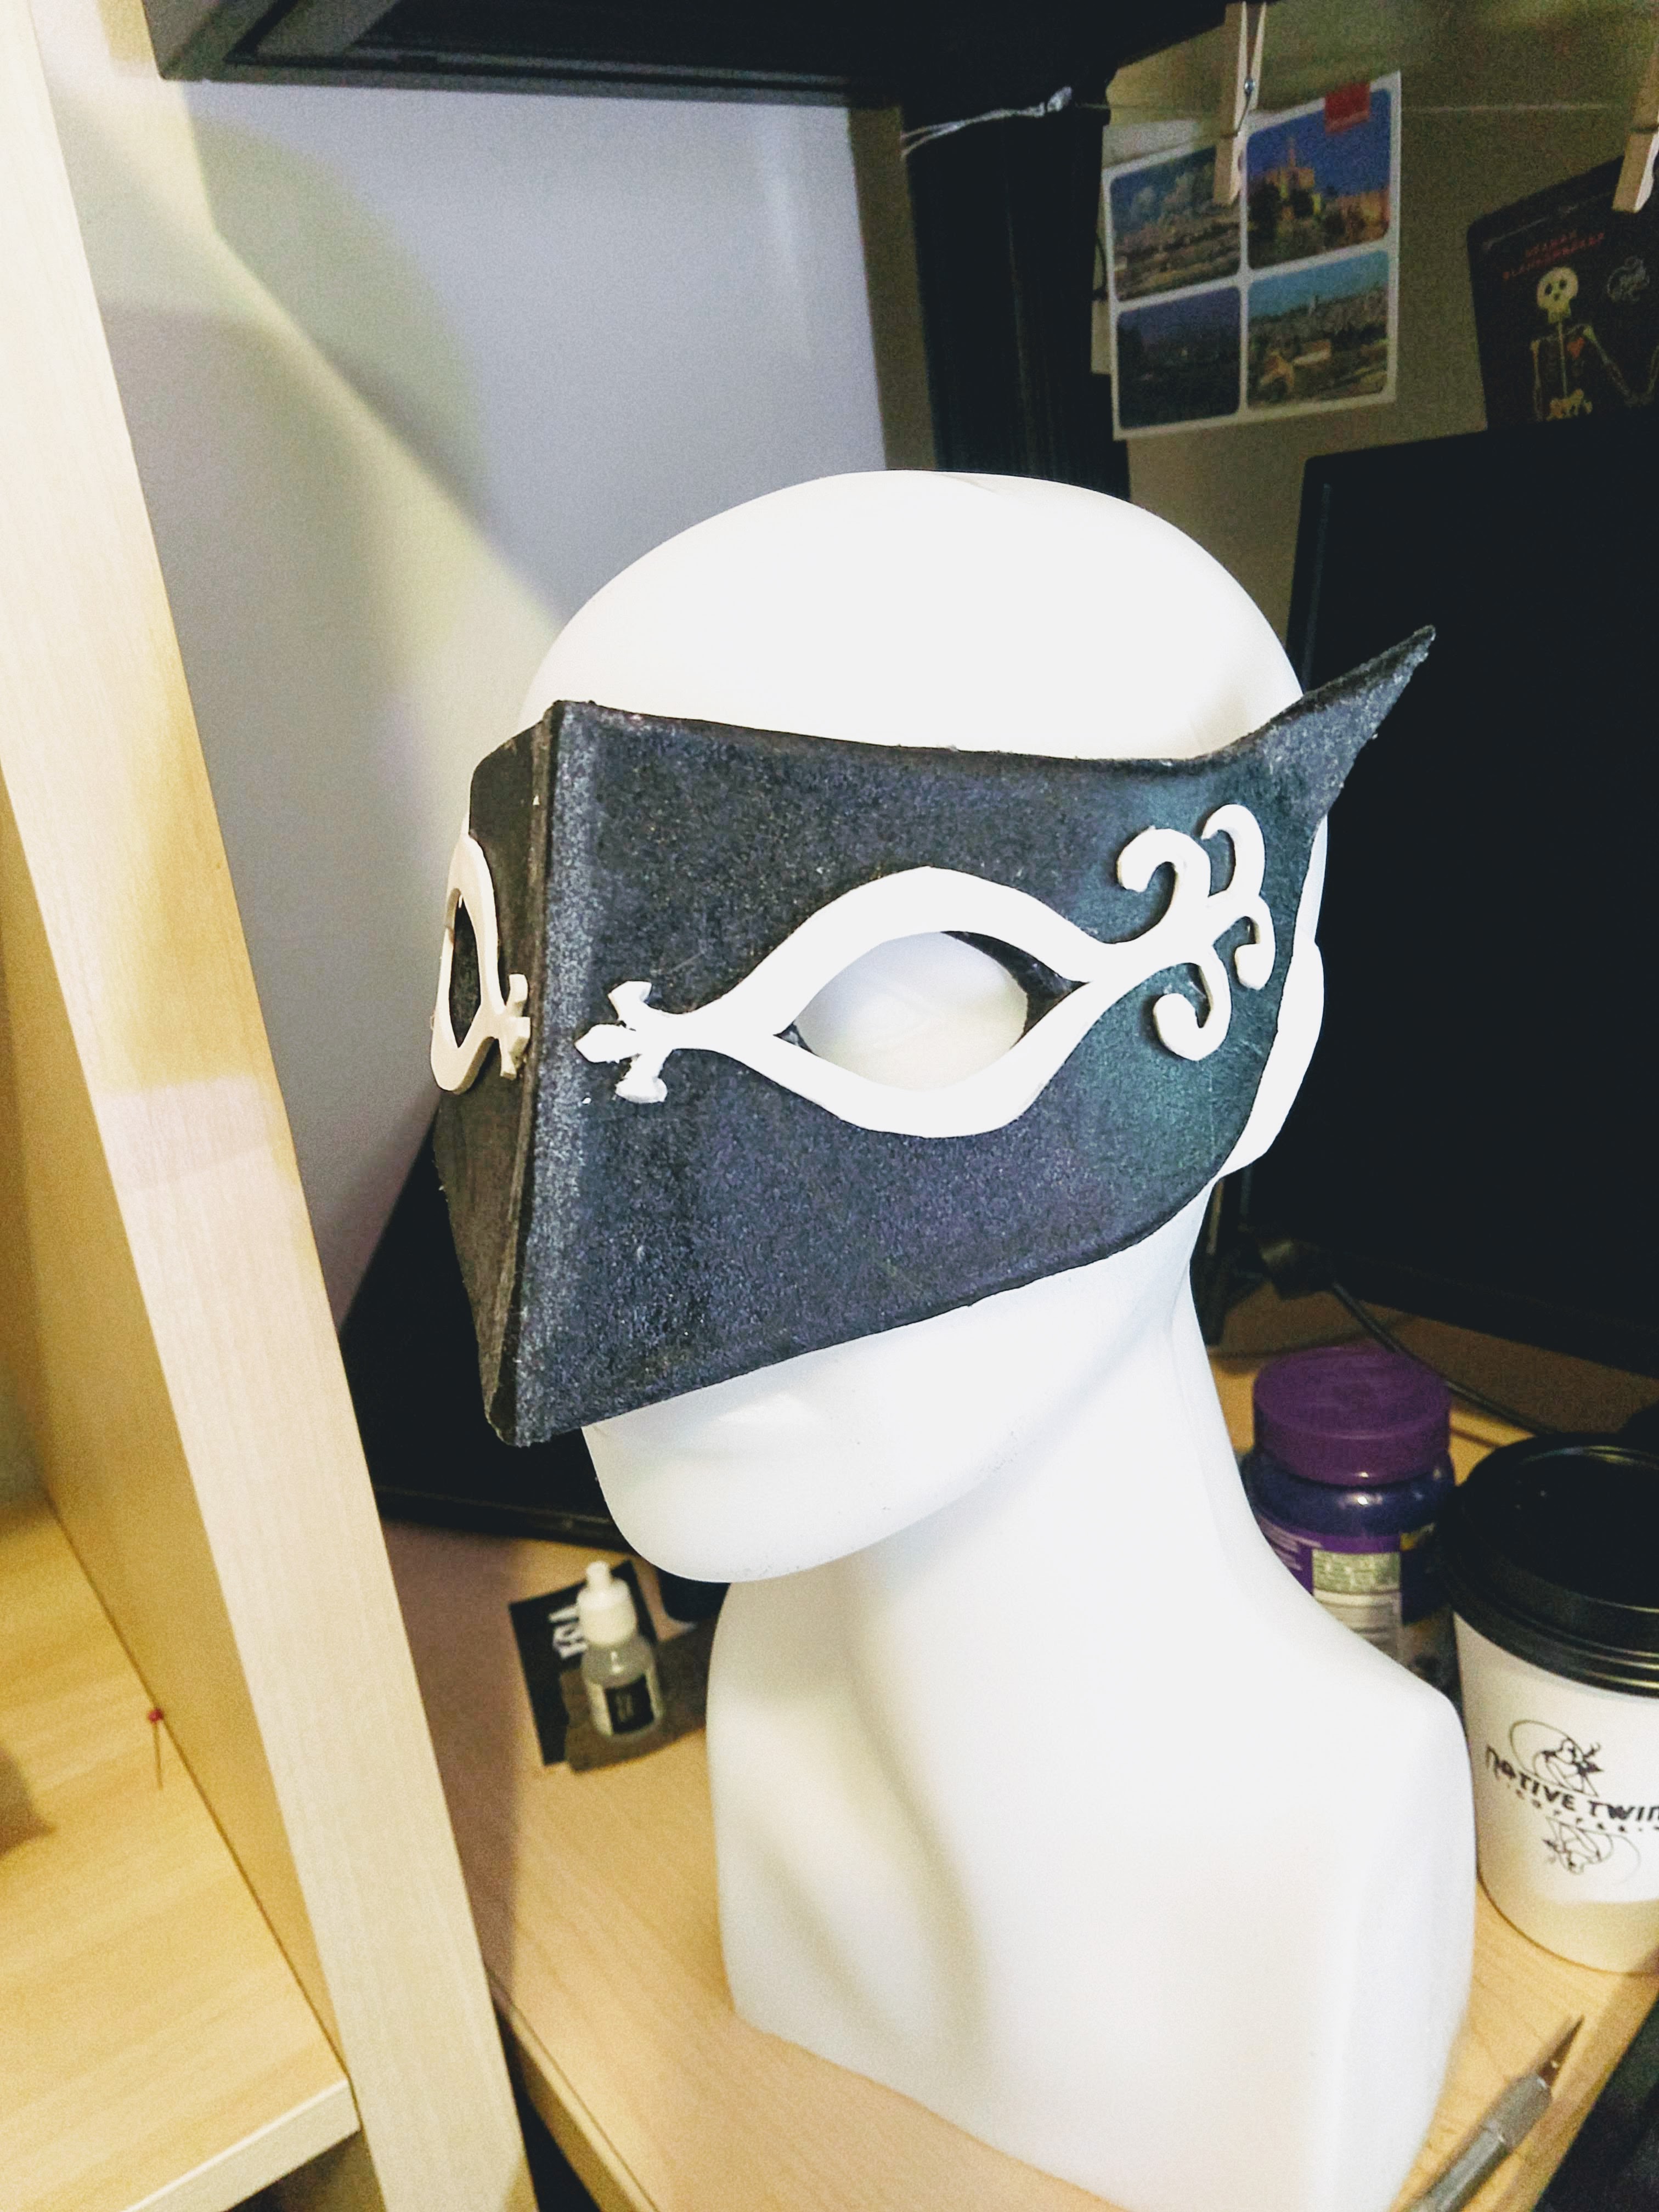 |
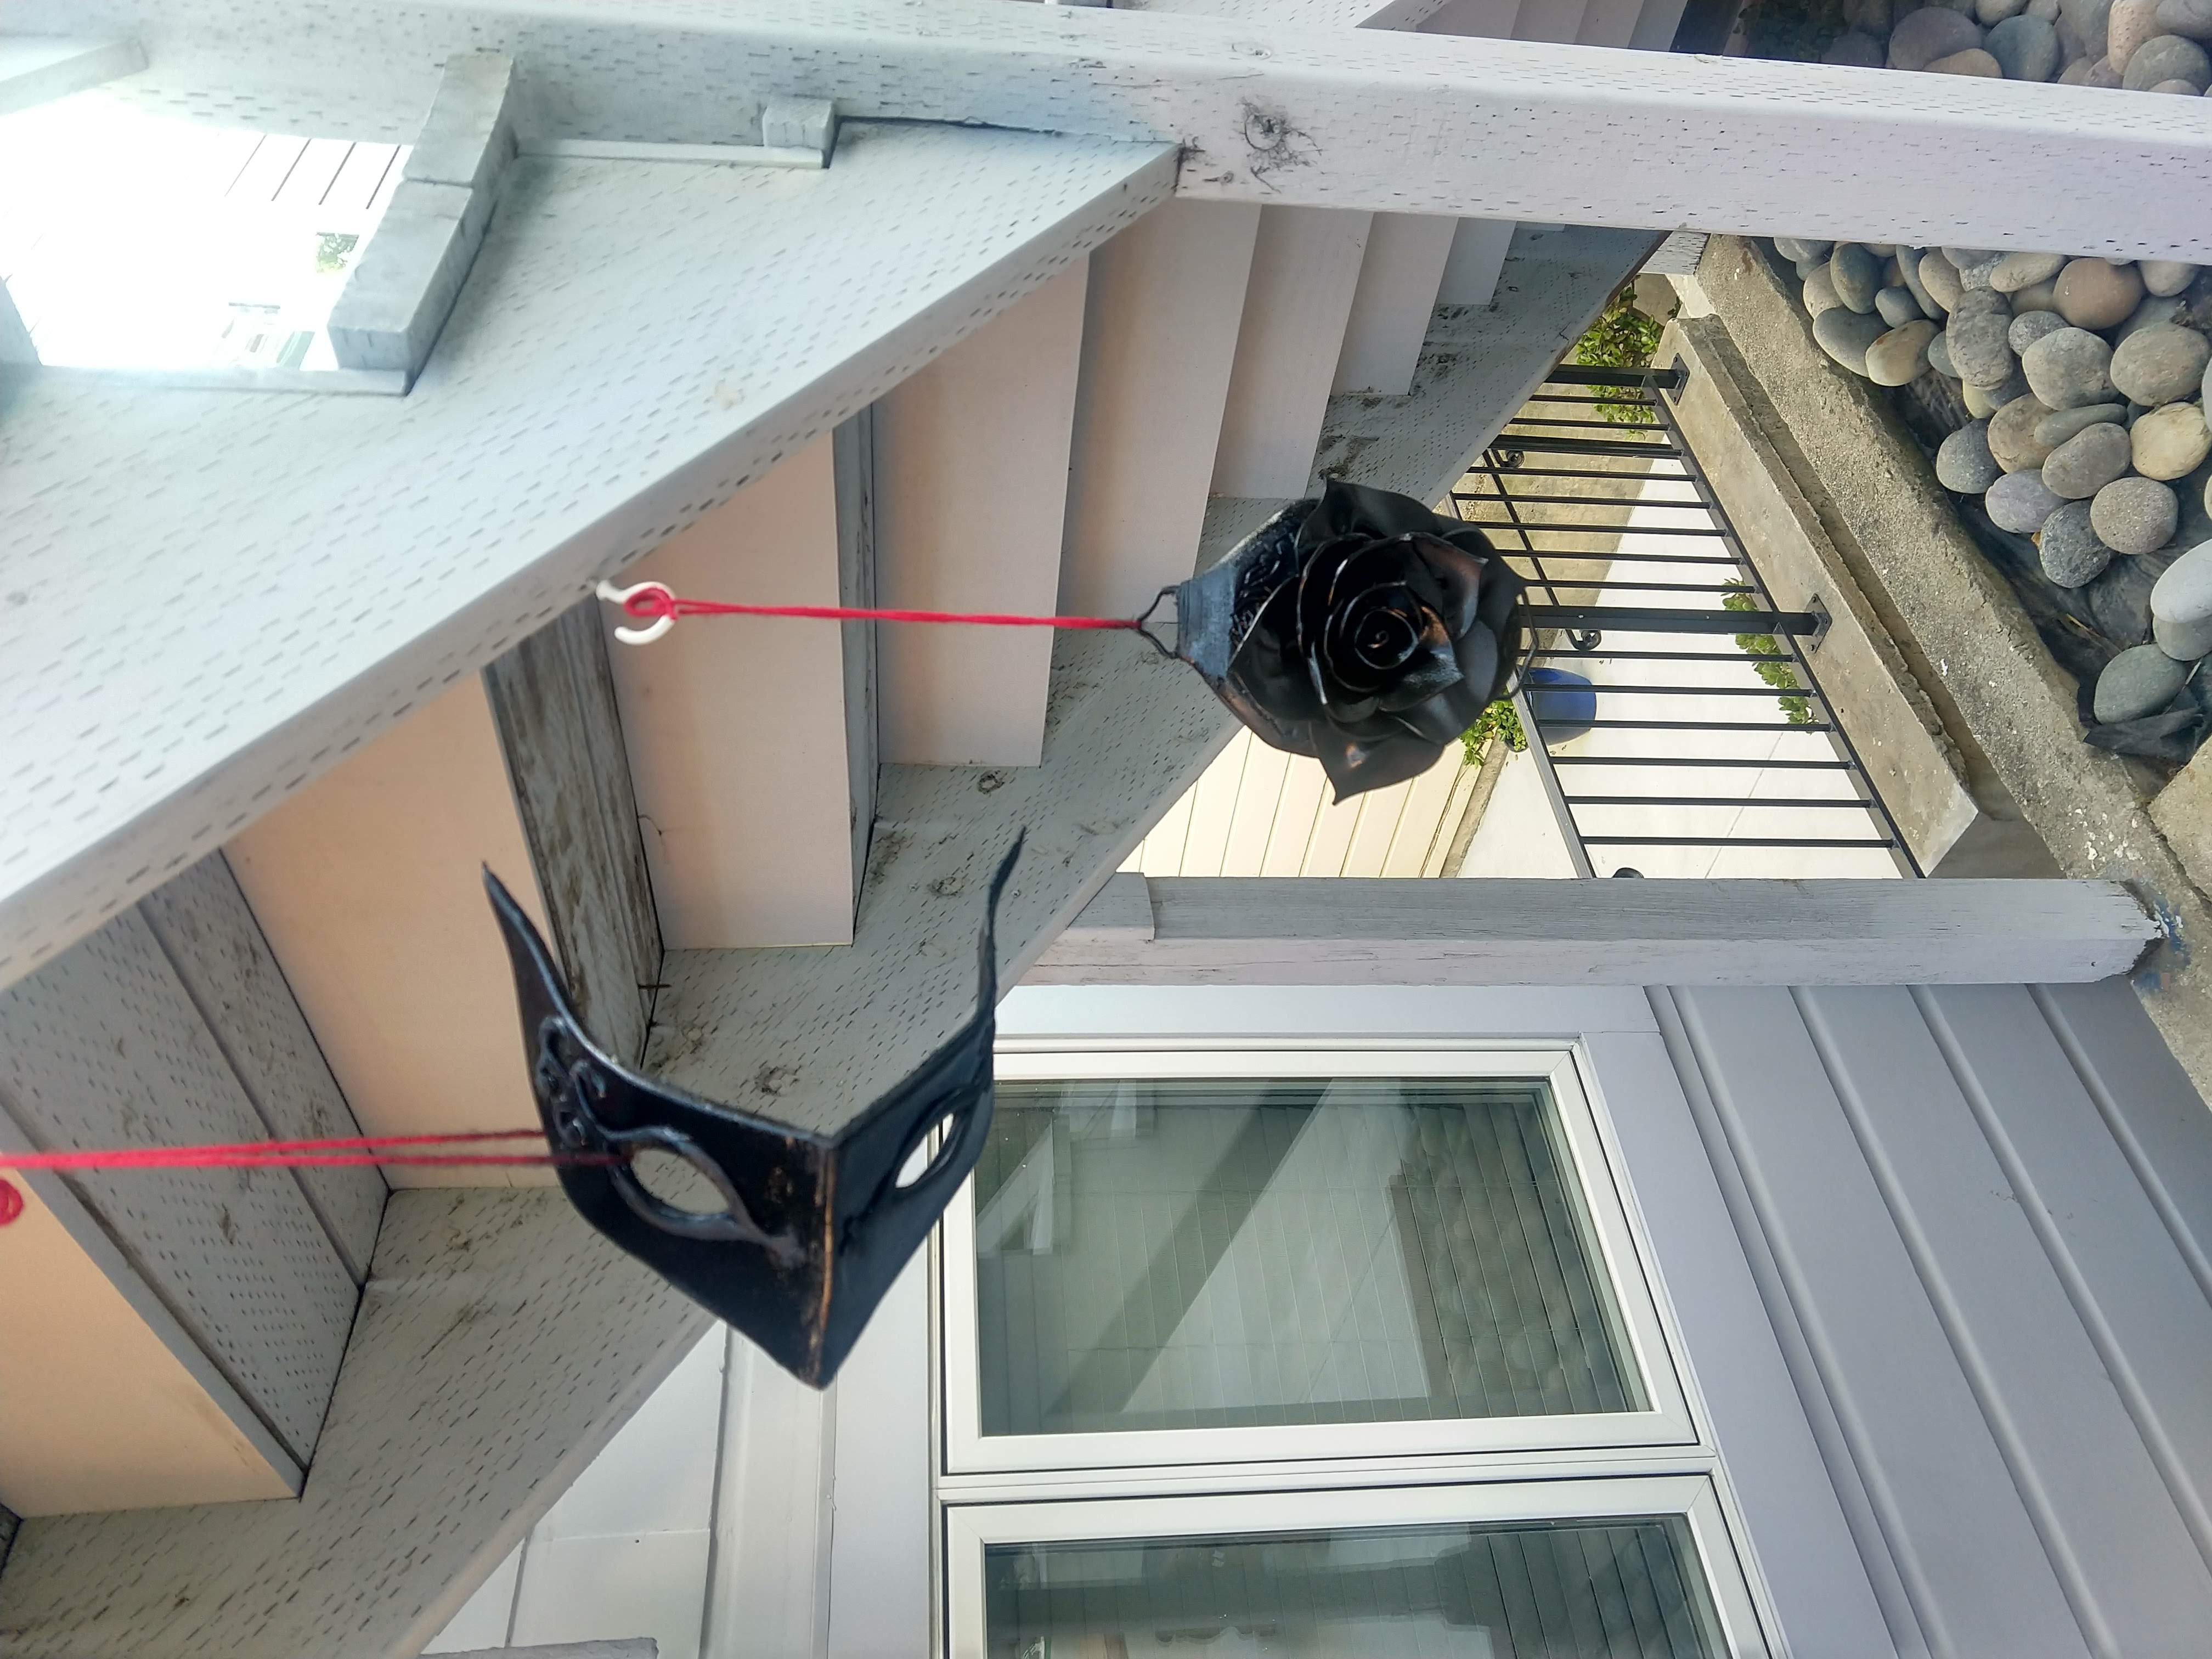
Once the mask and belt were all ready to be primed, I coated them in PlastiDip. PlastiDip is a rubber coating commonly used to coat slippery or sharp items, like the handle of a wrench, with rubber so that it's easier to grip and less dangerous. Cosplayers use it a lot to give items a nice even coating that is flexible and soft. I decided to use it on my mask so it will less likely slip off my face, and on the belt so it's less likely to slip off my hip.
Making the Sword
Kasumi's main weapon is a sword. It's monochromatic, and weirdly, the in-game shots of it differ from the concept art. I decided to go with the in-game shots instead of the concept art.
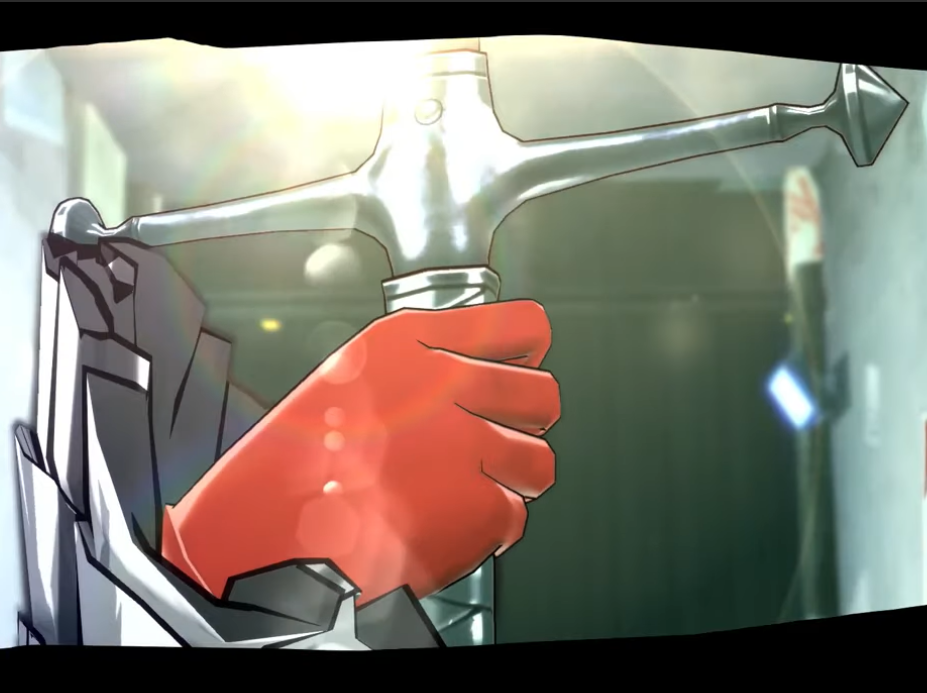 | 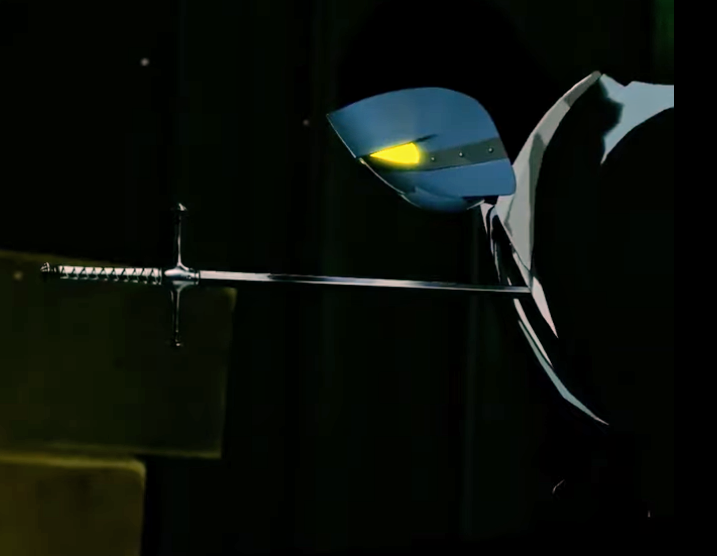 |
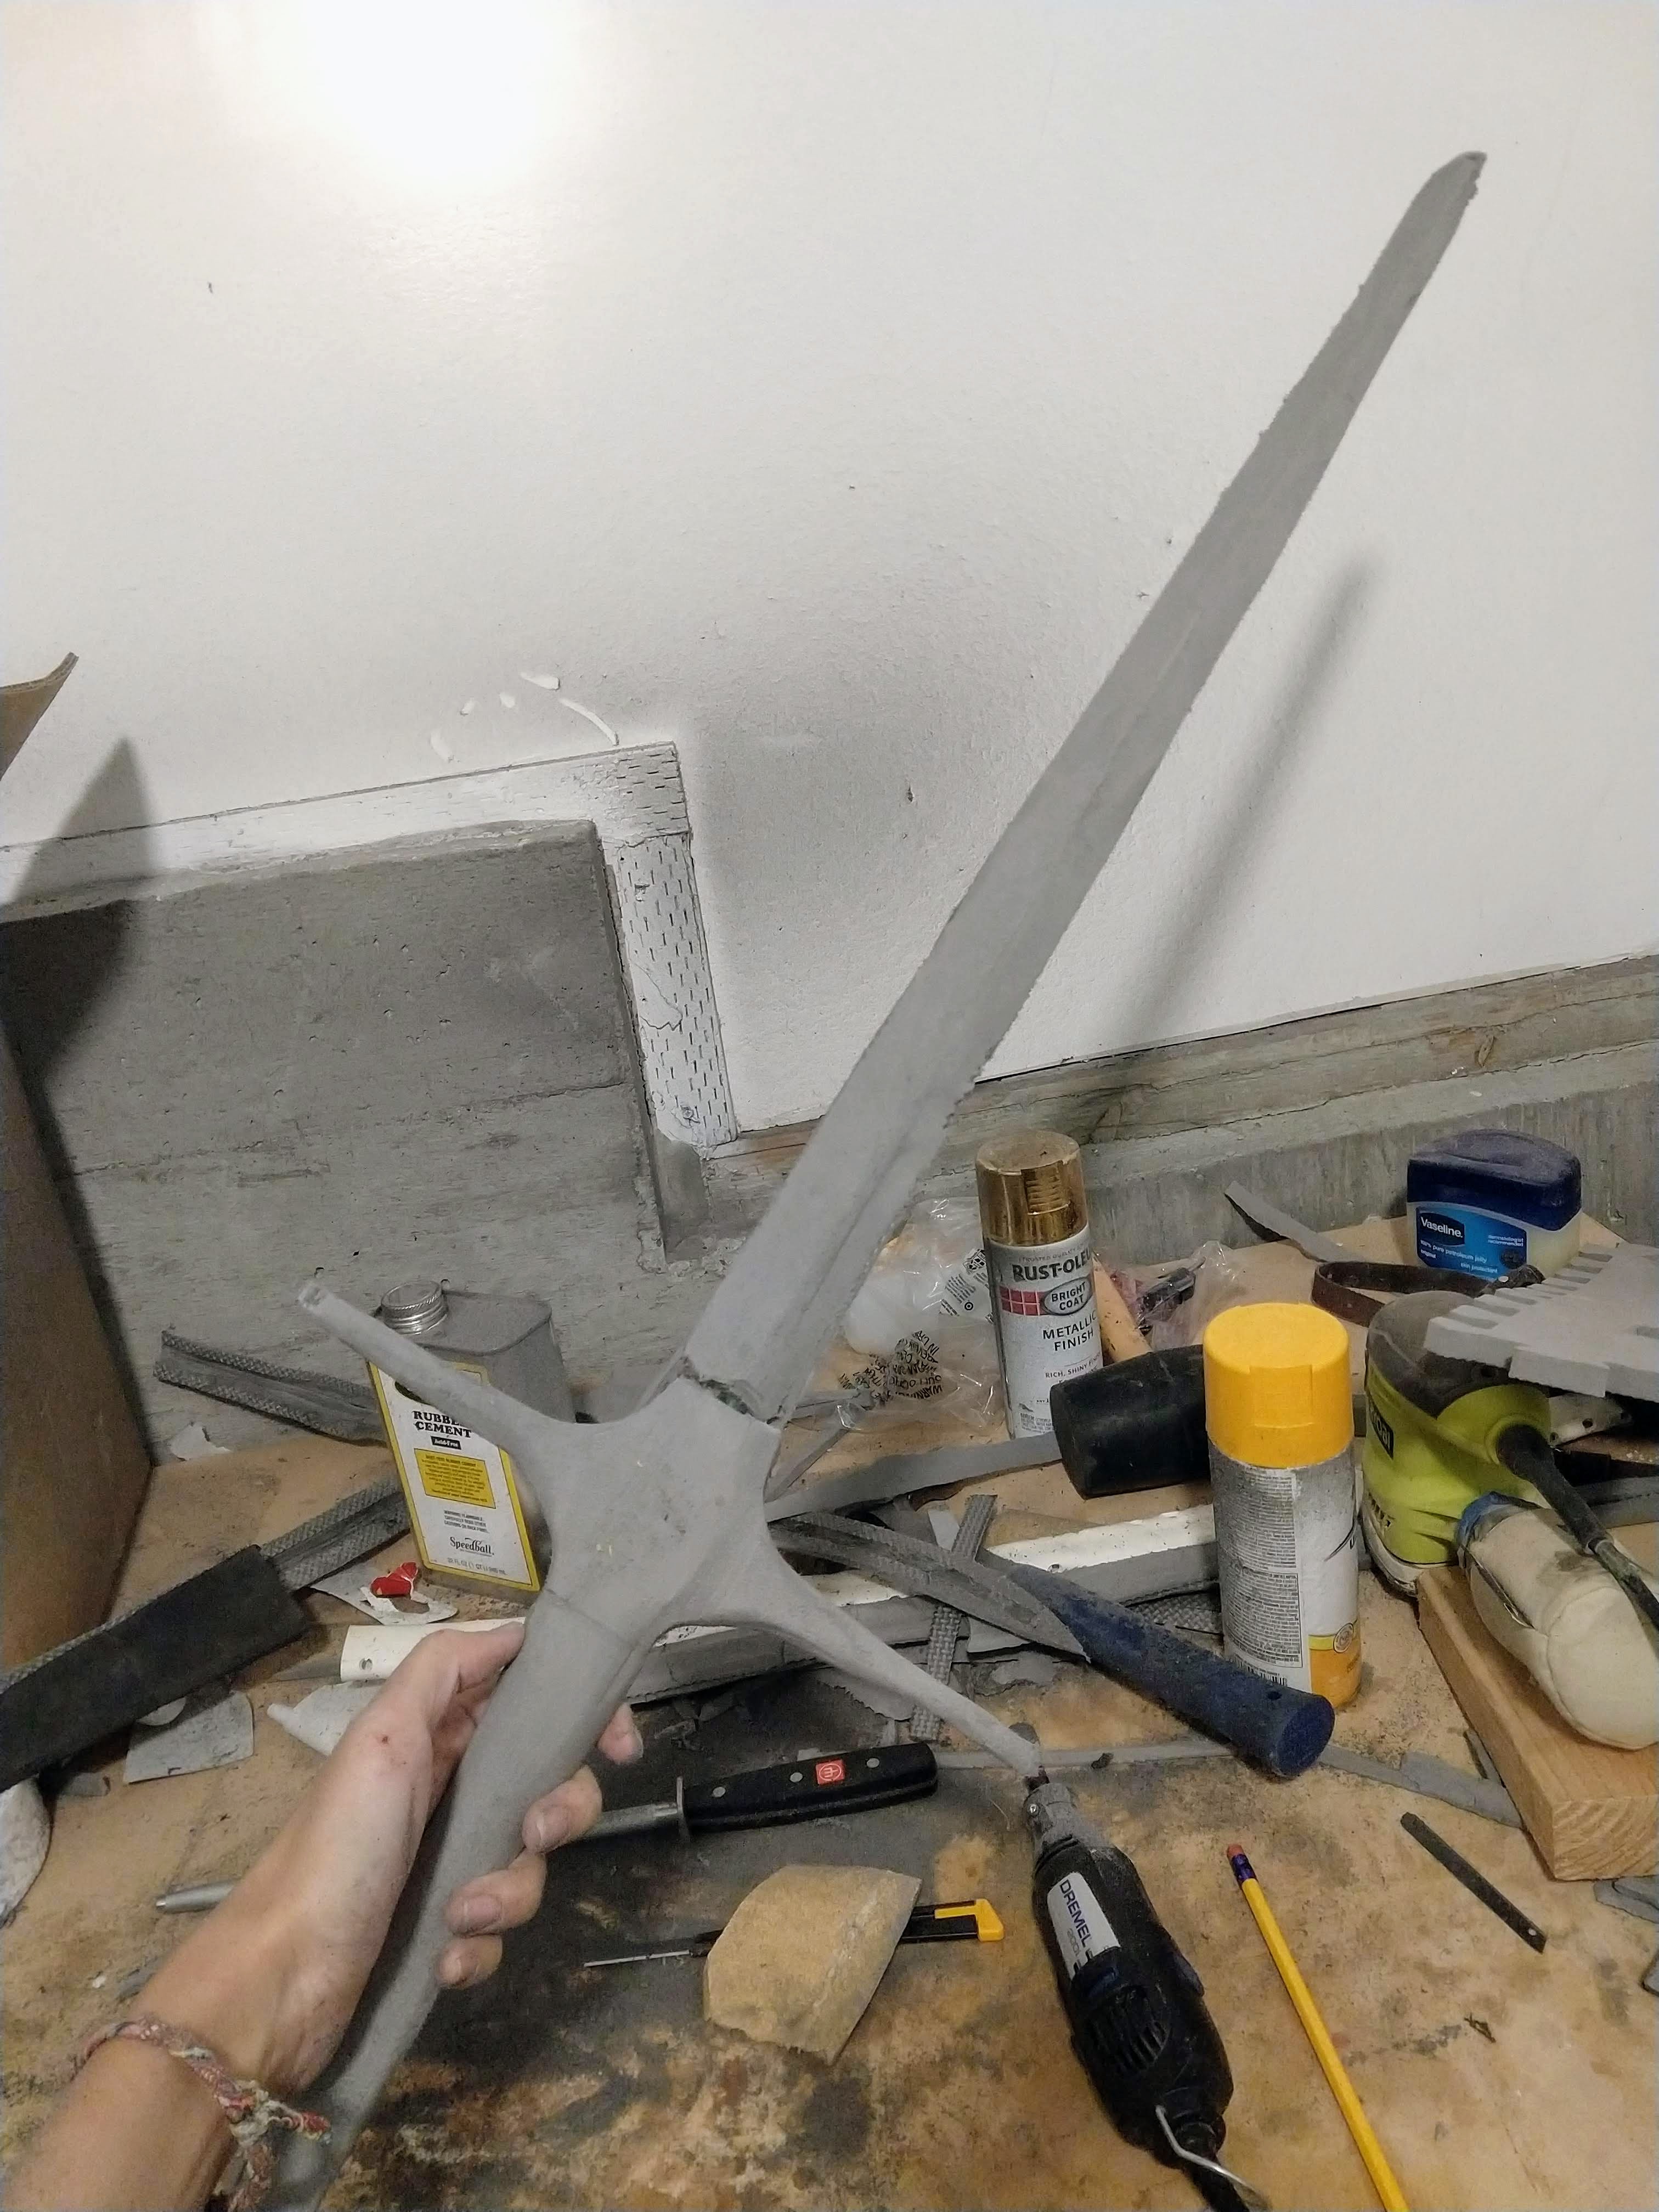
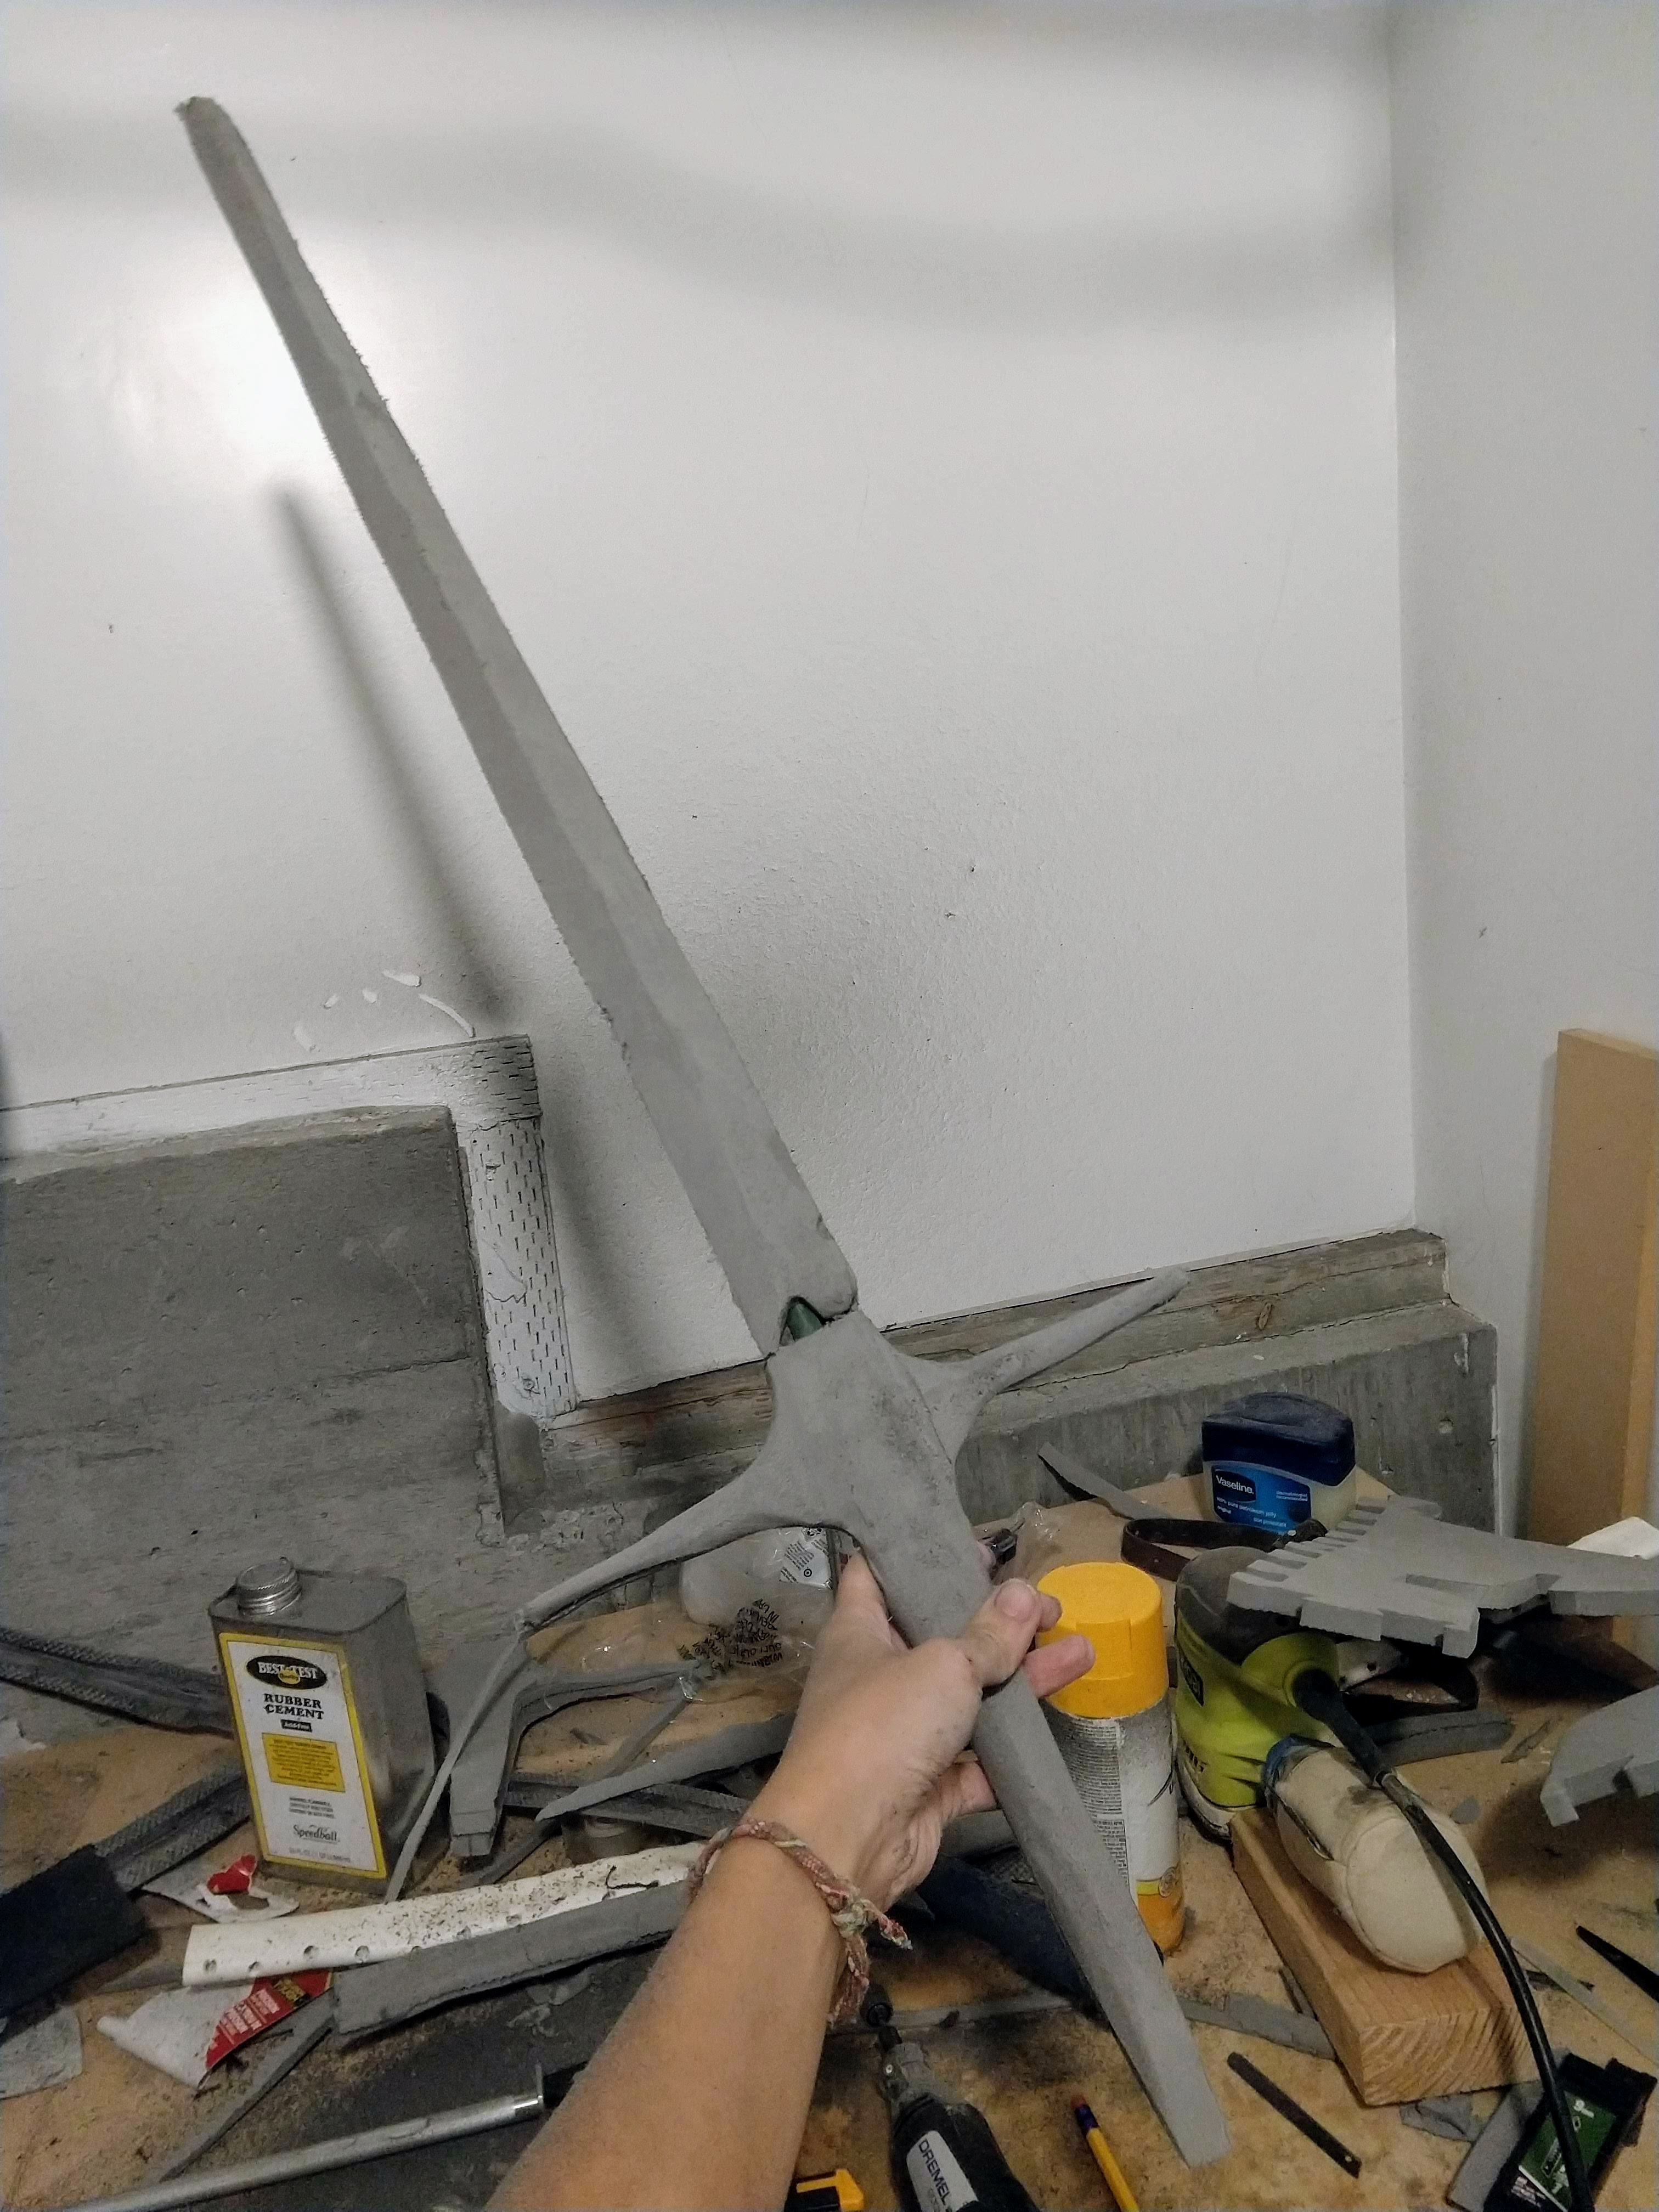
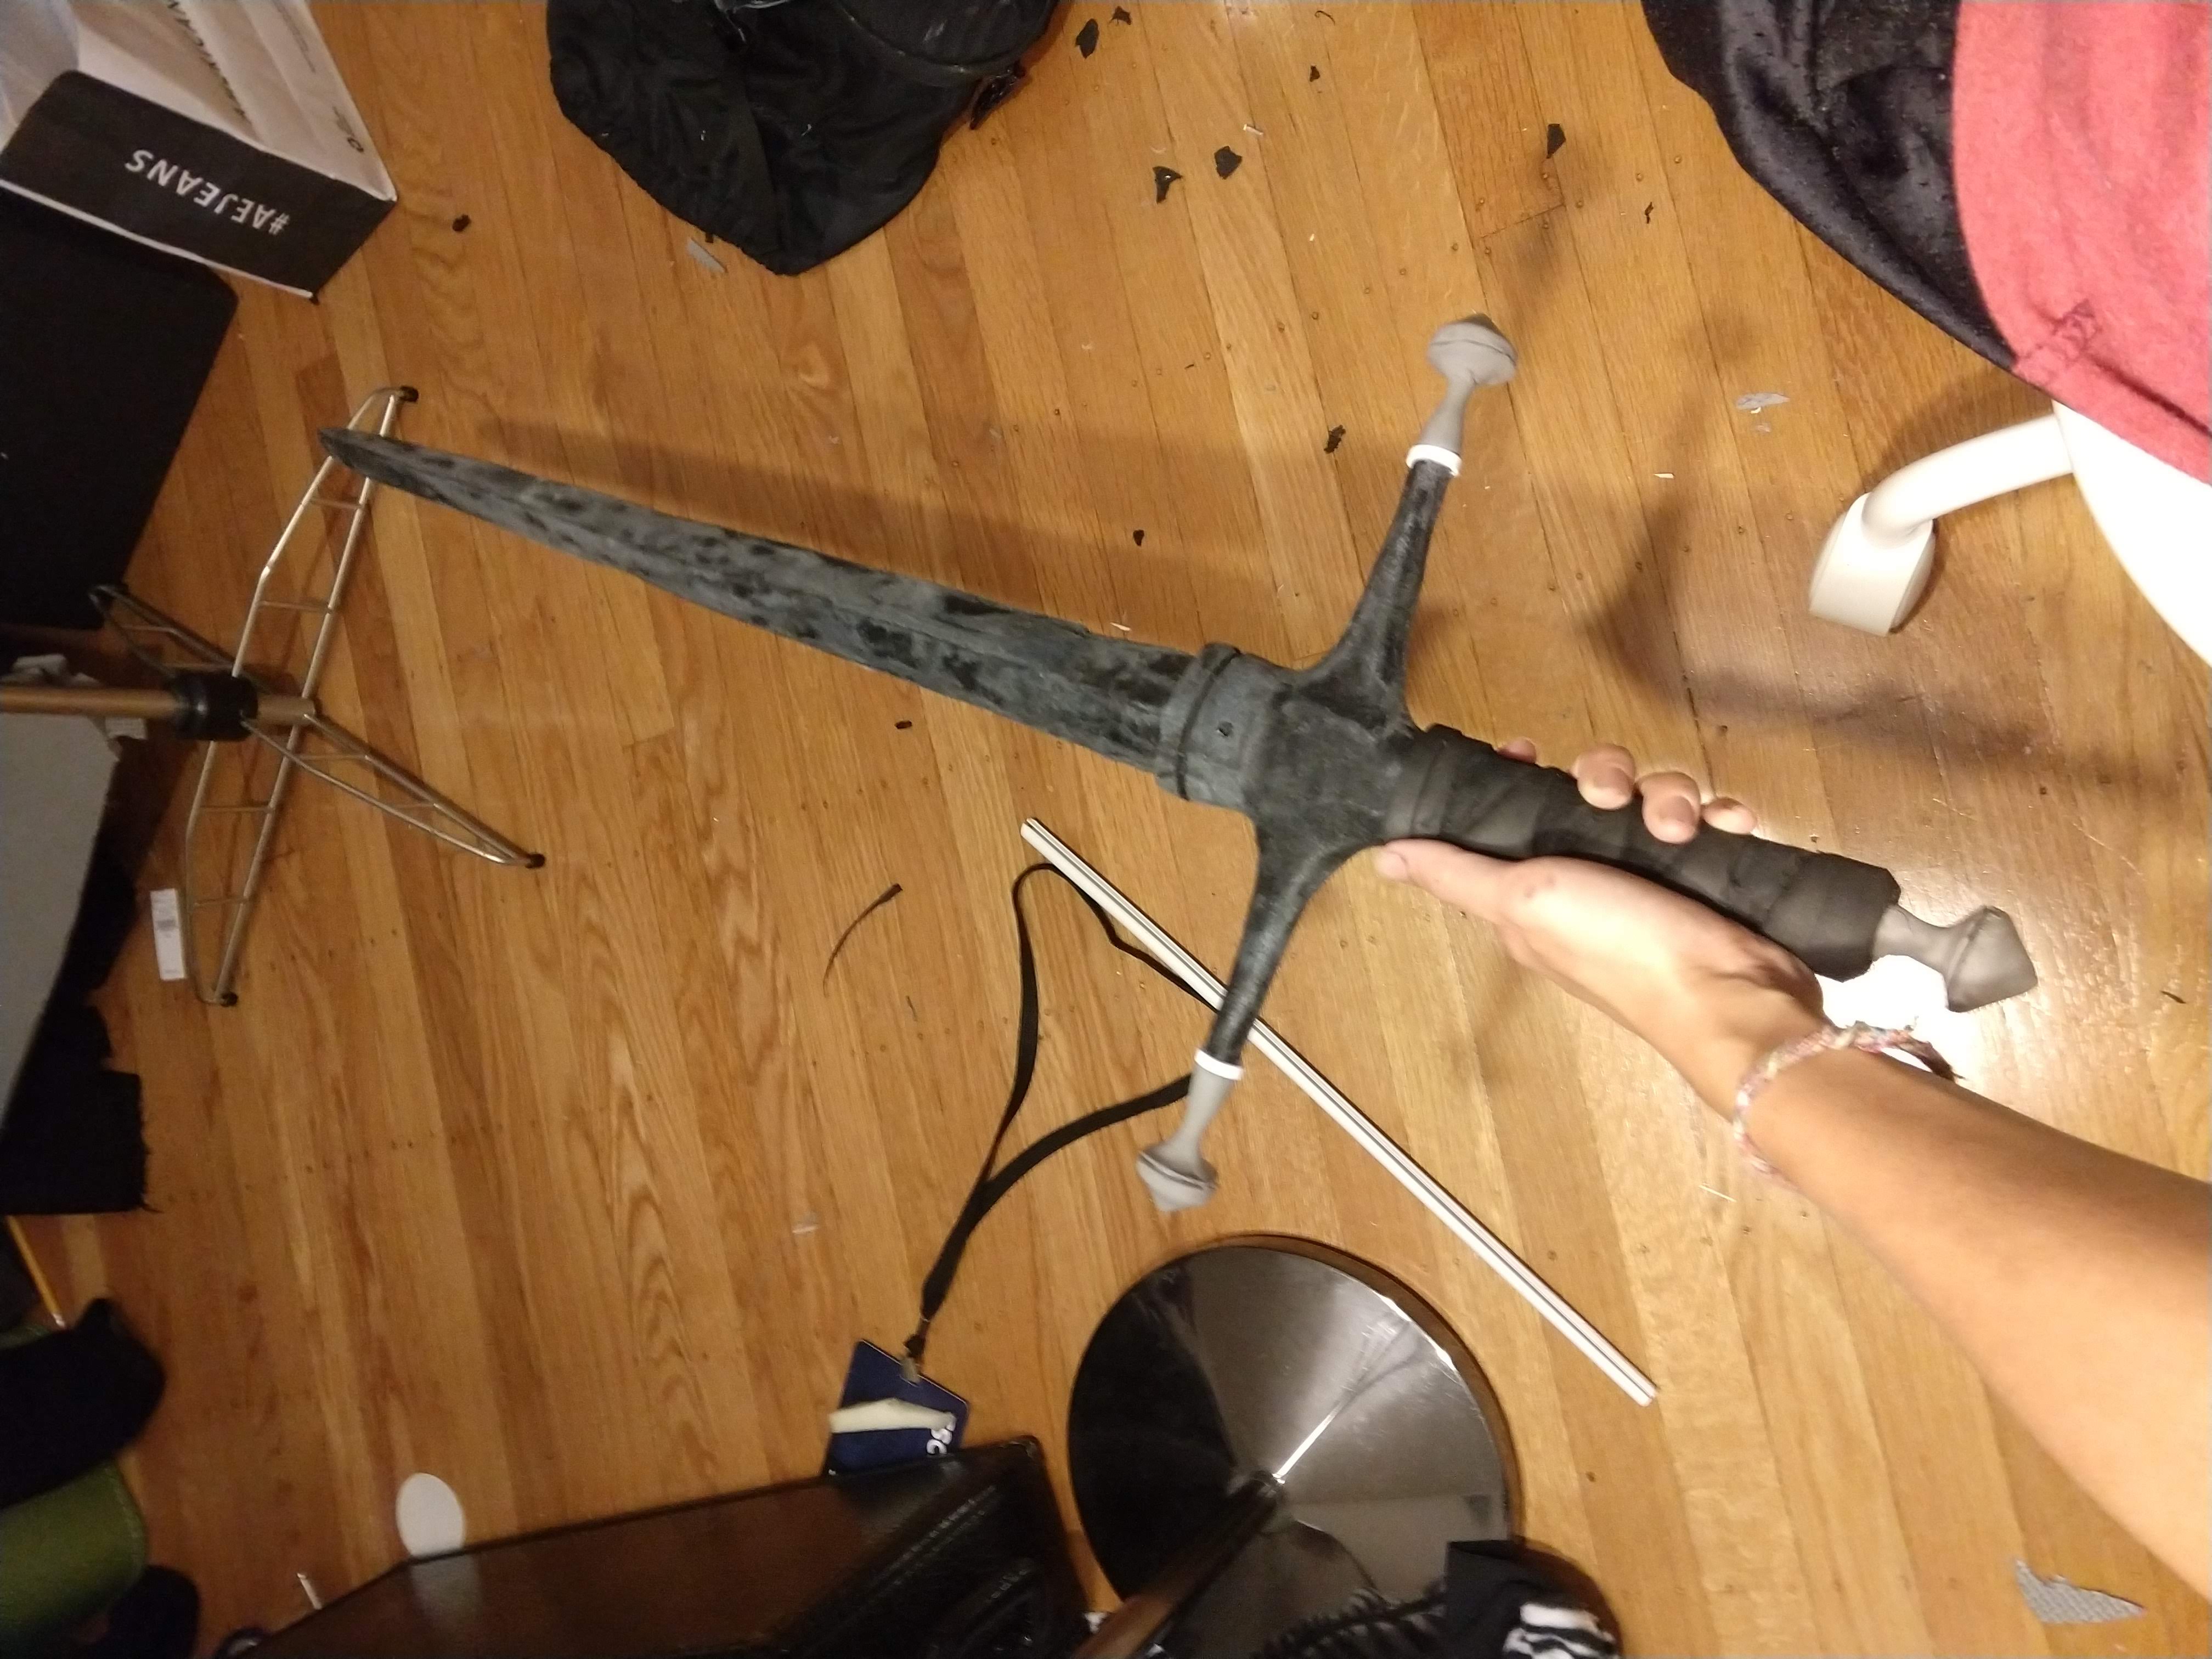
I decided to use a belt sander to carve the sword out of EVA foam. I carved two halves, dremeled a channel in both to accommodate a tomato stake, then glued the two halves together before enclosing in a giant sheet of Worbla. The pommels were sculpted out of foam clay.
God help me, I have no idea how to carve foam.
 |  |  |
Making everything else
Many of these steps took more time than I would have liked, so I had to cut some corners for the rest of the costume.
- Bought the leotard
- Bought a chain for the belt
- Sewed the ruffles for the sleeves, but they're missing 1 layer of ruffles
- Affixed ribbon to some existing heals I had to make the shoes
- Didn't have time to make the sheath
- Didn't have time to make the stockings
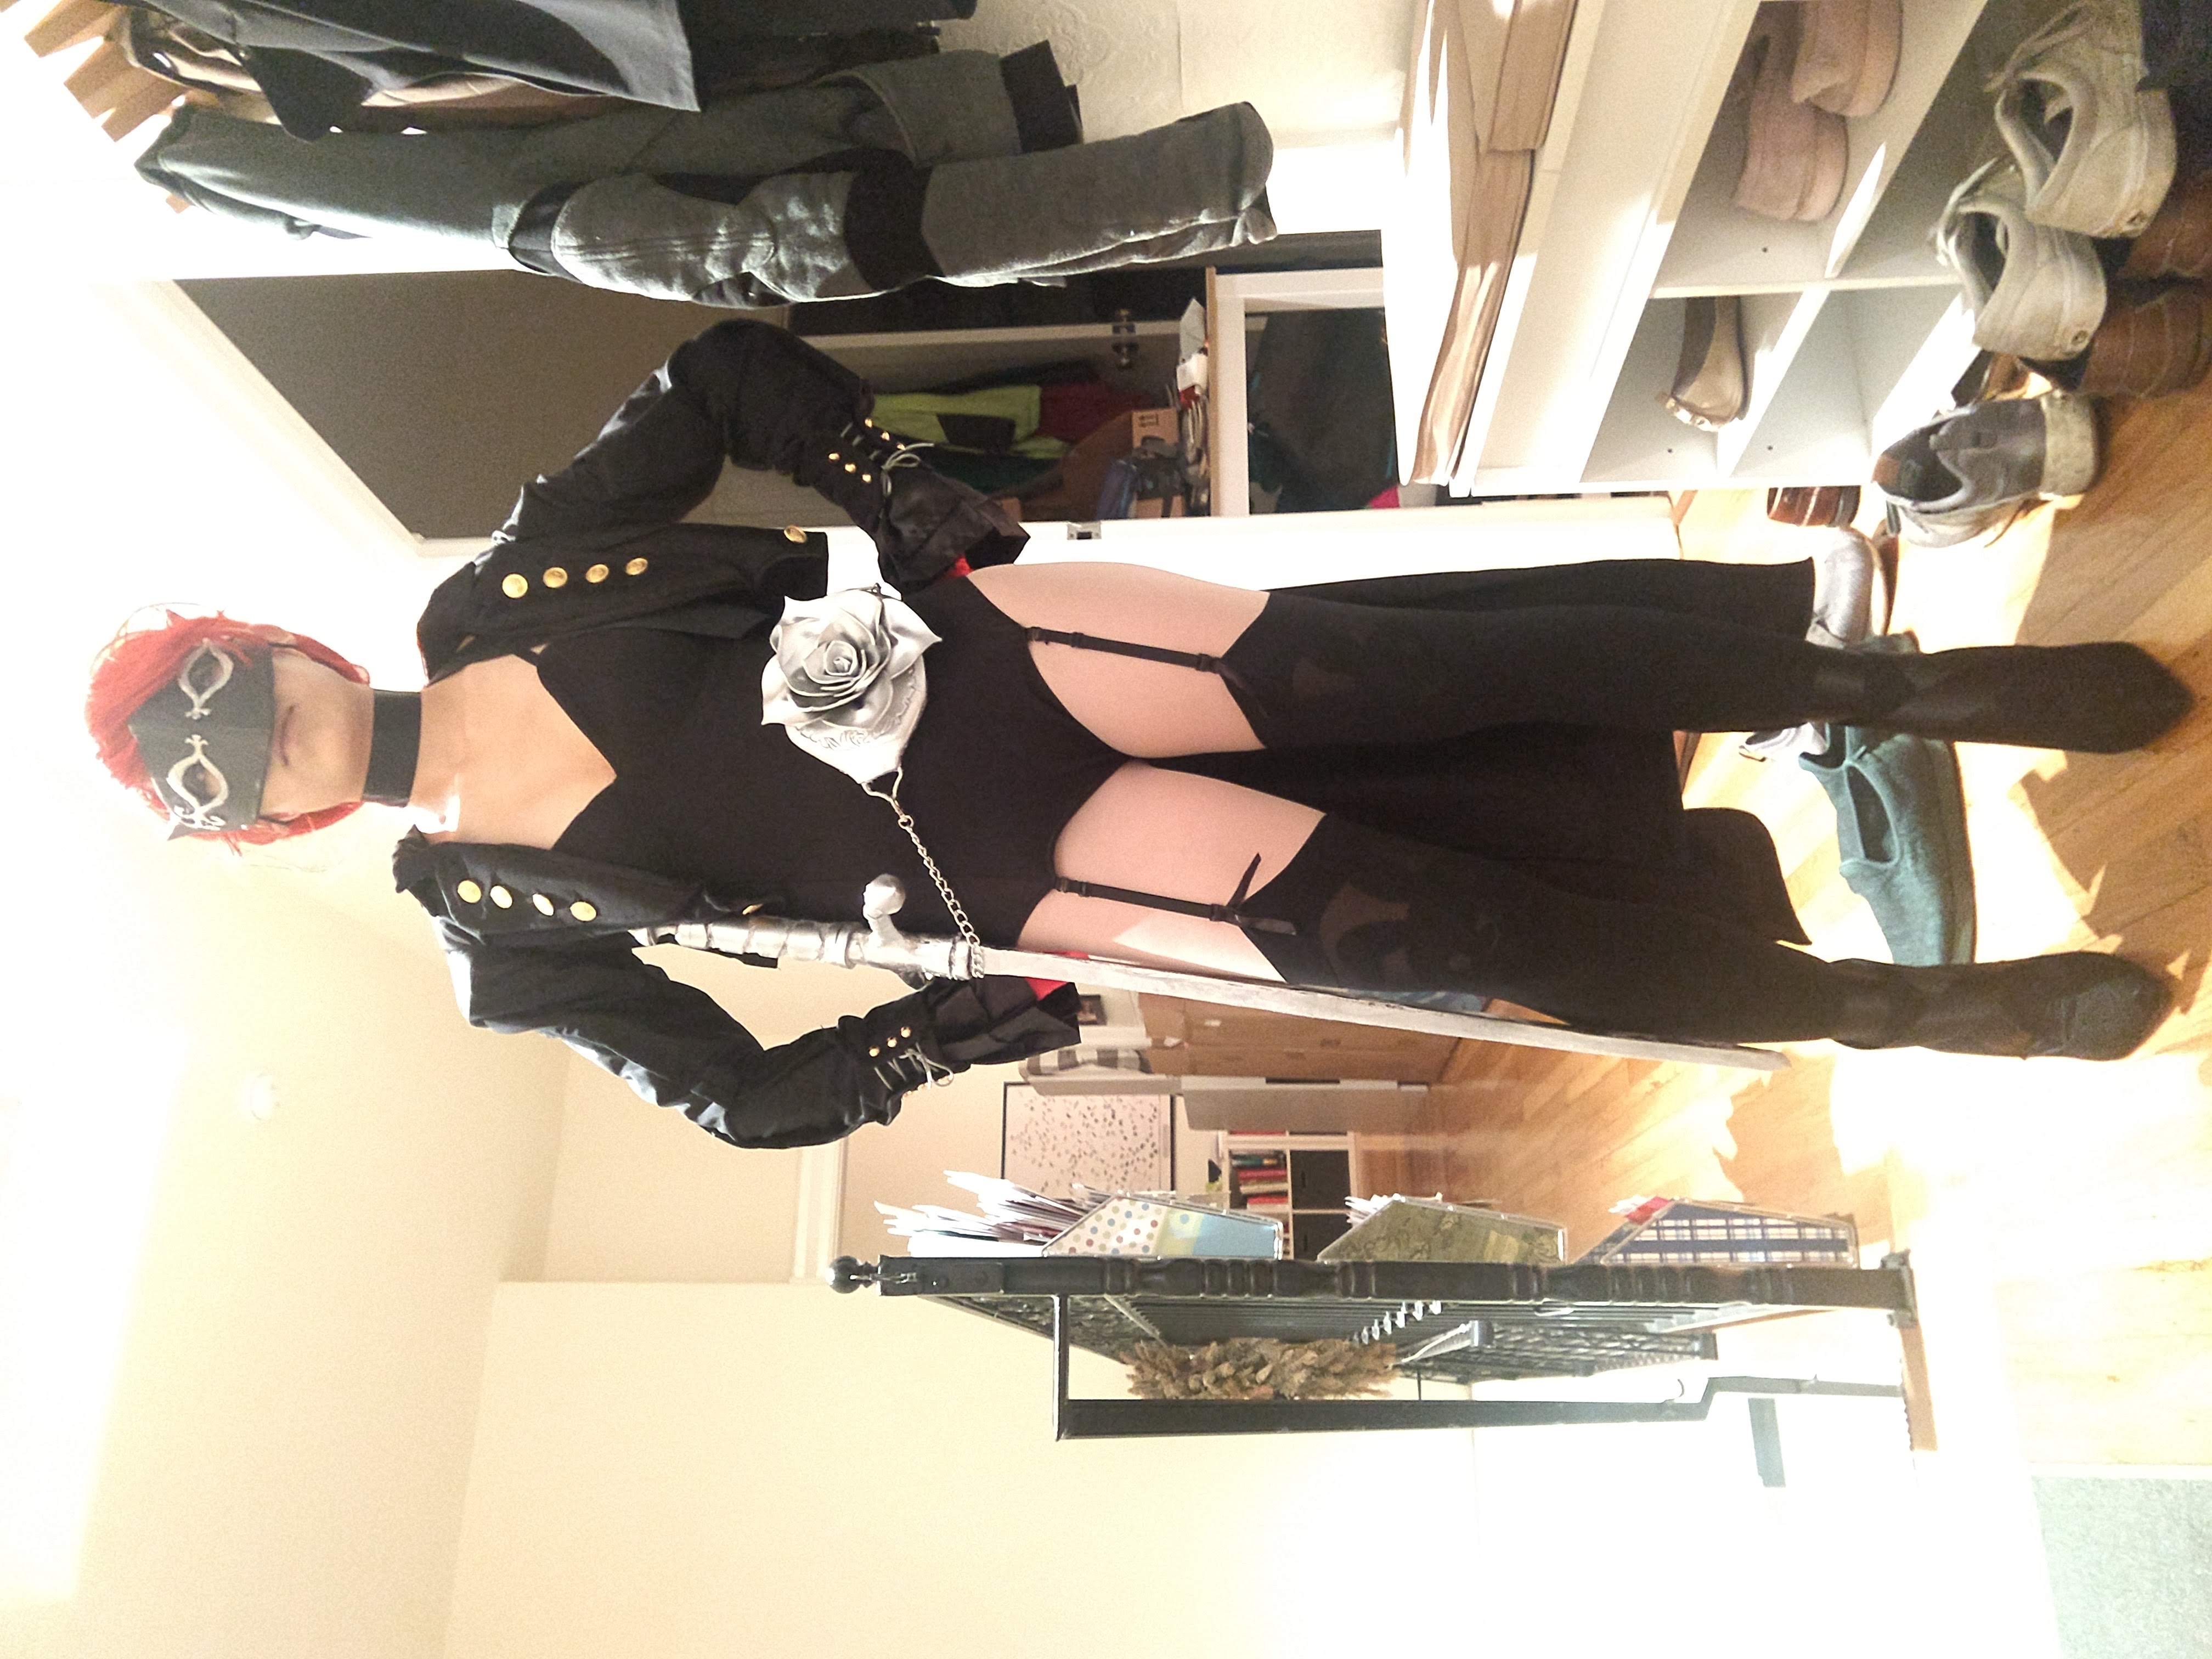
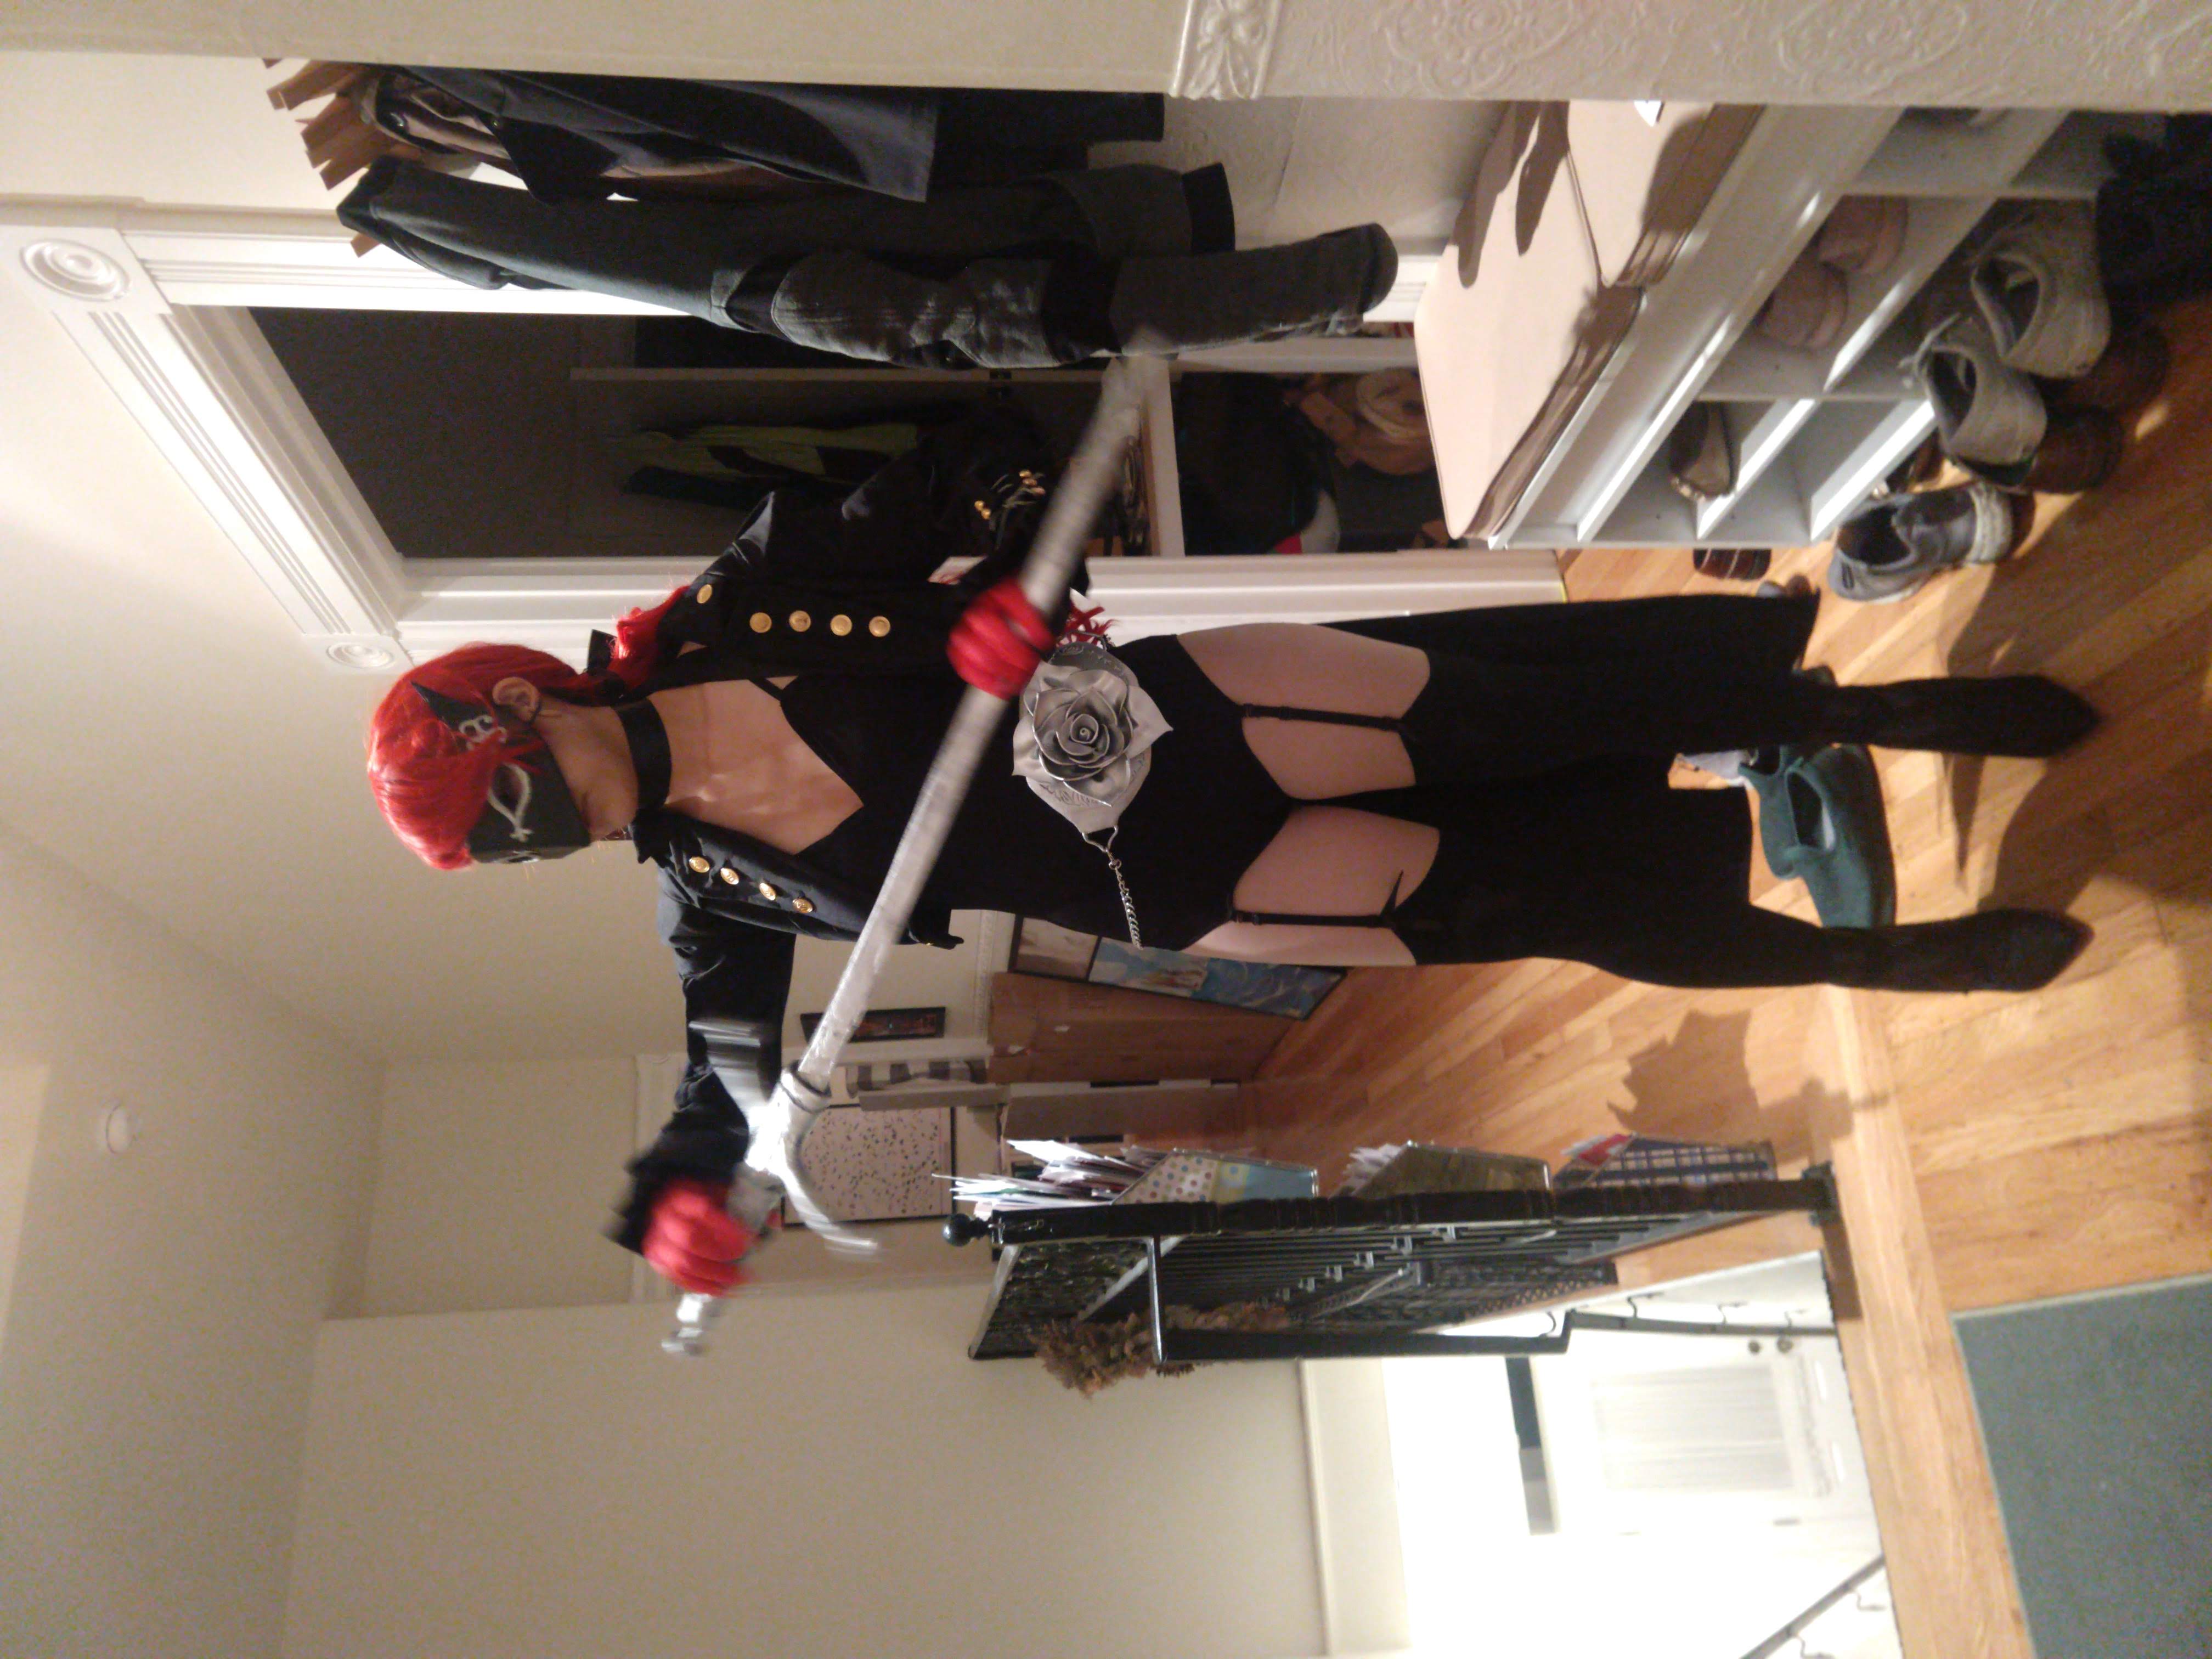
Final costume for Halloween
I finished something for Halloween! Here's the final pictures plus the concept art again as reference.


An eternity later...
Iterating on the sword
I never felt too great about the sword I made. It was lopsided, it easily damaged, and the paint just didn't stick to it right. So, about 5 months after I wore this costume to a few Halloween parties, I decided to give it another go.
Learning CAD
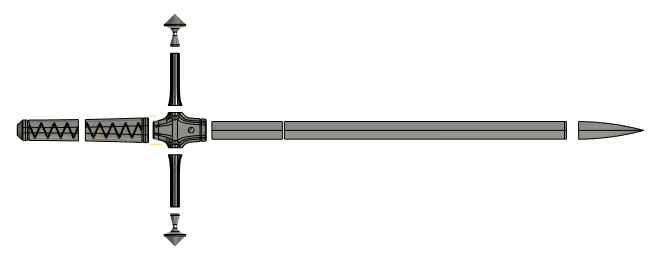
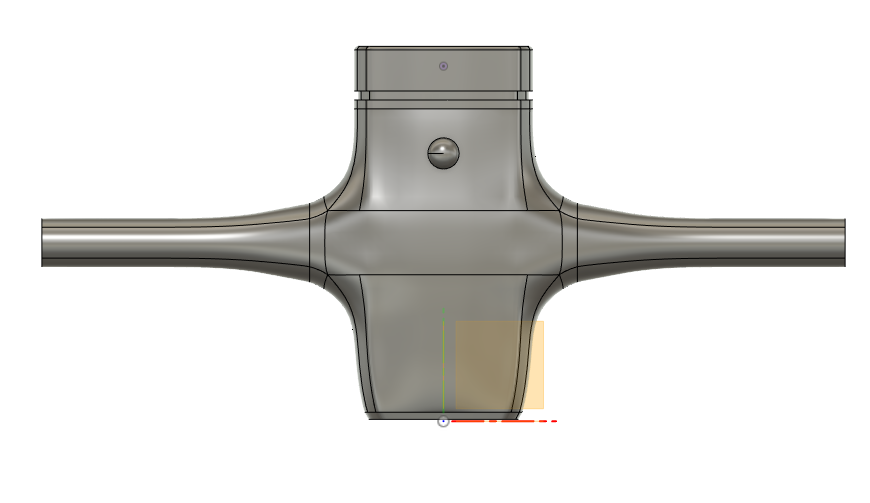
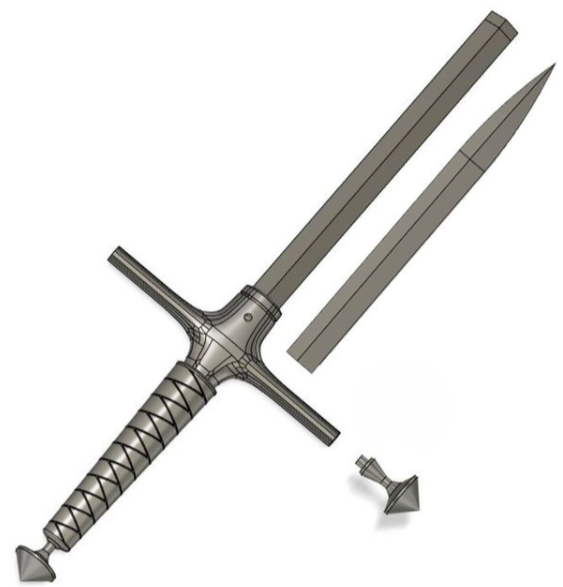
Making anything geometric by hand is difficult to make symmetric. So I bought myself a 3D printer and taught myself CAD. I used the same reference photos as above and made these files. I found the hilt pattern exceedingly challenging.
 |  |
3D Printing
To make the sheath, I printed a lot of test prints to ensure the sword fit inside of it.
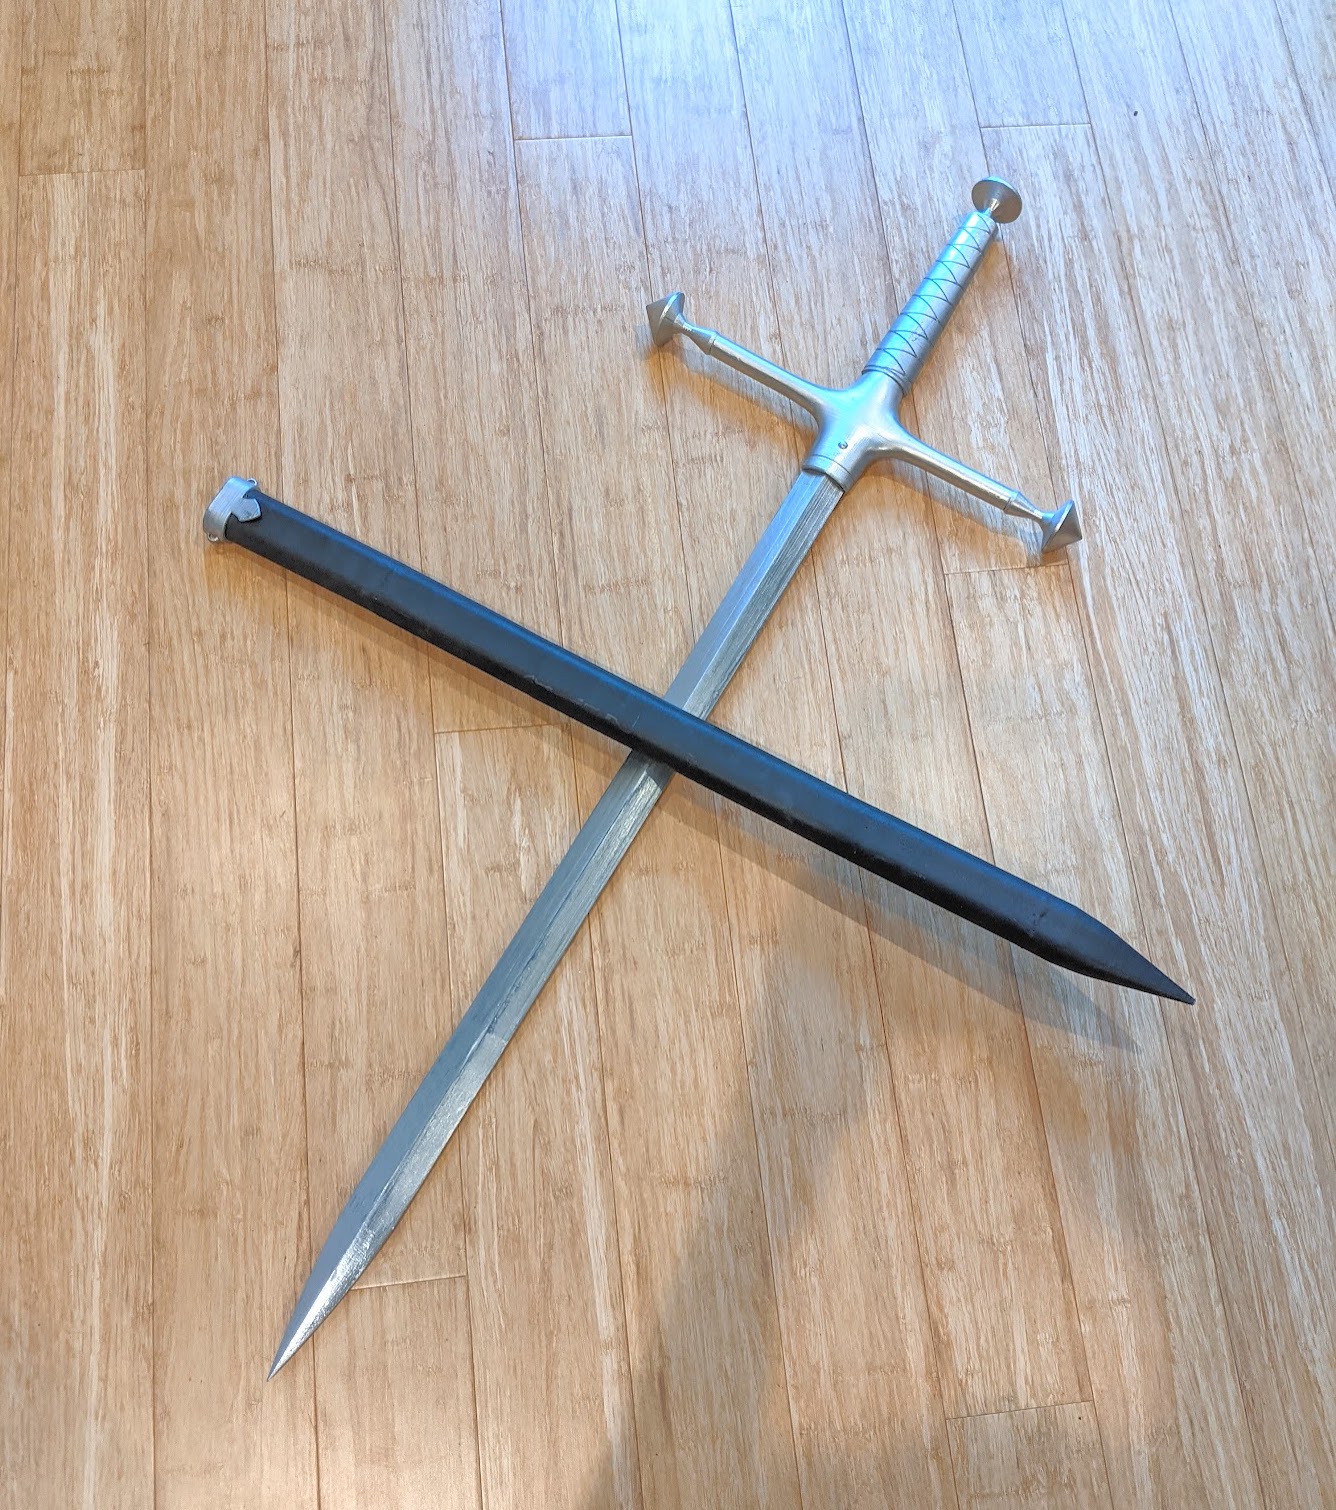
After a lot of experimentation and failed attempts, I eventually got both the sword and sheath:
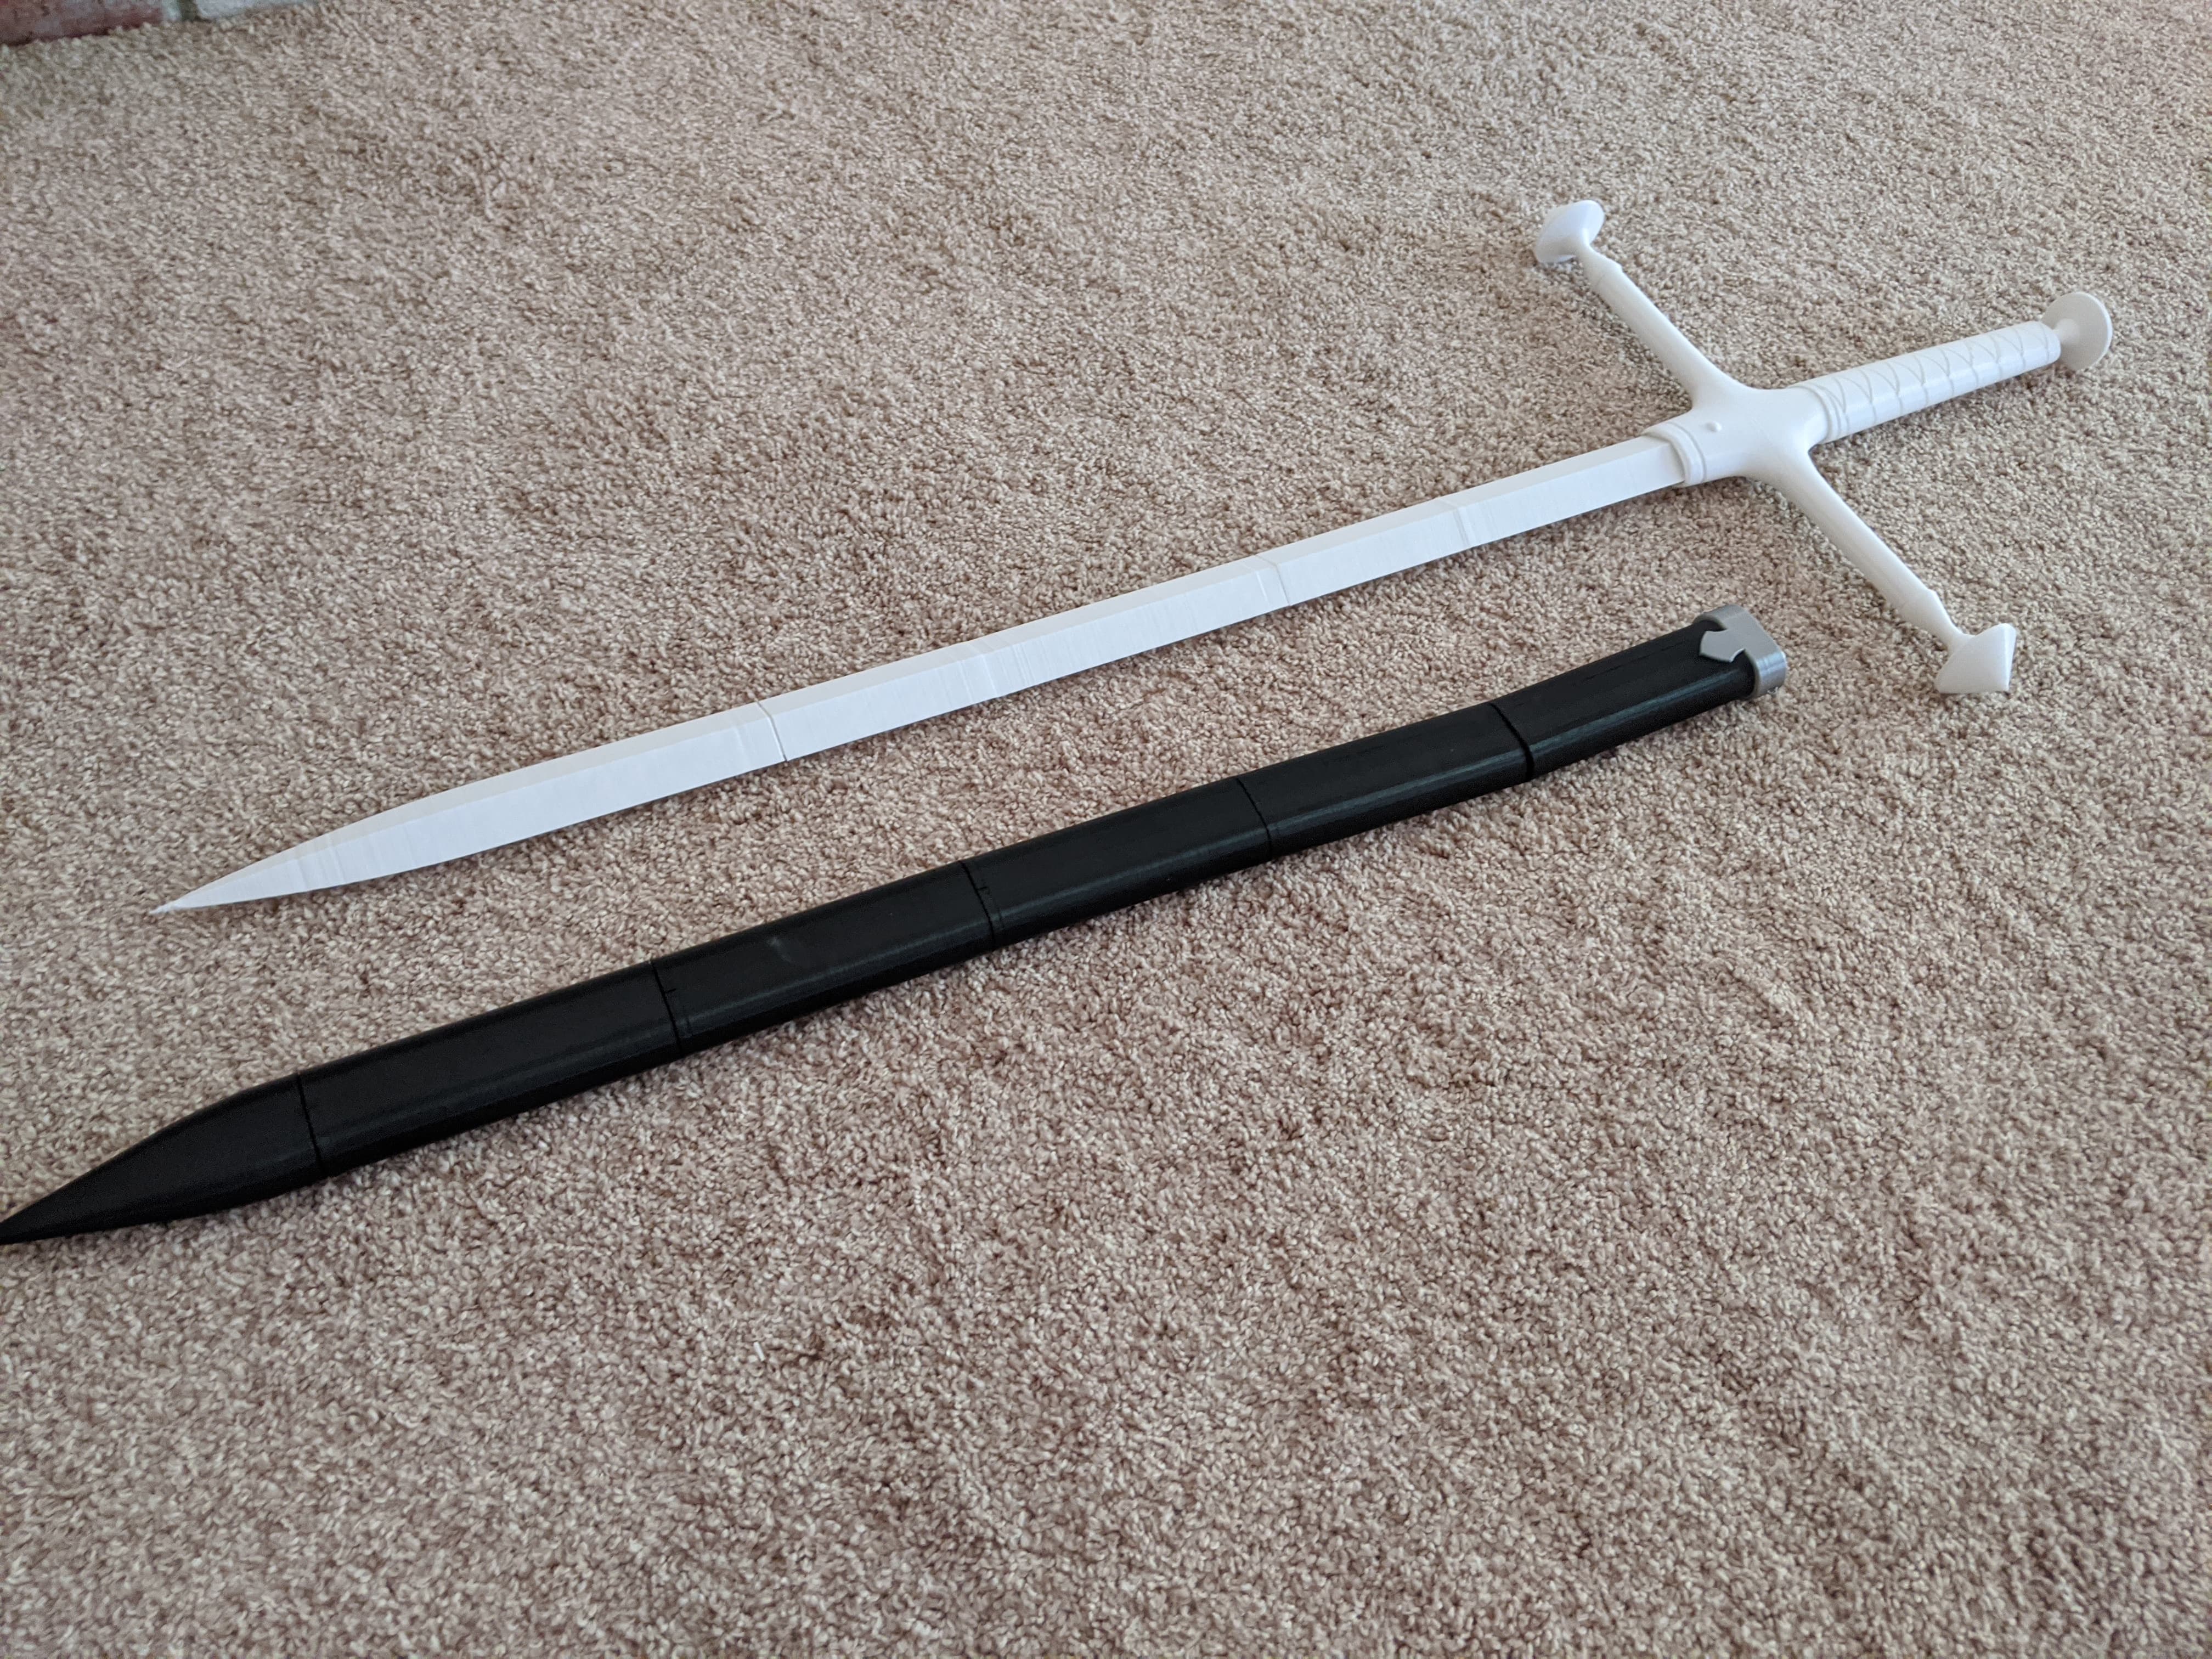
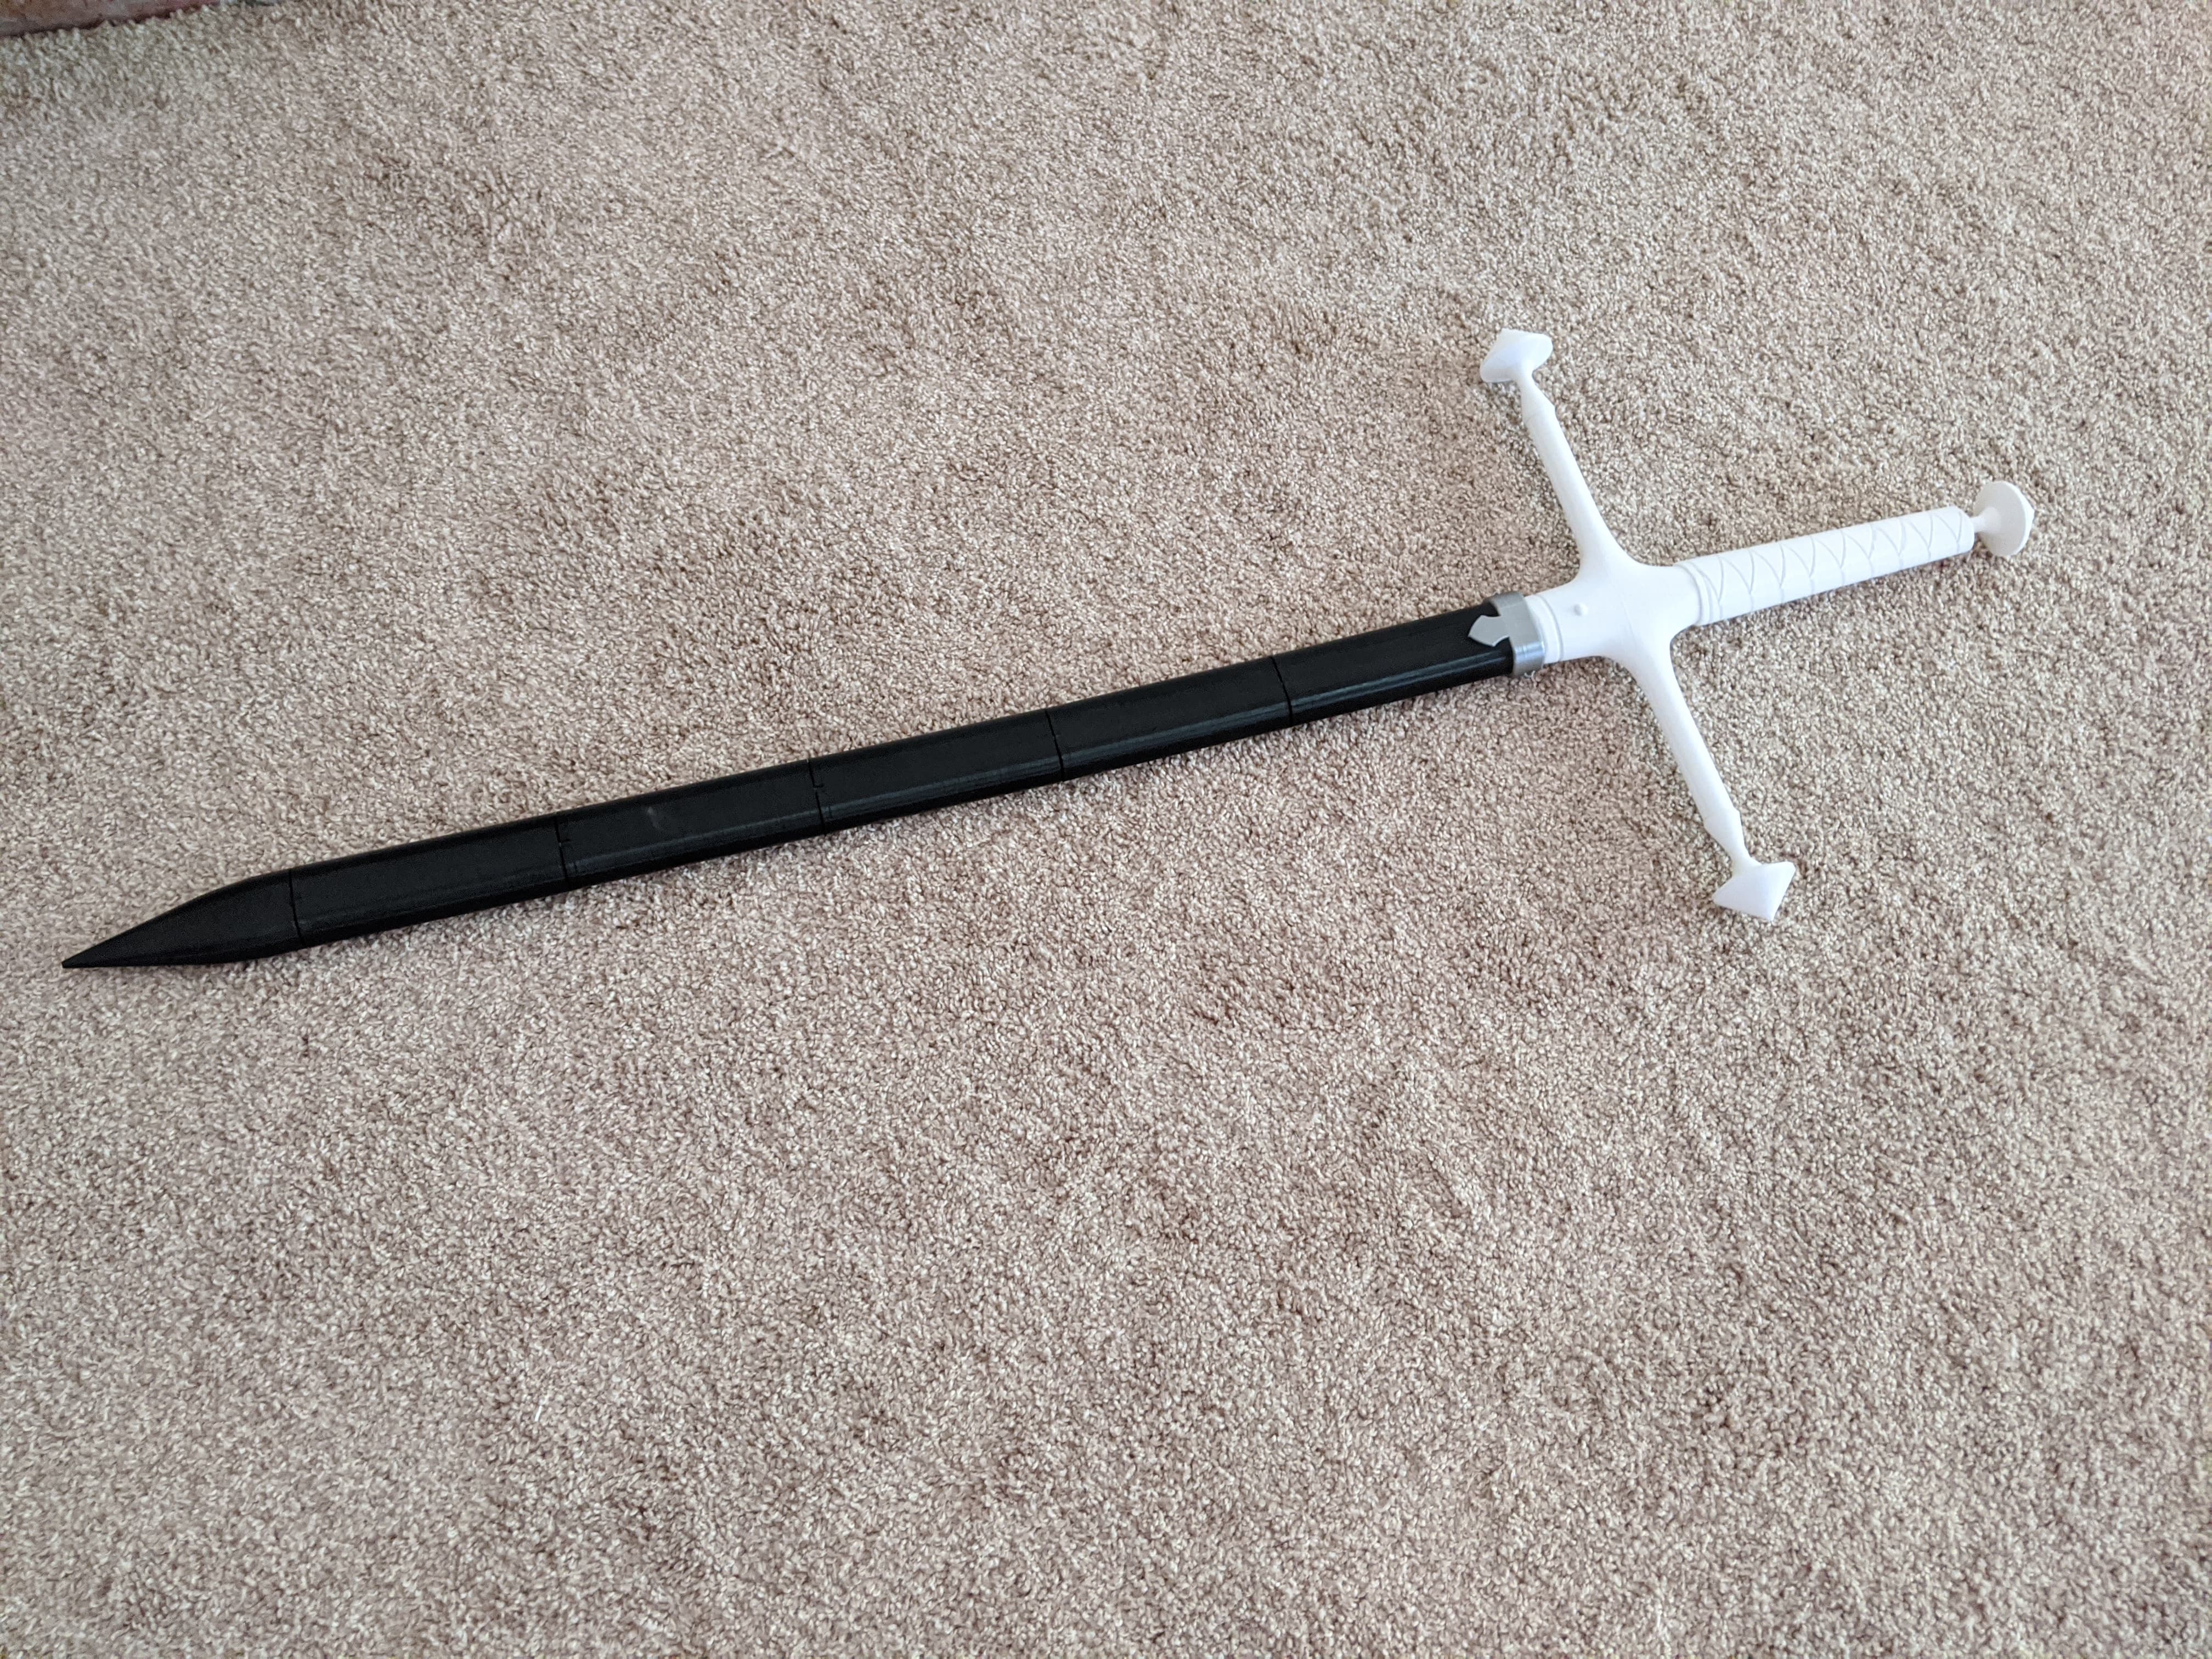
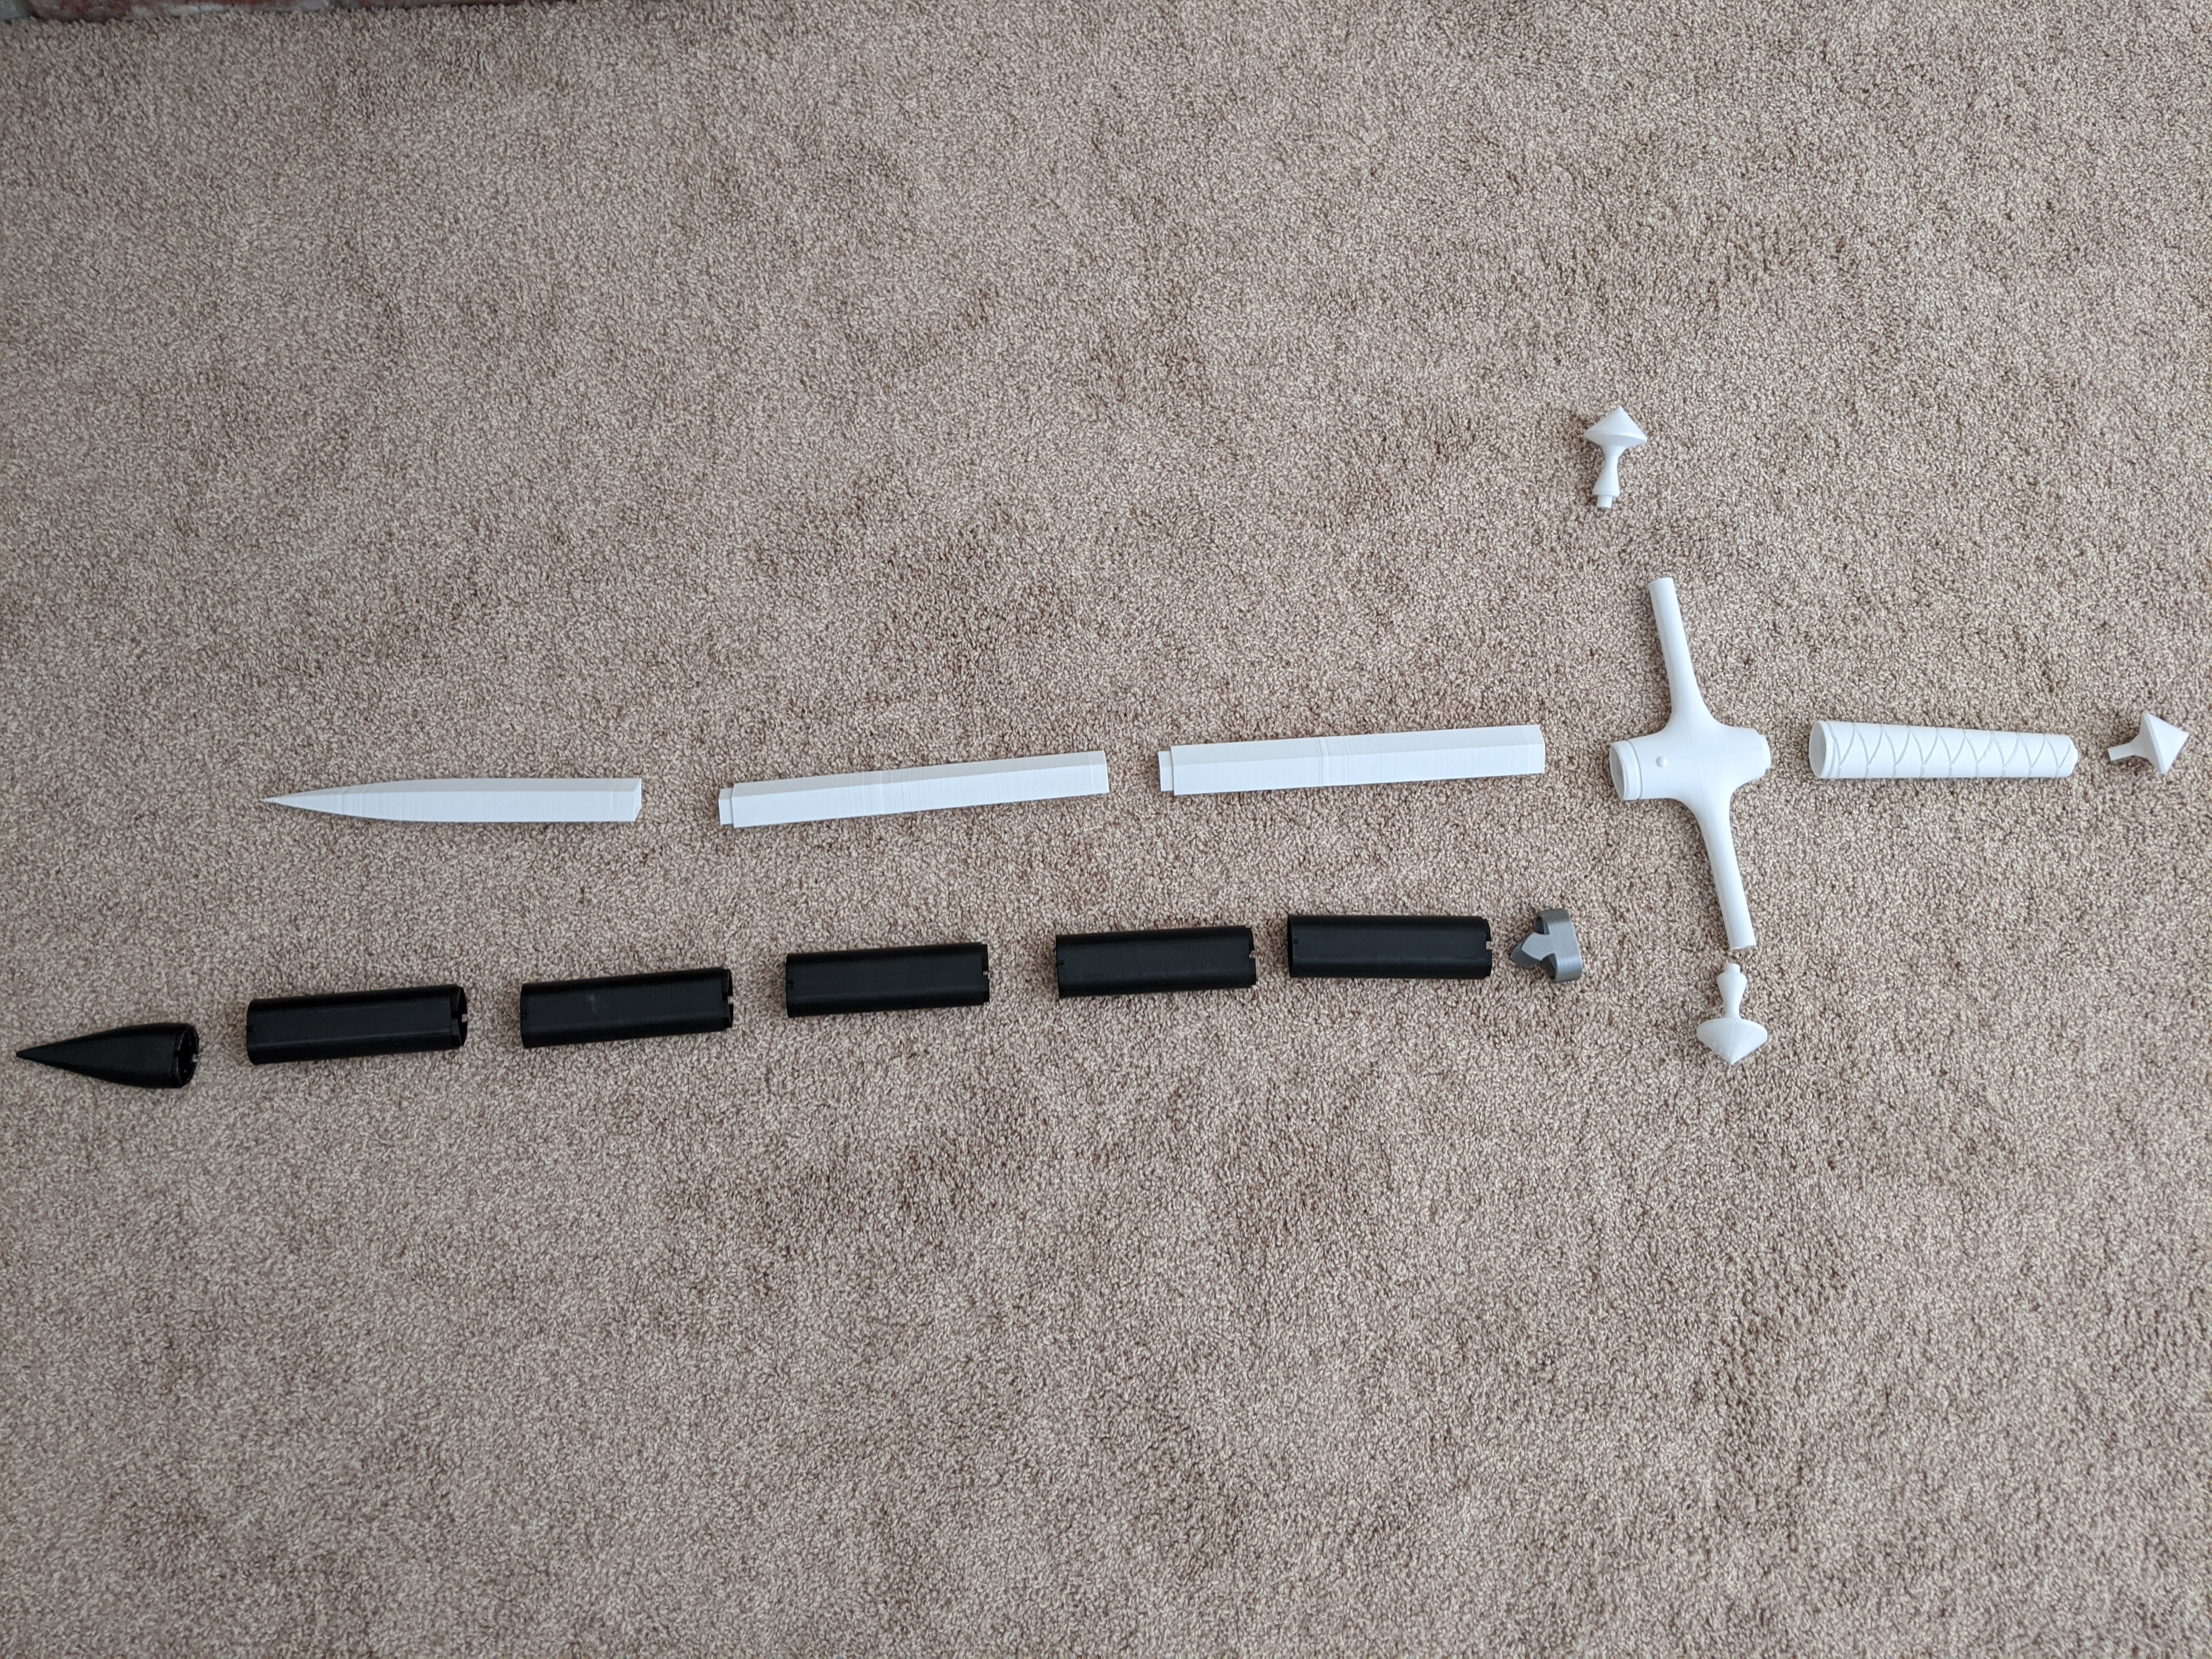
Painting and finishing
Attempt #1:
Afterwards, I tried to use this compound on it to meld the pieces together and paint them...and sure enough I accidentally melted a sword that took 80 hours to print.
Whelp. You live and you learn! Let's just try again...without that compound.
Attempt #2:
The second attempt went significantly better!
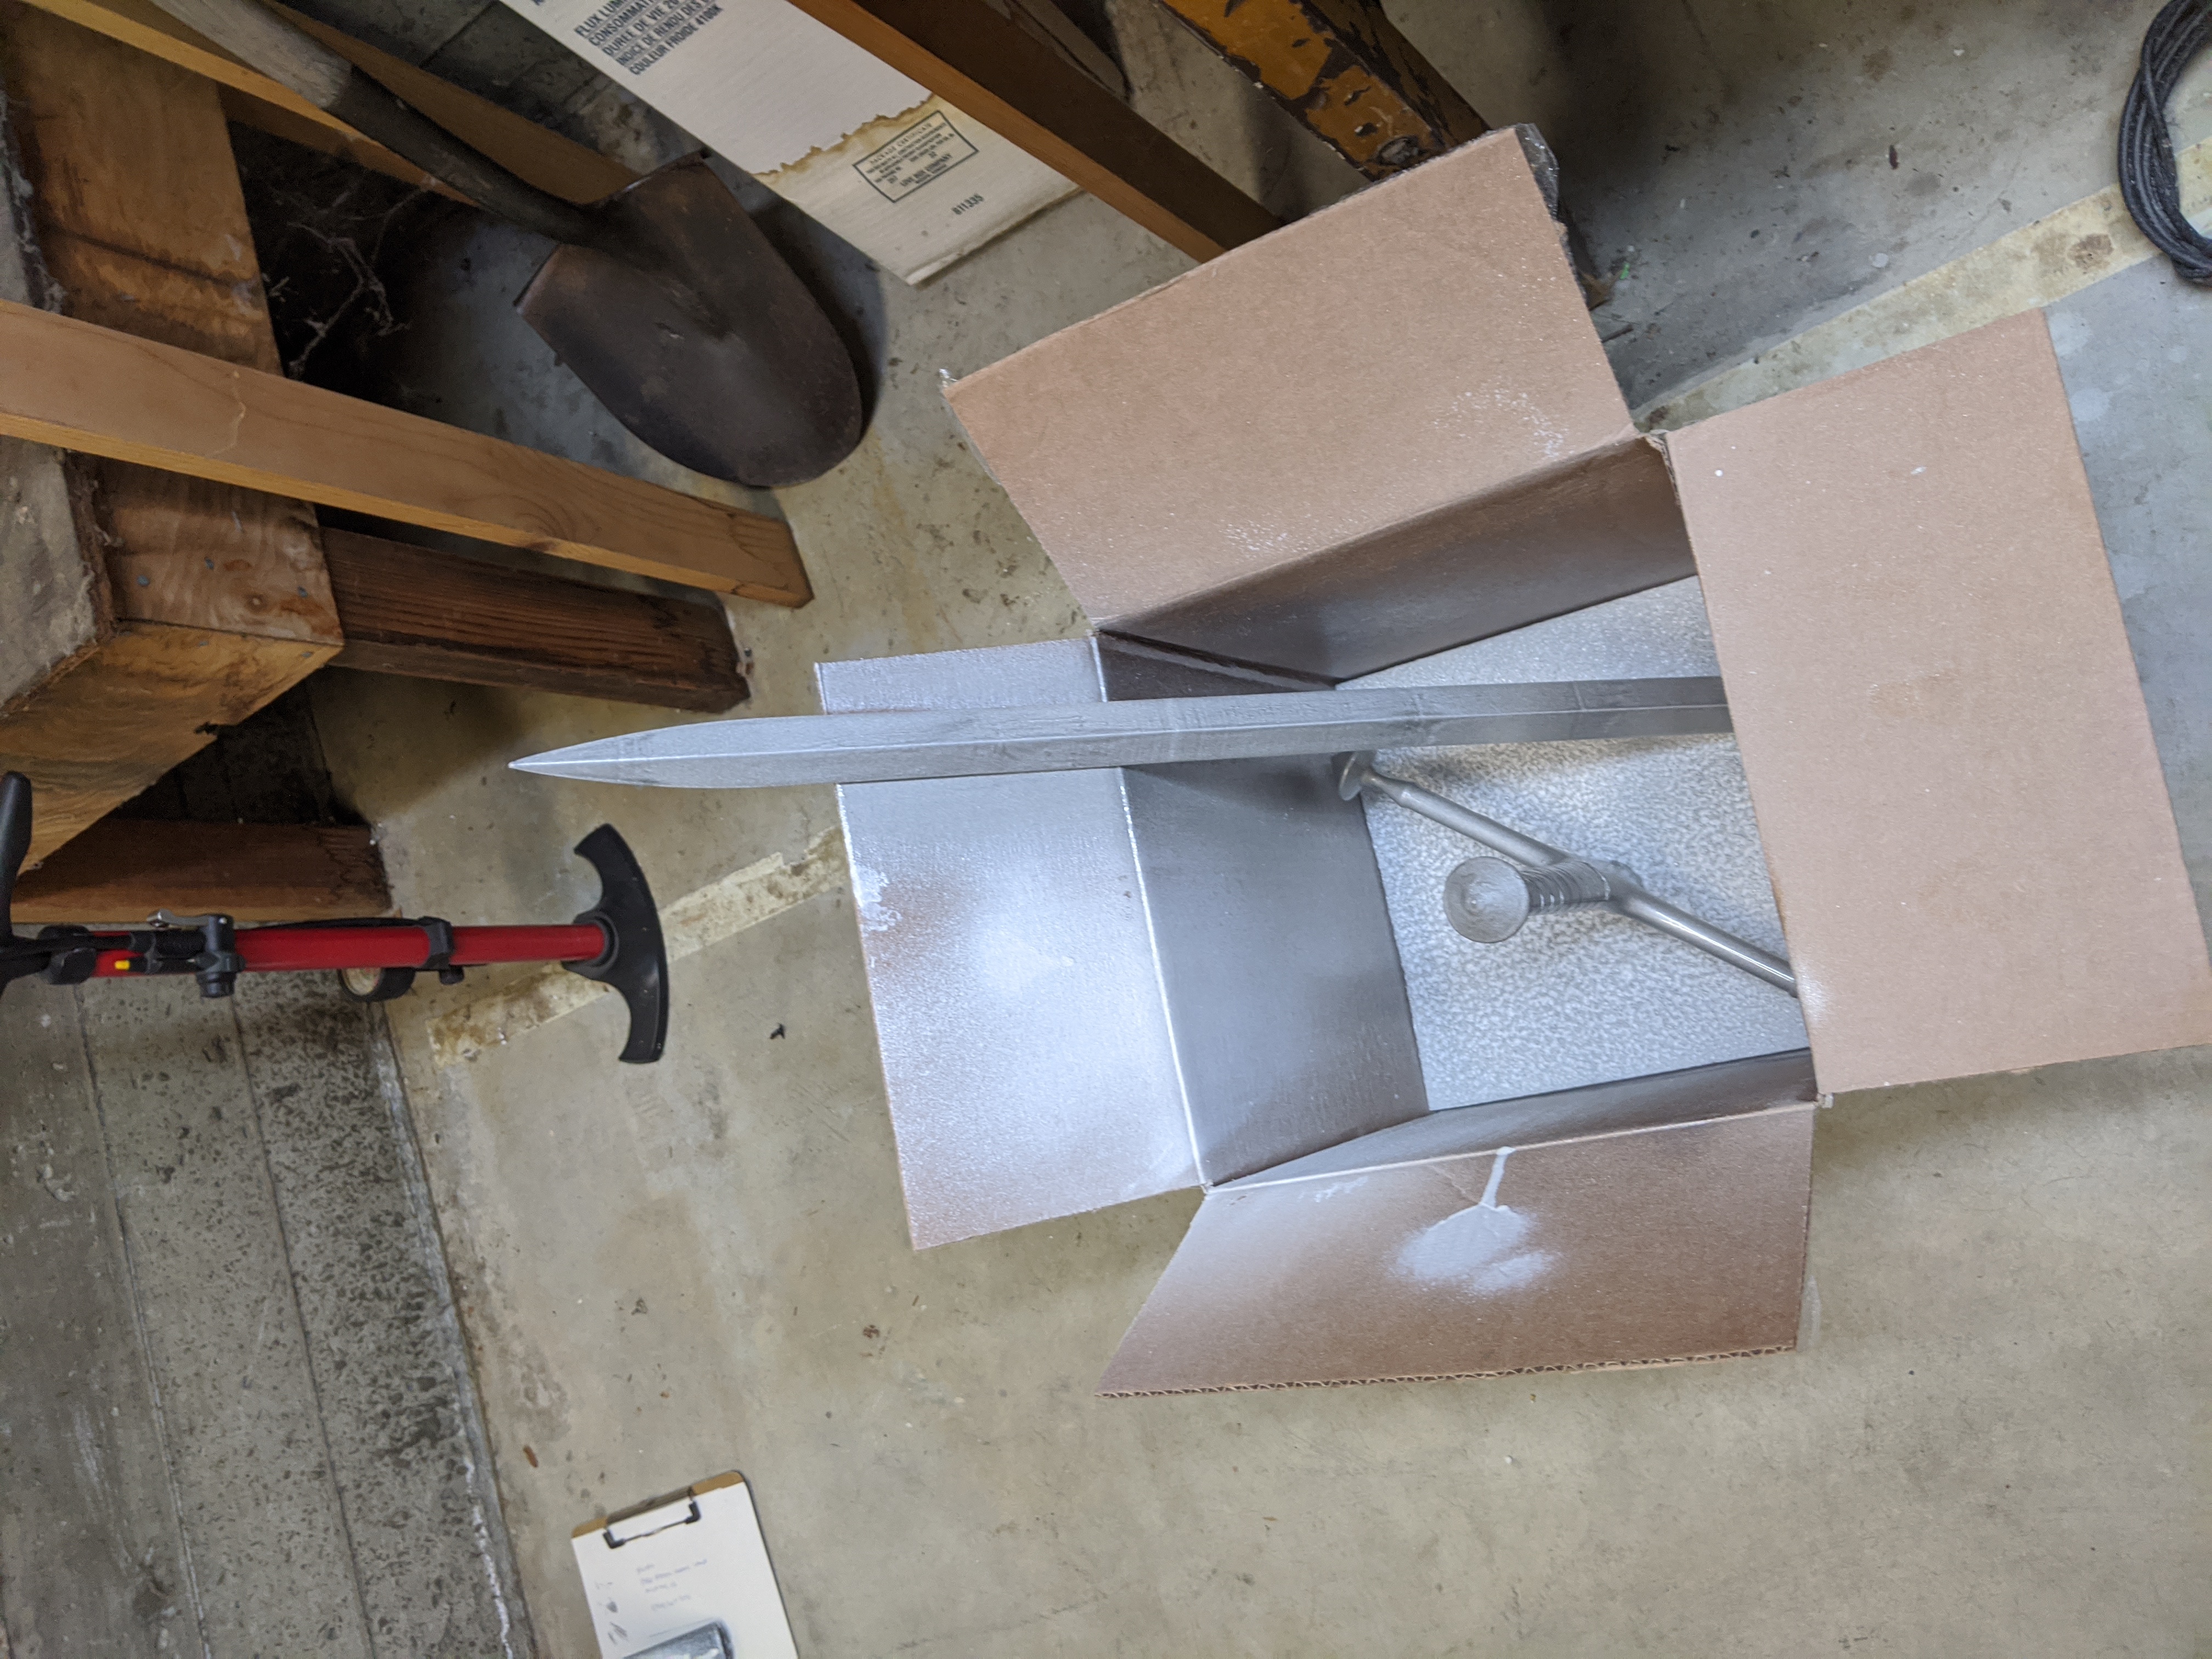

In fact, I felt I did such a good job I even put the STL print files on Etsy! I sell about a half dozen a month.
Link to Etsy site from which you can buy the sword files
Presentation
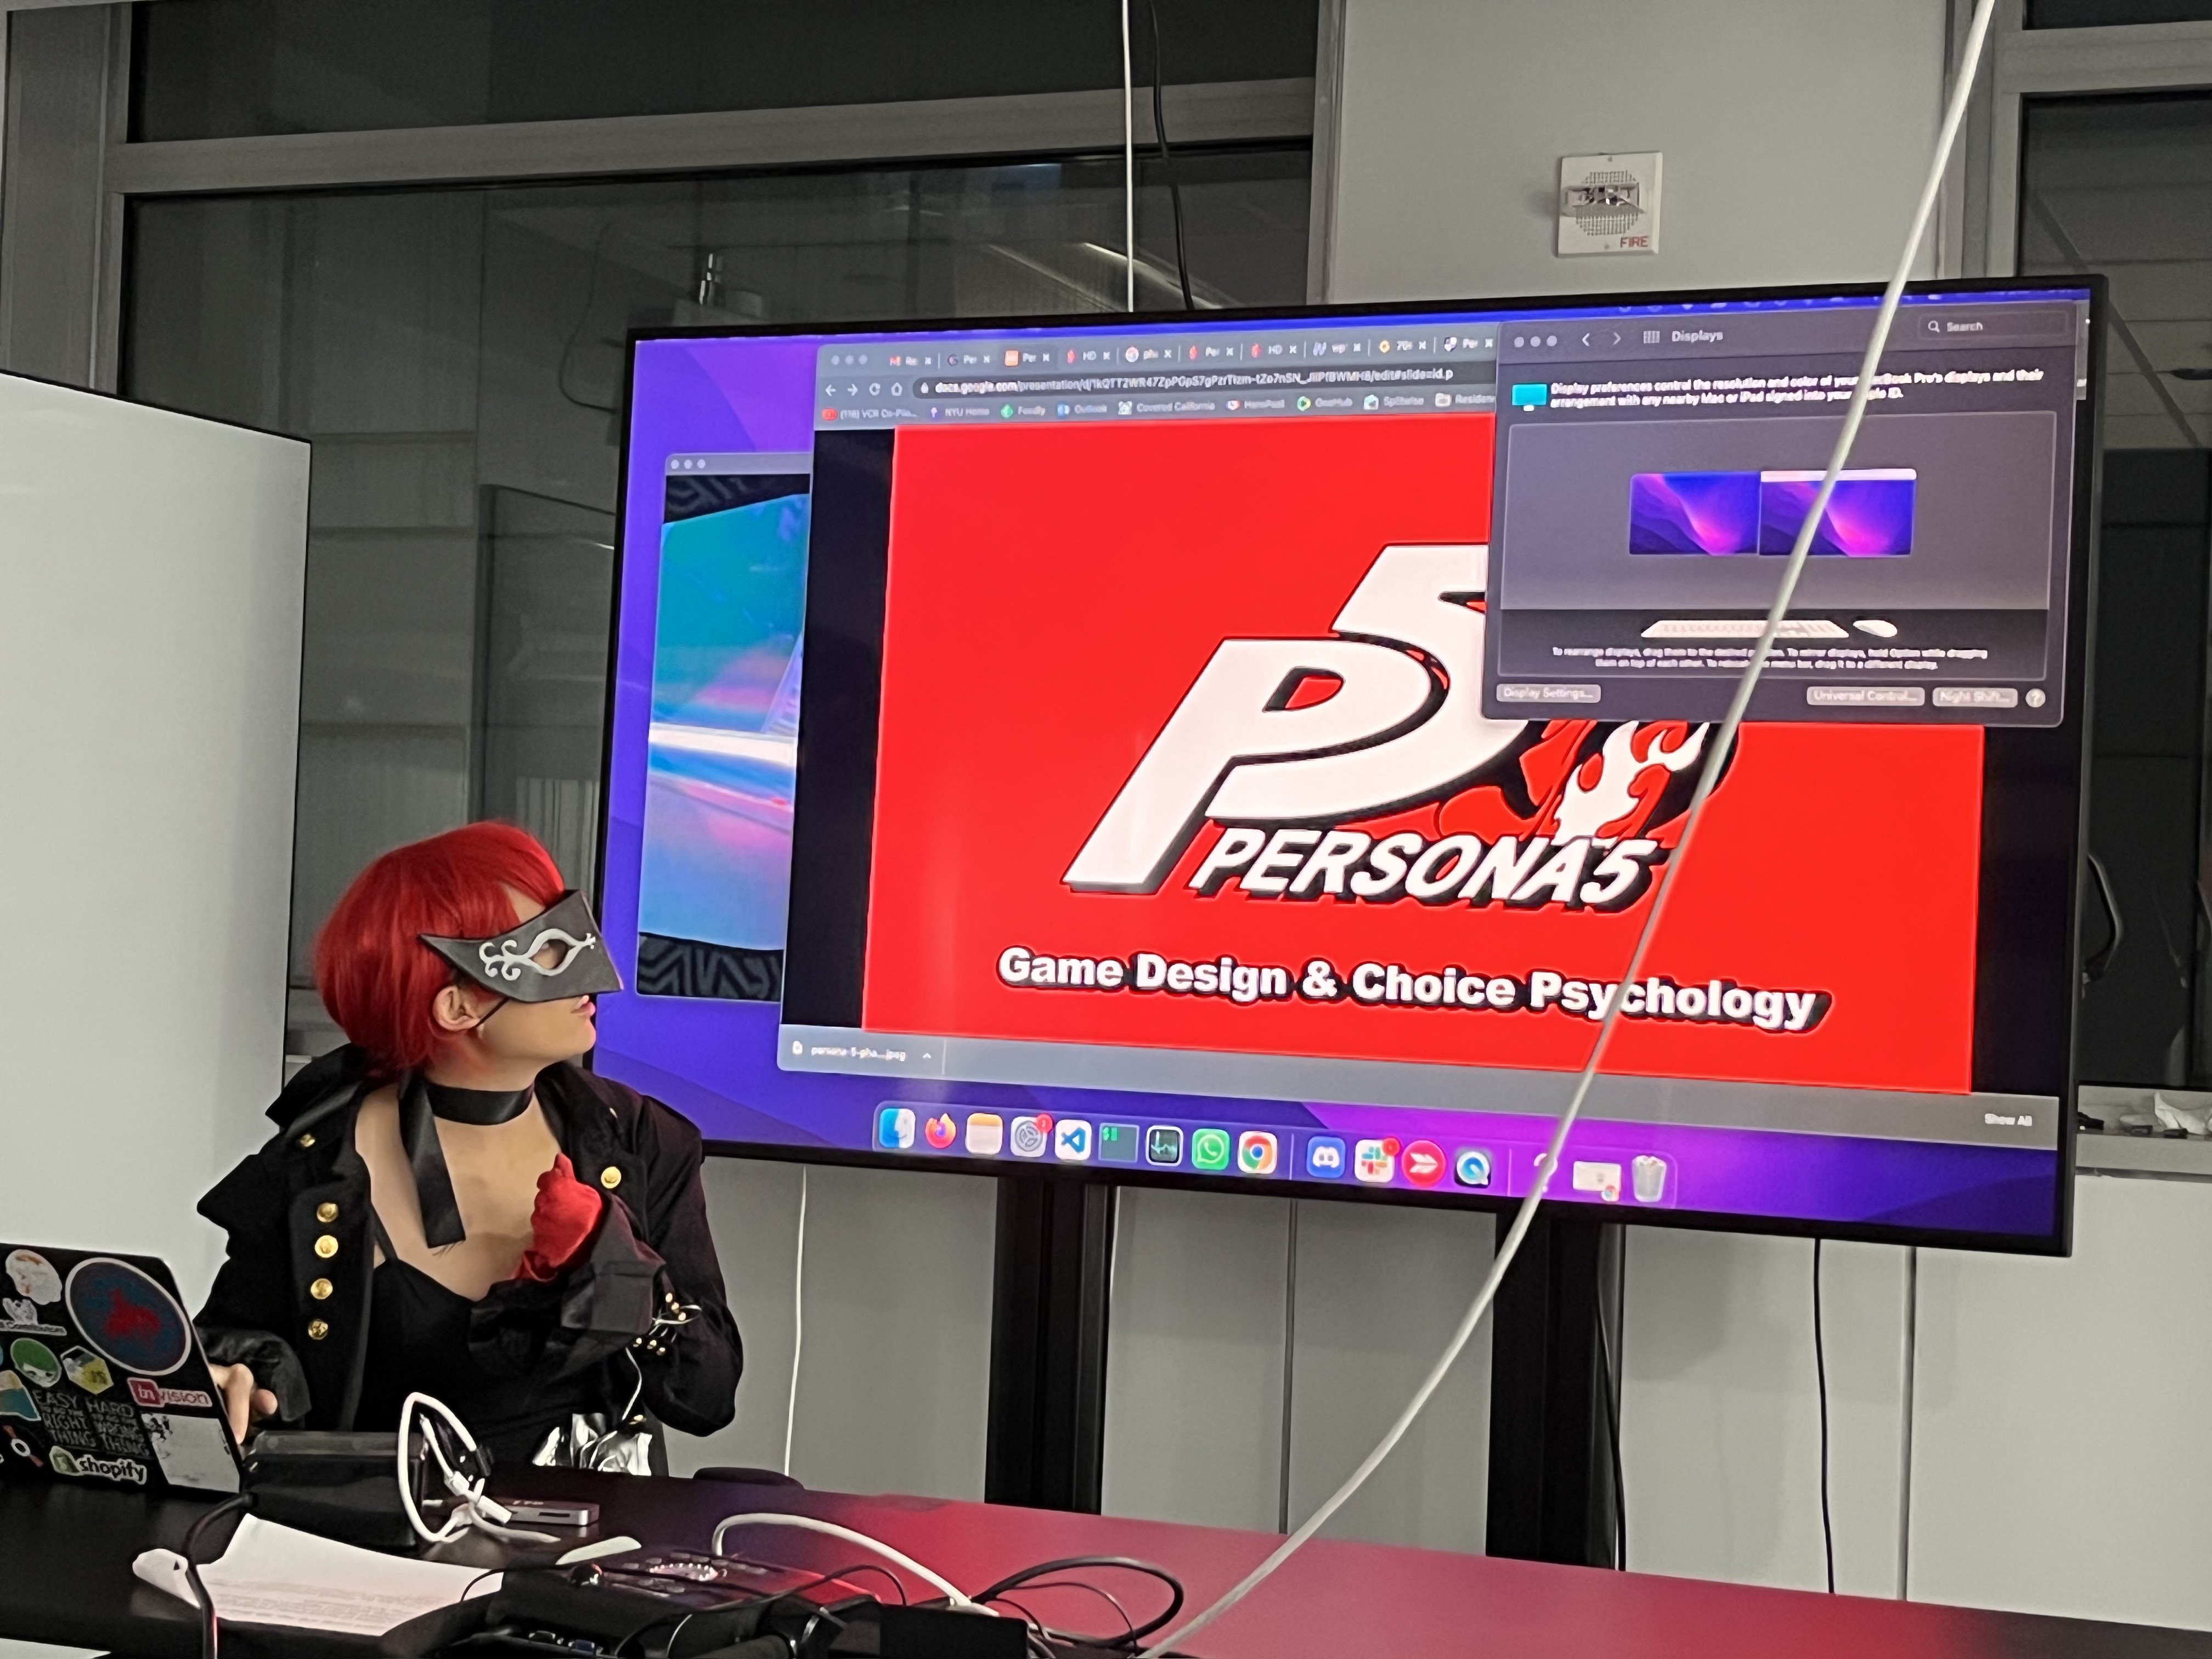
For my Game Design and the Pyschology of Choice class at ITP, I did my final report on the Jungian and choice architecture psychology behind Persona 5. I presented my findings in my Kasumi costume

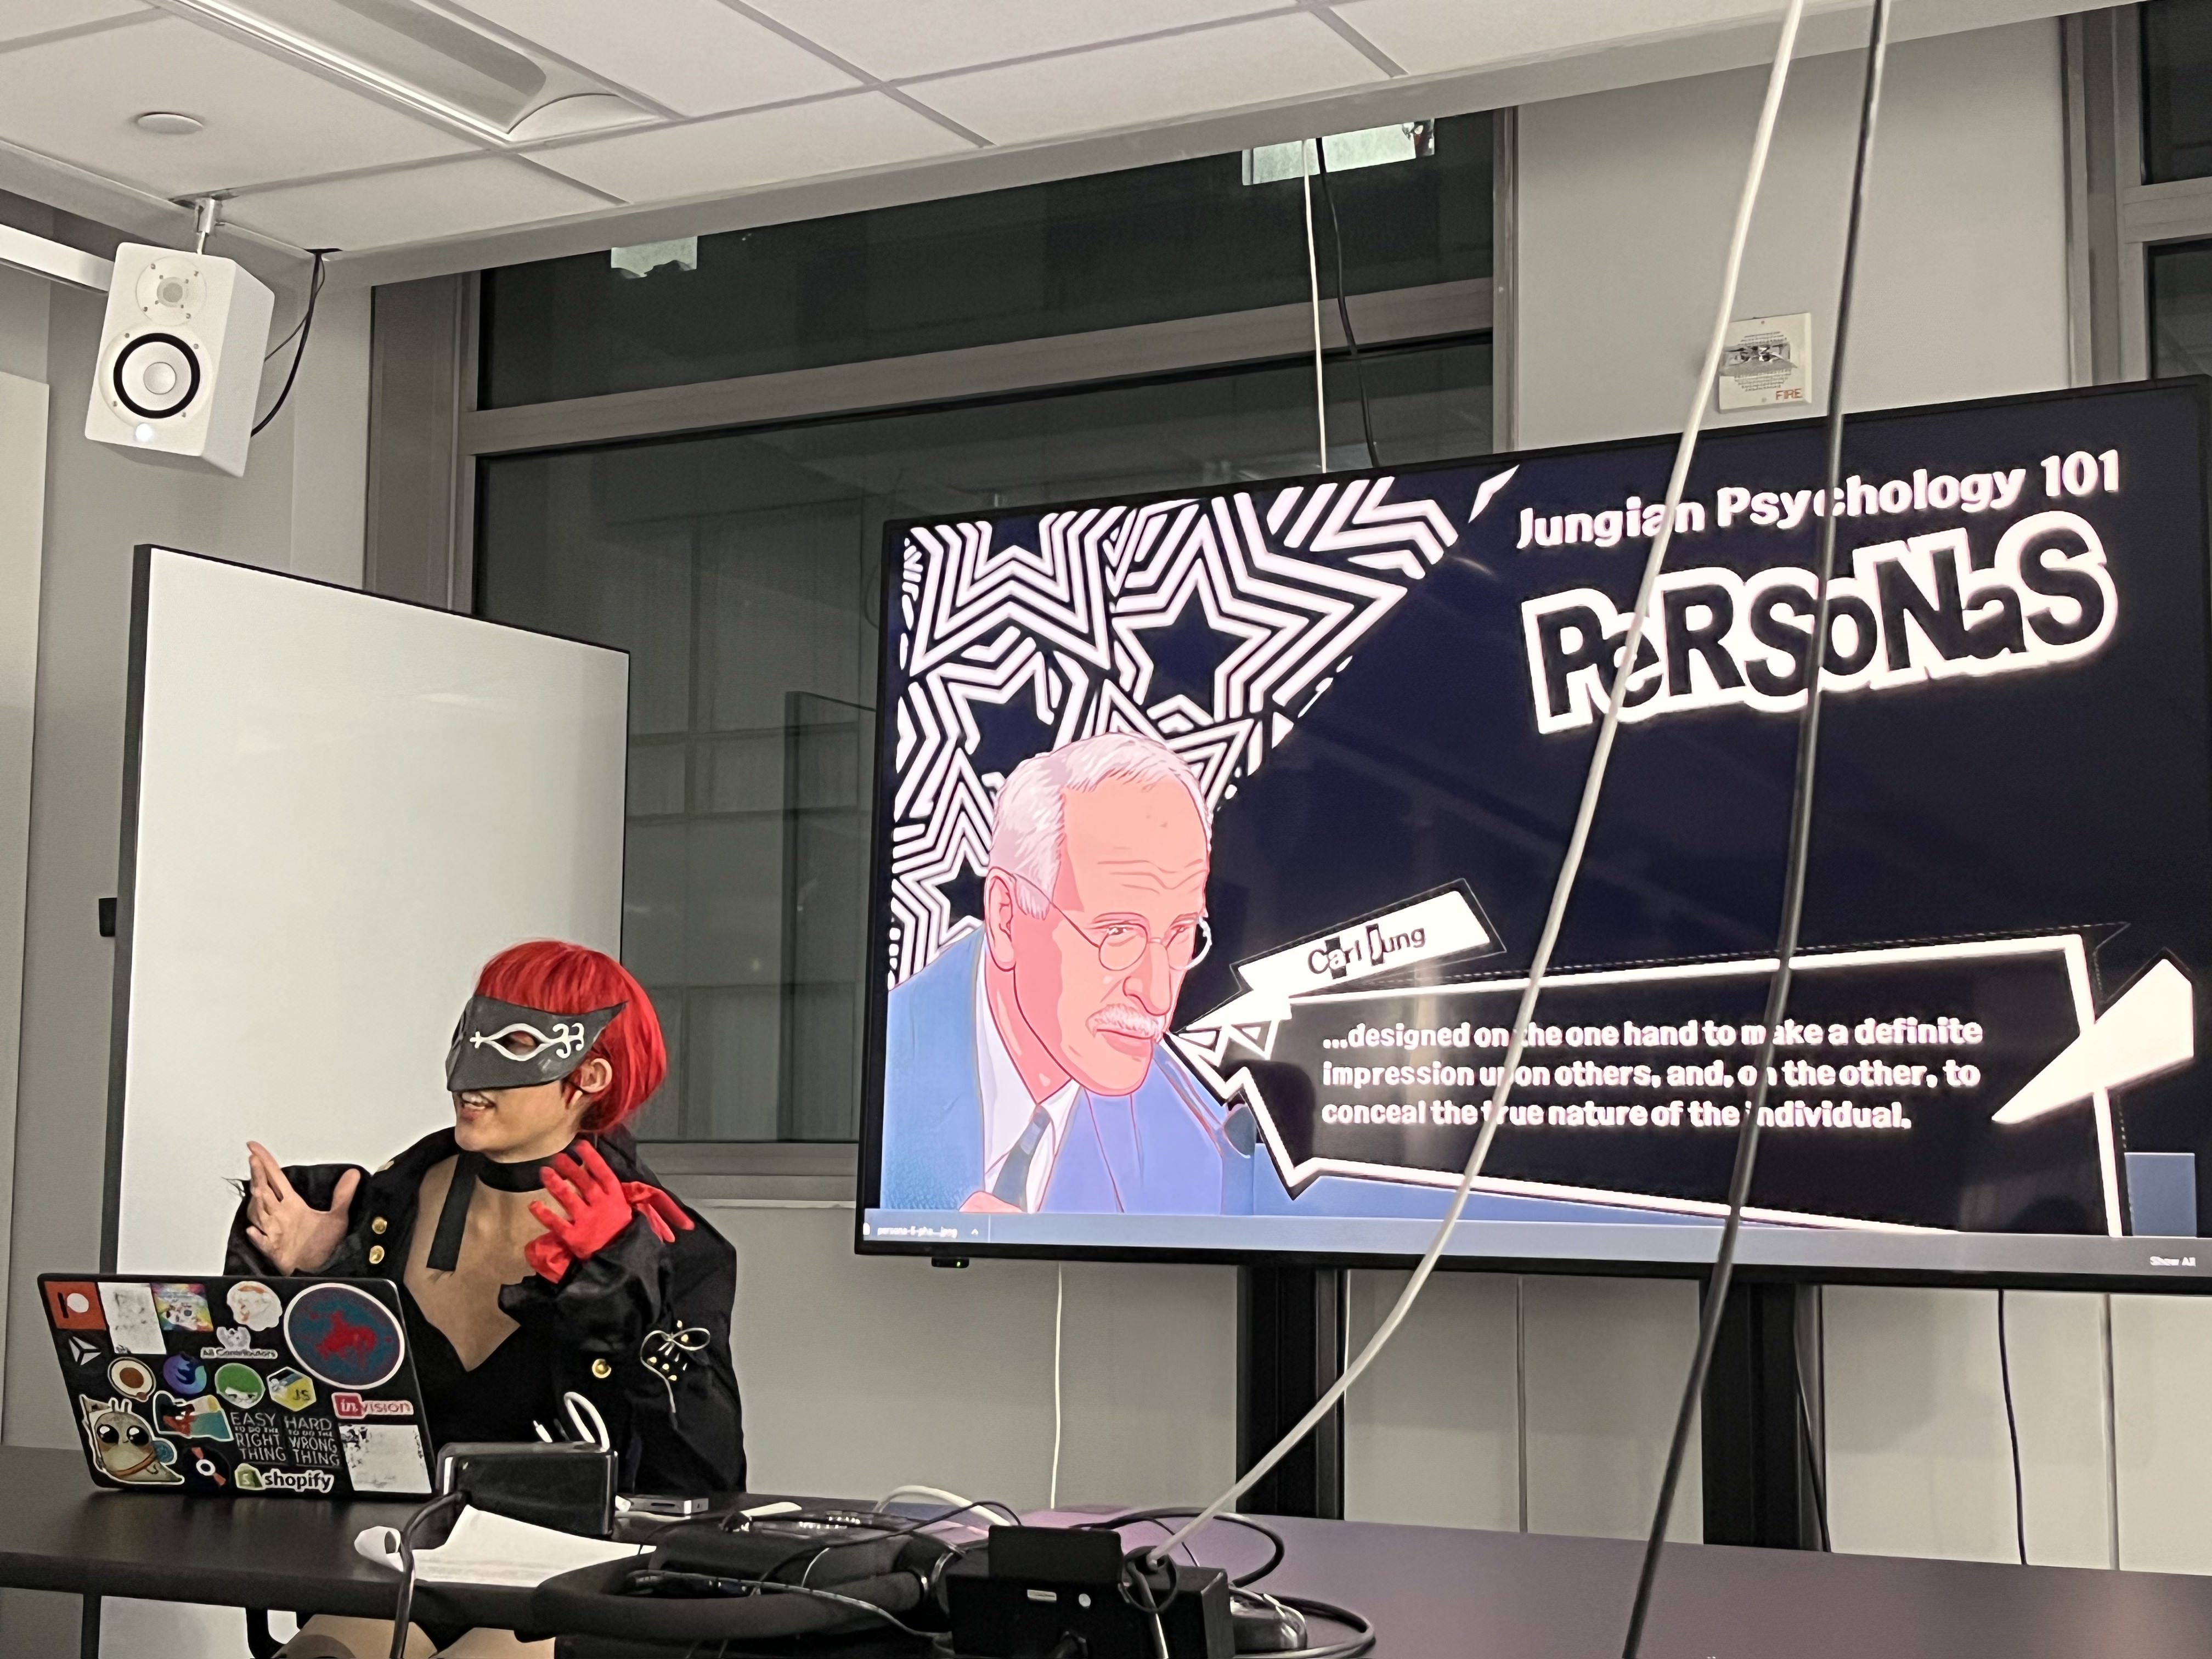
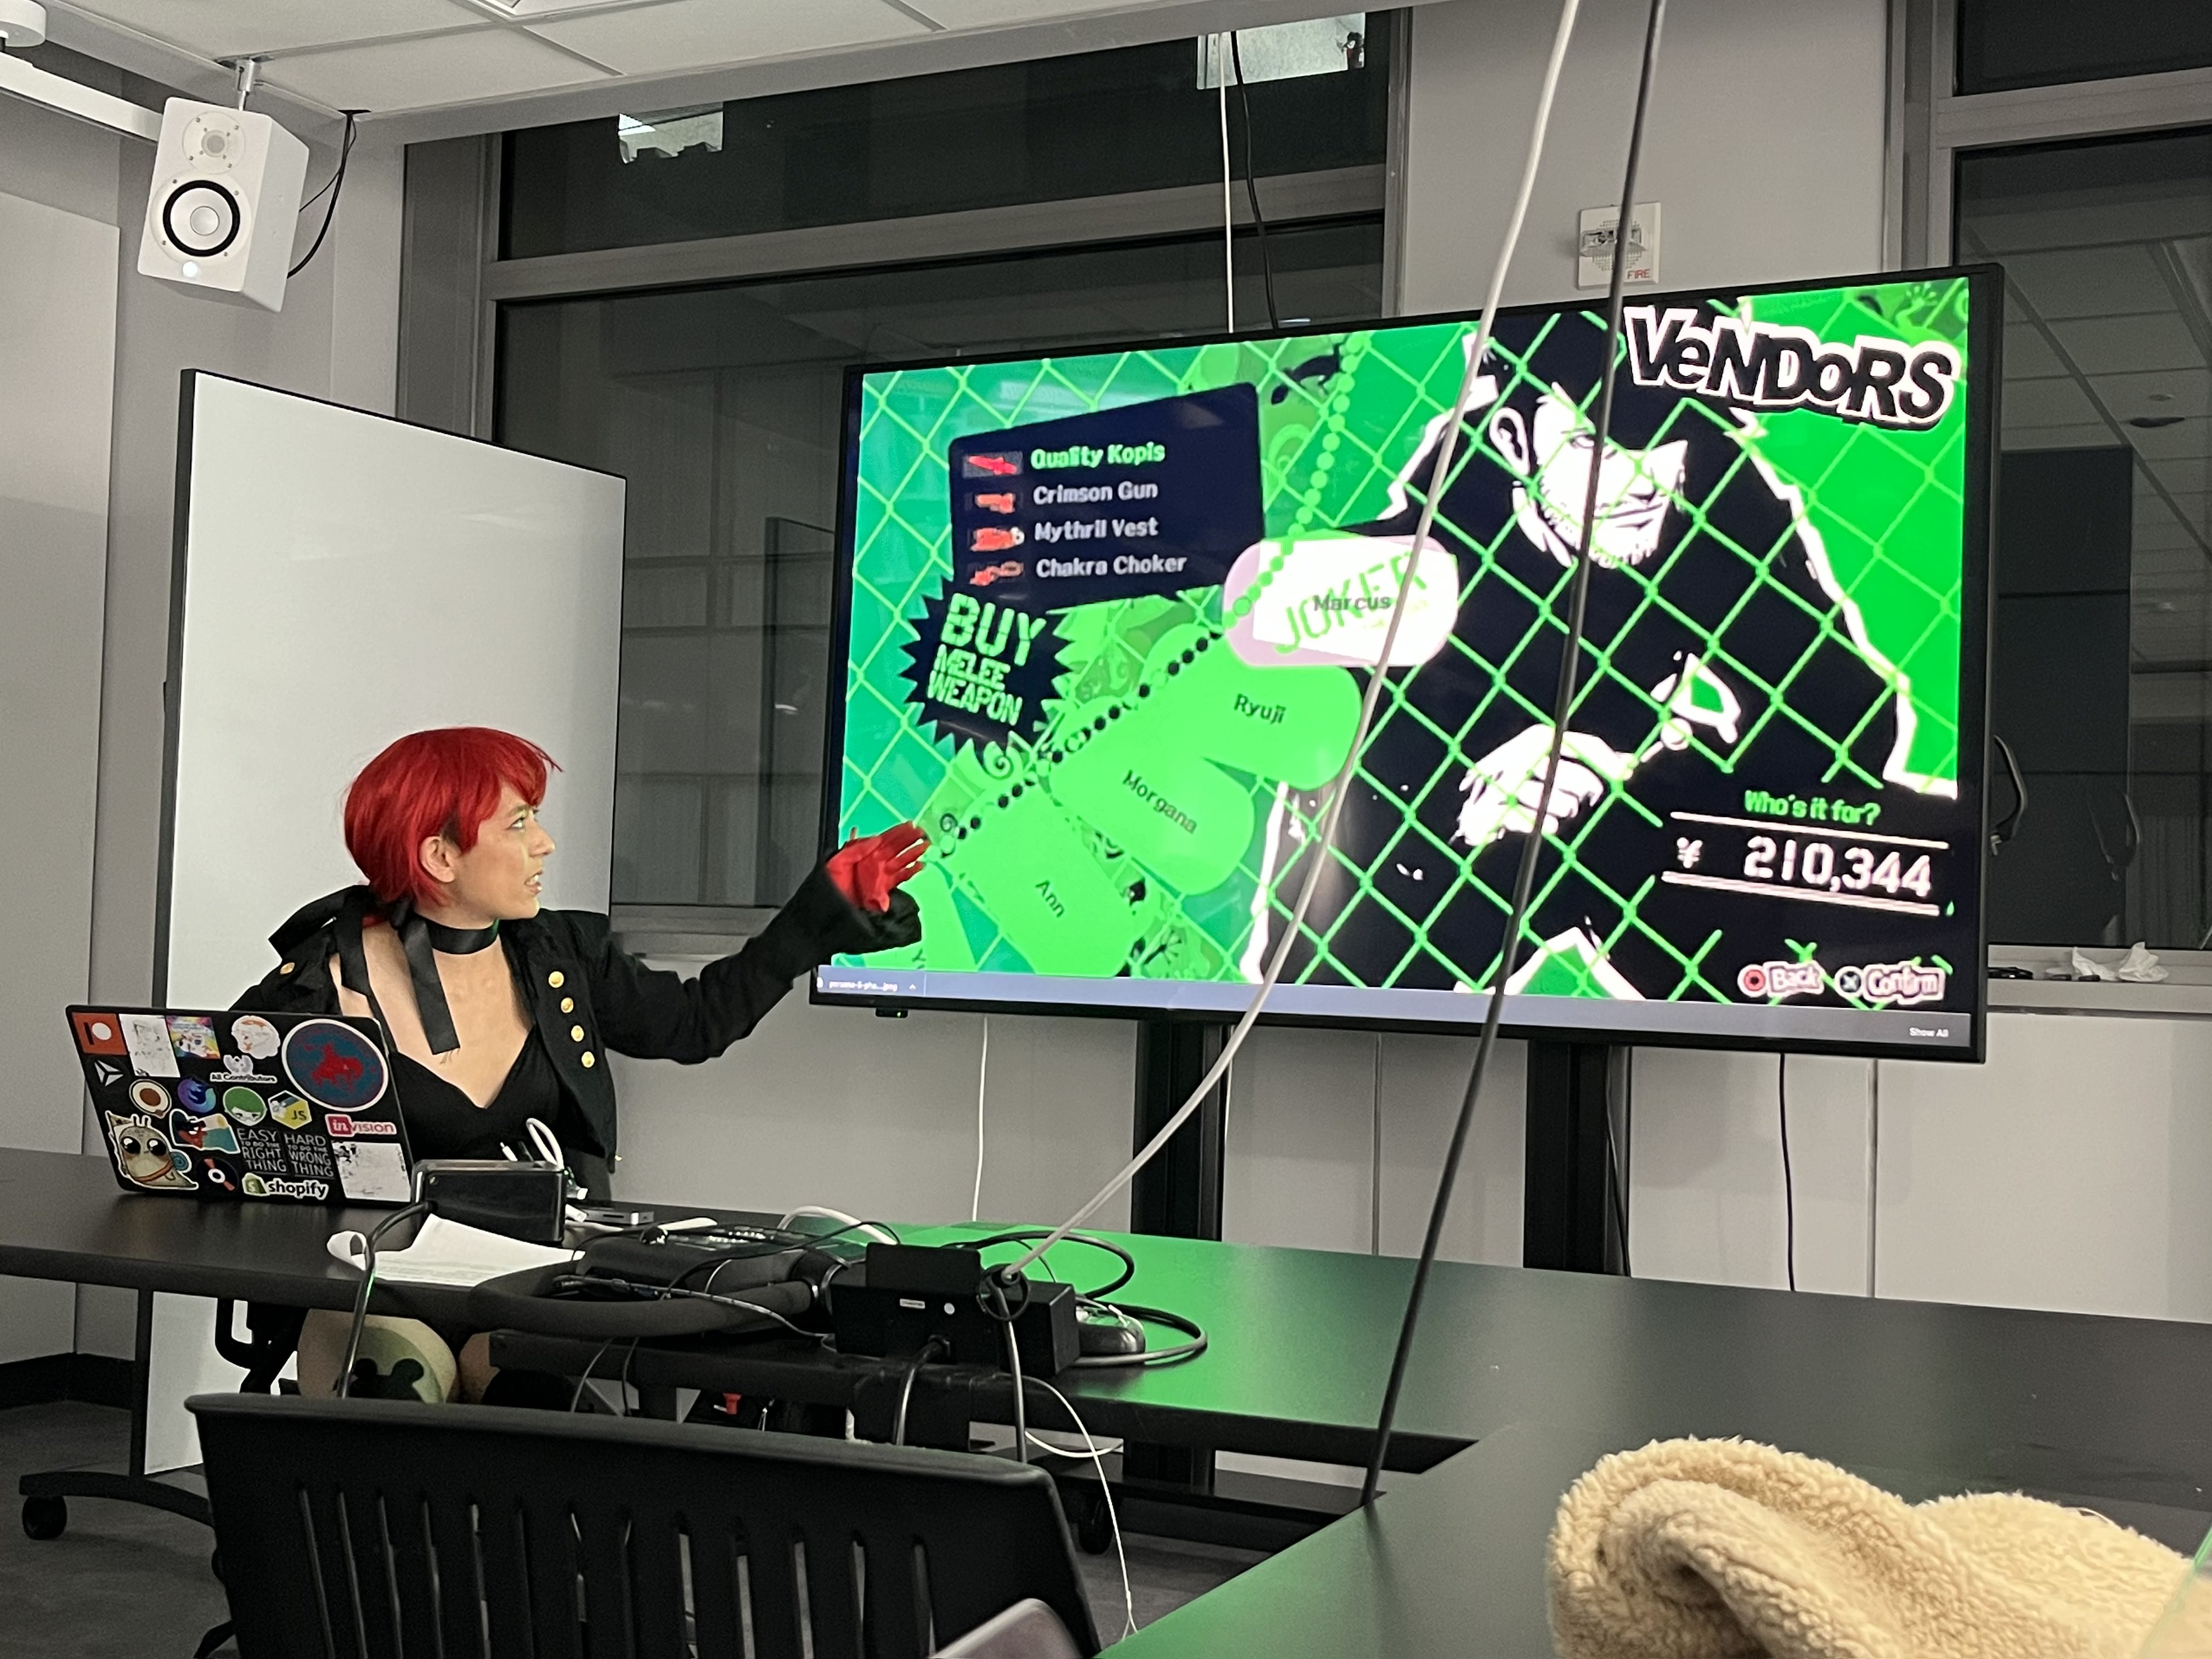
Unrelated to this costume, but here's the presentation slides if you have any interest!