


Neopatch is an interactive light-up jacket that responds to customizable snap-on RFID/NFC patches.
With this project, we envision a generous mentality in potential wearers. We hope that by offering a means of creating patches, the wearer feels enabled to be creative and wants to share their creativity with others around them.
Not only is there an existing collectors' culture of adhering patches onto jackets, there is also a gift-giving culture in music and arts festivals. This community-oriented energy is what inspired us to create this jacket and we envision wearers gifting and trading their patch creations with one another.
The Plan
Our initial thought was to offer customizability through selecting colors, a basic effect, and maybe a speed.
This project is purely in a prototypal state, but we had big ambitions from the start. Here's our initial plan and where we are now in it:
- Learn to read and write to RFID/NFC tags
- Start with non-variable animations: “SAKURA”, “FIRE”, and “TWINKLE”
- Make animations with Neopixels
- TWINKLE
- FIRE
- SAKURA
- Obtain and embed into patches
- Sew lights into jacket
- Hide cables between lining and back
- V2: Create a language to customize animations
- V2: Create more animation types
- V2: Create GUI to allow users to choose their effects that outputs the code
- Users must then use an app to write the output
- V3: Create an app that writes straight to the chip
We did not get to V2 or V3, but we’re interested in trying!
Bill of Materials
Here are the components purchased:


Total cost ended up being around $200.
RFID/NFC Reader Troubles
The first reader we bought ended up being only intended to unlock doors. It couldn’t write nor could it read anything other than UIDs in the header of an RFID tag.
The second reader we bought worked super well, but it was an Arduino Uno shield, so we would have been forced to use an Uno. It was also too bulky a solution for a wearable.
As they say, third times the charm! The third one we bought ended up being the best solution for our use case. It was a little more annoying to code because it didn’t really have documentation, but after searching through the source code, it ended up working fine.
NTAG216
When choosing between using RFID or NFC, we ended up going with NTAG216s (NFC). NTAGs can handle 2-way communication while RFID is only 1-way.
There’s no reason we would have to have to handle the case in which we’d have to handle both directions at the same time, but we liked the interface of NTAGs.
The NTAG216s we used has 180 bytes of data, 36 of which of which is taken up by metadata in the header (such as type of NTAG, UID, and type of data, like email or phone number). It also operates on 13.56 MHz, which is what our chosen reader operates on.
To read the contents, we have to read in pages of 4 bytes each, no matter which library we used.
Wiring & Electronics
Neopixels are pretty easy to wire up; all they require is a power, ground, and data pin. Each light is independently addressable from just a single data pin. Crazy, right?
So we went through to wire up the matrix and strands. We noticed a few things:
- Instead of being addressable like a 2D array (with rows and columns), the matrix is a singular array that snakes around. So I wrote a little helper function to help us address it like a 2D array:
// Ngl, pretty proud of this one
function getCellNumber(int row, int column) {
  return row % 2 == 0 ? 8 * row + col : 8 * row + (7-col);
}
- We originally were using an Arduino Uno R3, and hilariously, it did not have enough flash memory to be able to operate all lights at once. The Uno we had has 32KB of flash memory, while the Nano 33 IoT has 256KB. We chose to switch to a different RFID/NFC reader to find a better form factor, but more importantly, so we could switch to using the Nano.

Code
Daniel largely covered the light animations, while I covered the NFC reading and writing and fabrication. We discovered Arduino allows for its code to be separated into files, which made this software engineer that’s allergic to files larger than 300 lines happy. This ended up being how we organized our files:

The code we wrote can be seen on GitHub:
In short, we have a jacket file that instantiates all variables to be used in the rest of the project. Pin numbers, num of lights, NeoPixel instantiations…the works.
animation_x files include the animations for each light strand and matrix per type.
helpers_light includes light helpers that are not specific to any animation; such as setting up lights as the NeoPixel library requires via setup(), casing on what is read through the NTAGs and playing the appropriate animation, clearing all lights, etc.
helpers_nfc is where all the reading of the NFC magic is stored. It reads page by page and constructs a message, then looks for a delimiter (, in our case) and strips that message of extraneous characters.
main is where we have our setup() and loop() functions and call methods within helpers_x to read NTAGs and update lights.
Fabrication
PoC (v0.1)
For our proof-of-concept, we first planned on where the lights should go on the jacket. We wanted to make sure that it looked good and was functional before we make any drastic fabrication moves.


Light diffusion, embedding tags into patches (v0.2)
We used the same type of nylon silk material used for photography diffusion.
We knew it wouldn’t diffuse much because it’s too close to the lights, but it would at least be less blinding and a little nicer looking than the bare lights.


Cable management (v0.3)
In order to make the lights removable for washing and debugging purposes, we also decided to solder the ends of the wires into these snap-in solutions.
We started with these wires with sockets and snaps are called that we found on the junk shelf, then seam-ripped the lining of the jacket. Lastly, I made little grommets to feed the wires through that ensure we don’t lose the snaps the lights go into.


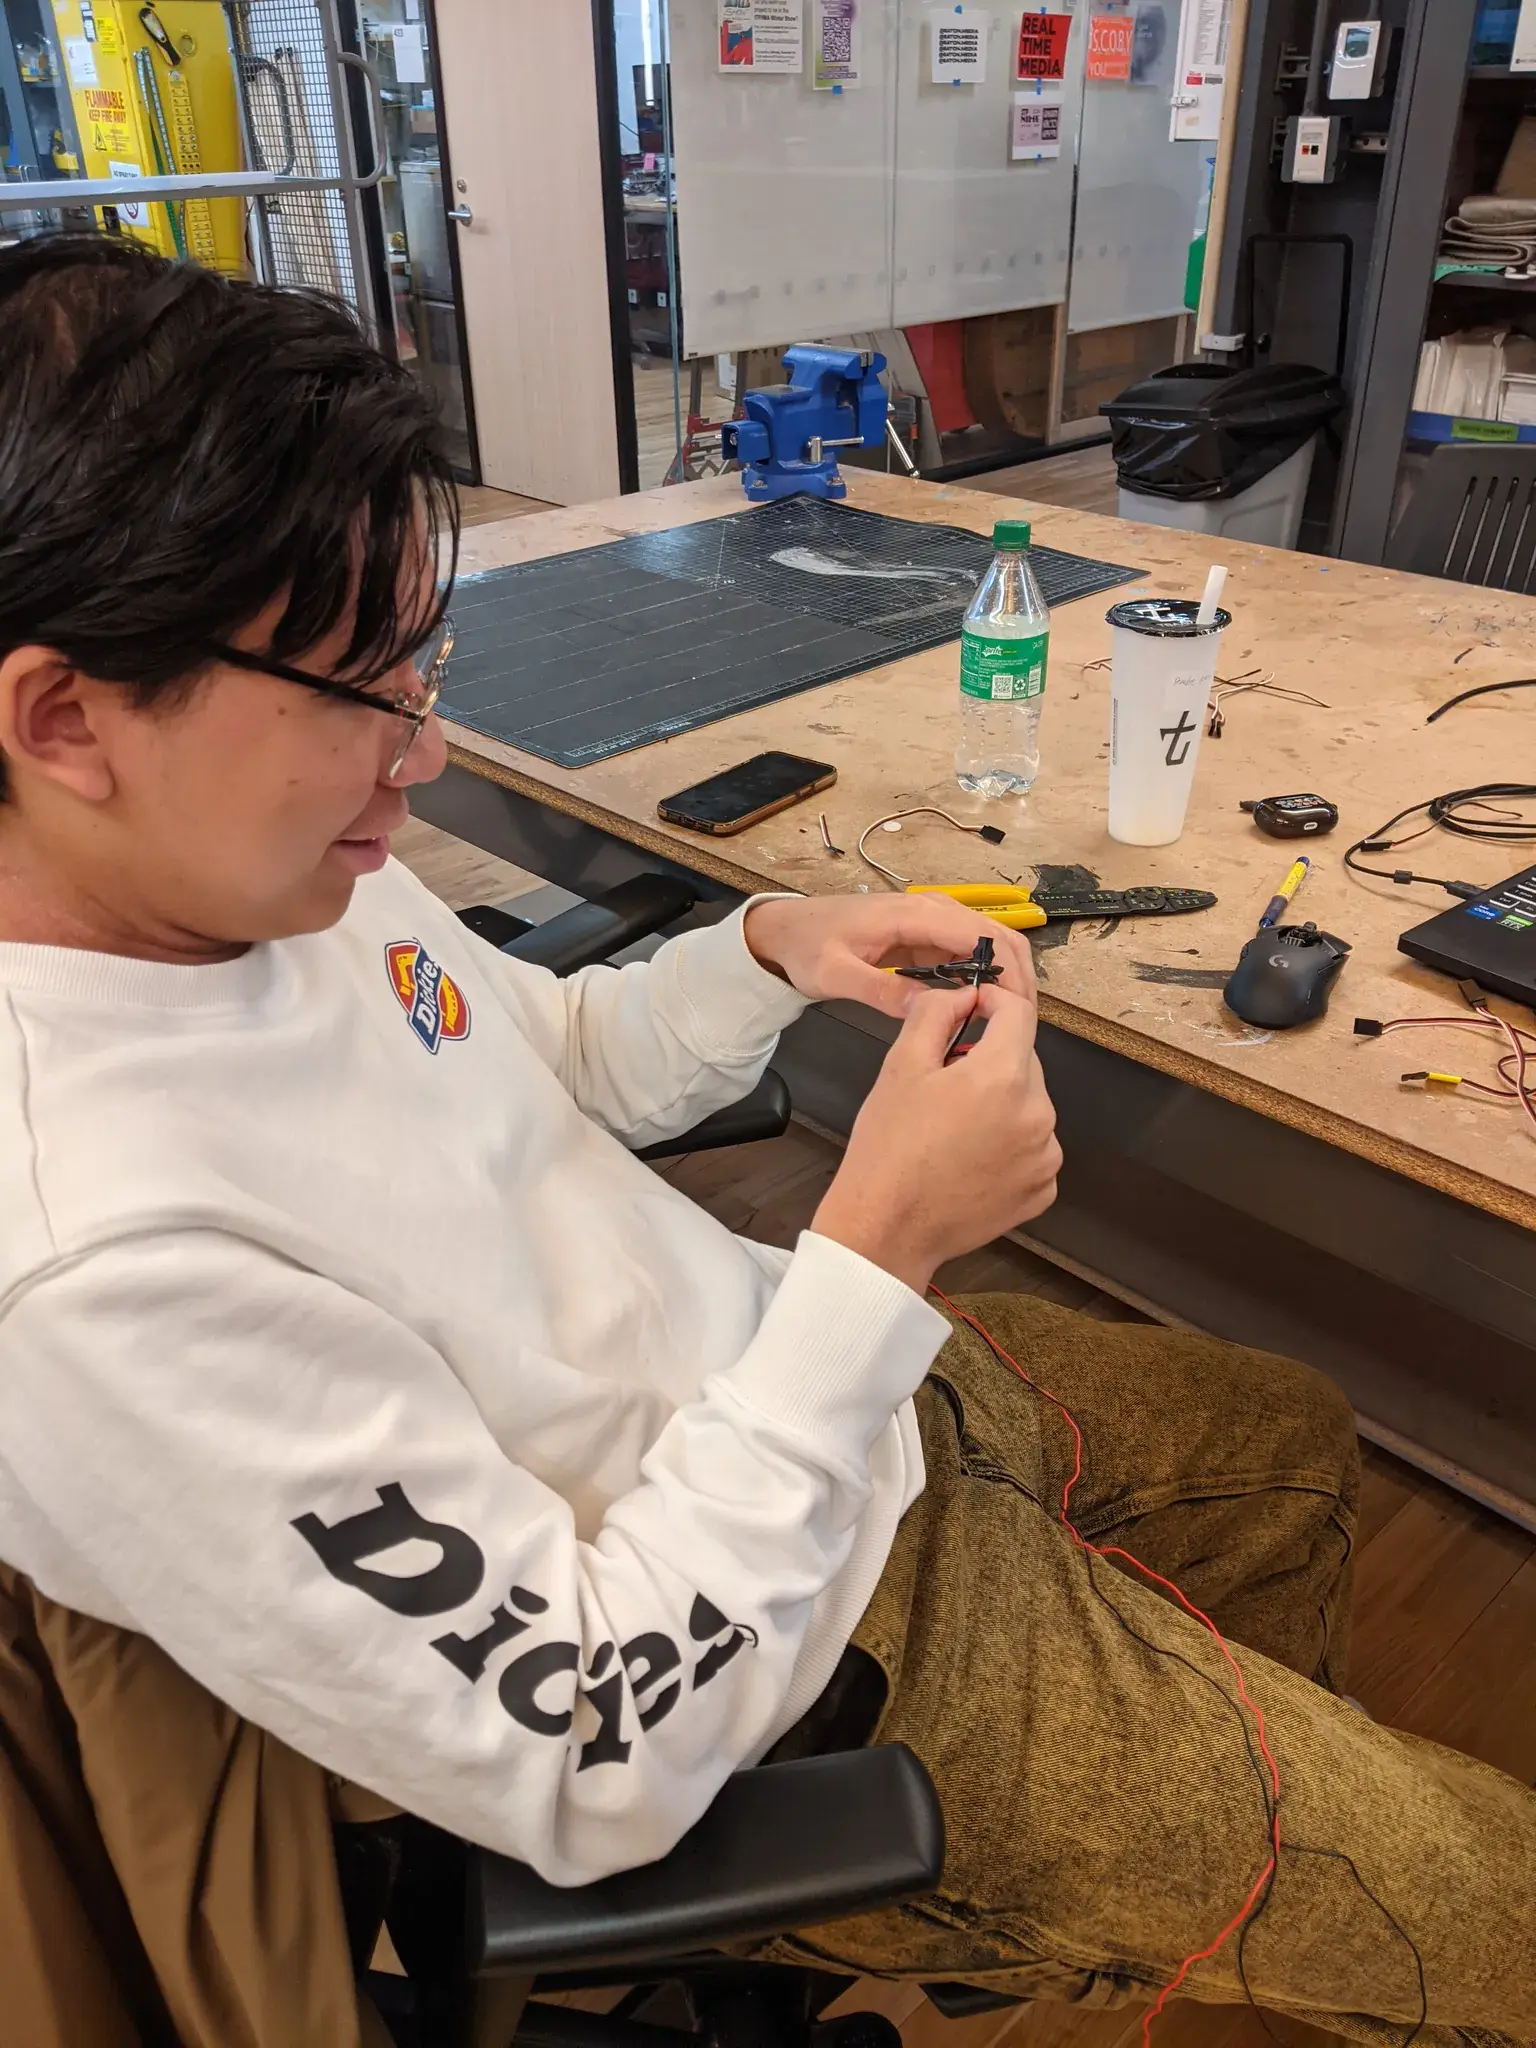
Soldered a ribbon cable onto the RFID reader itself, placed in a front breast pocket, then wires fed through the back of the jacket. Let's look at this cabling job one last time before it's all sewn into the lining.


Switching to a Protoboard (v0.4)
You can’t use a breadboard for a wearable because with a person’s movement, the pins get yanked right out. So we decided to go for a protoboard.


If we were to continue working on this, we’d make a singular power and ground main lines so it wouldn’t be such a birds nest on the protoboard. For now, it works!
We also originally used a 9V battery, but we had issues with it. Even feeding it into Vin on the Arduino didn’t seem to supply enough power. We also couldn’t get the Neopixels to work on 5V even though the documentation (and the strips themselves) clearly say they should be used on 5V. We went with 3.3V instead.
We ended up switching the power source to an external battery pack last minute, so we didn’t have a great way to get into the lining from there. It’s a little ugly, but it’ll work!
Final V1 Prototype
And with that tucked away and the external battery pack in place, we ended up with this beaut.
Features include:
- Removable battery pack with a long battery life
- Removable hood
- 6 Removable lights for easy washing and replacement
- Magnetic patches for easy attachment and detachment
- 3 Patch animations: Fire, Sakura, and Twinkle
- 4 usable pockets
I’m generally very happy with how this turned out! Didn’t get to V2 or V3 ideas, but it’s good to have aspirations.
Other future wishes besides V2 and V3 outlined at the start of this post:
- Would love to create a singular power and ground line to lighten the wire load in the back pocket
- Make a larger pocket for the microcontroller
- Manufacture a chip instead of using a protoboard
- Make the lining removable via snaps for easier harness debugging
- Better finishing
- Lighting on the back