Experiment #1: Button Swatch
Materials
- Square of blue felt
- 3V button battery
- Conductive thread
- 3mm LED, Magenta, Transparent DC 2V – 3.2V 20mA
Interaction
You place a 3V button battery plus-side down onto the circle with a plus sewn into it and fold the corner with the ground symbol to the back side to watch the LED light up!
Possible Futures
Really cool idea for connecting circuits via folding with textiles. Also, didn’t think of ever using a button battery, and that’s way more convenient for wearables.
Experiment #2: Heart Pressure Button
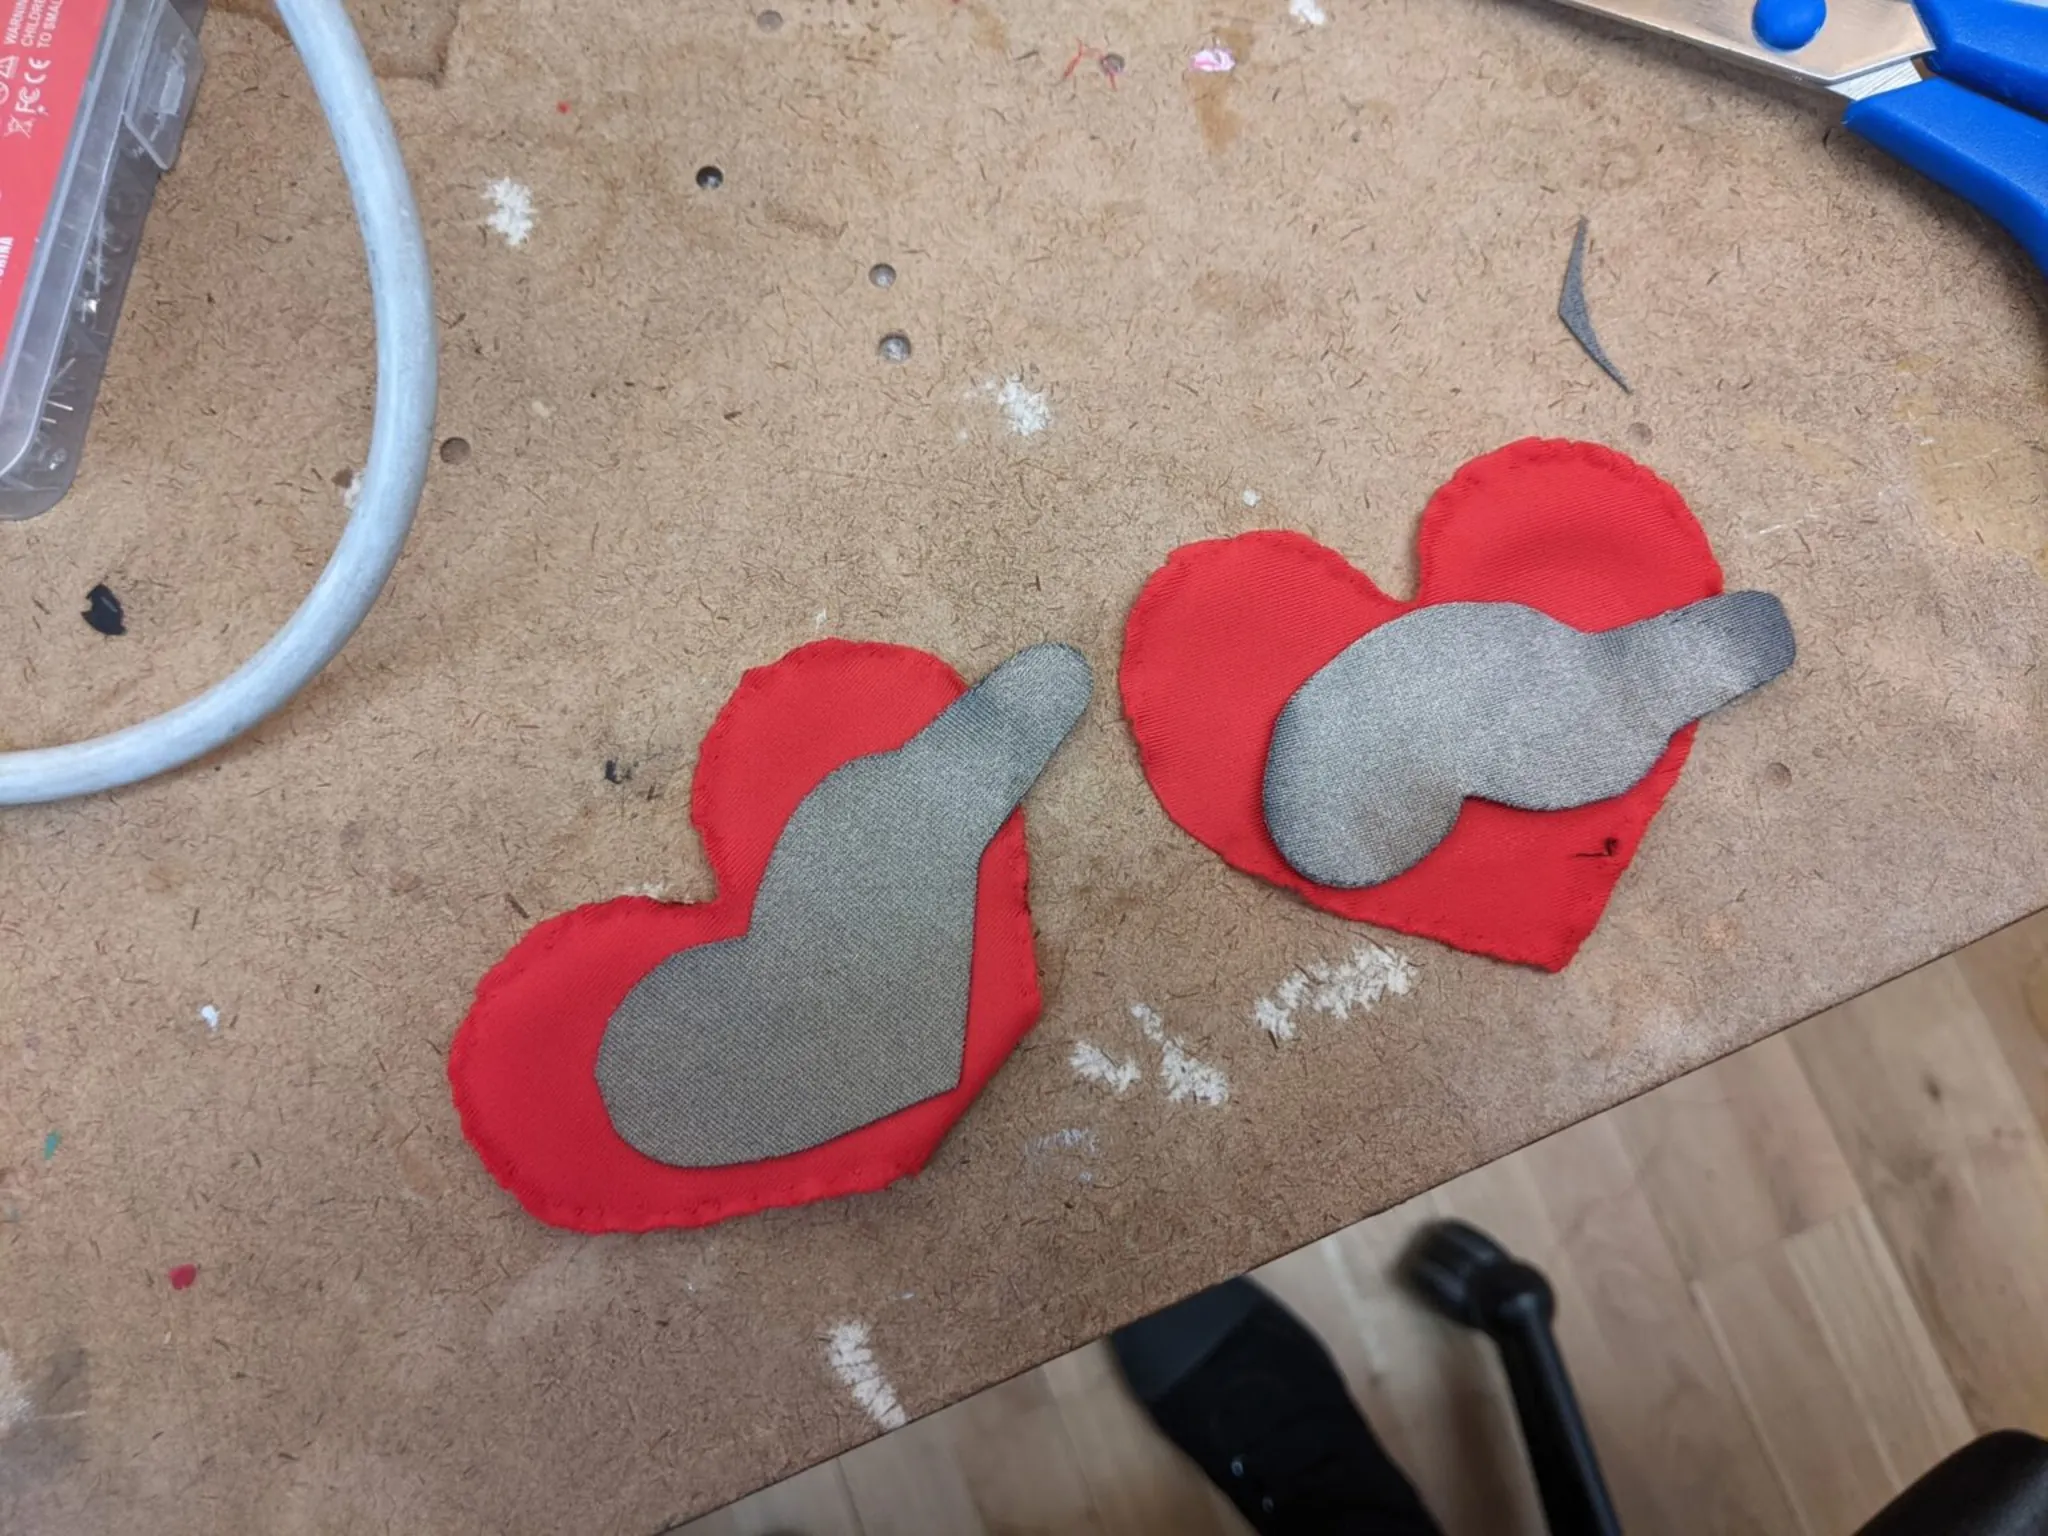
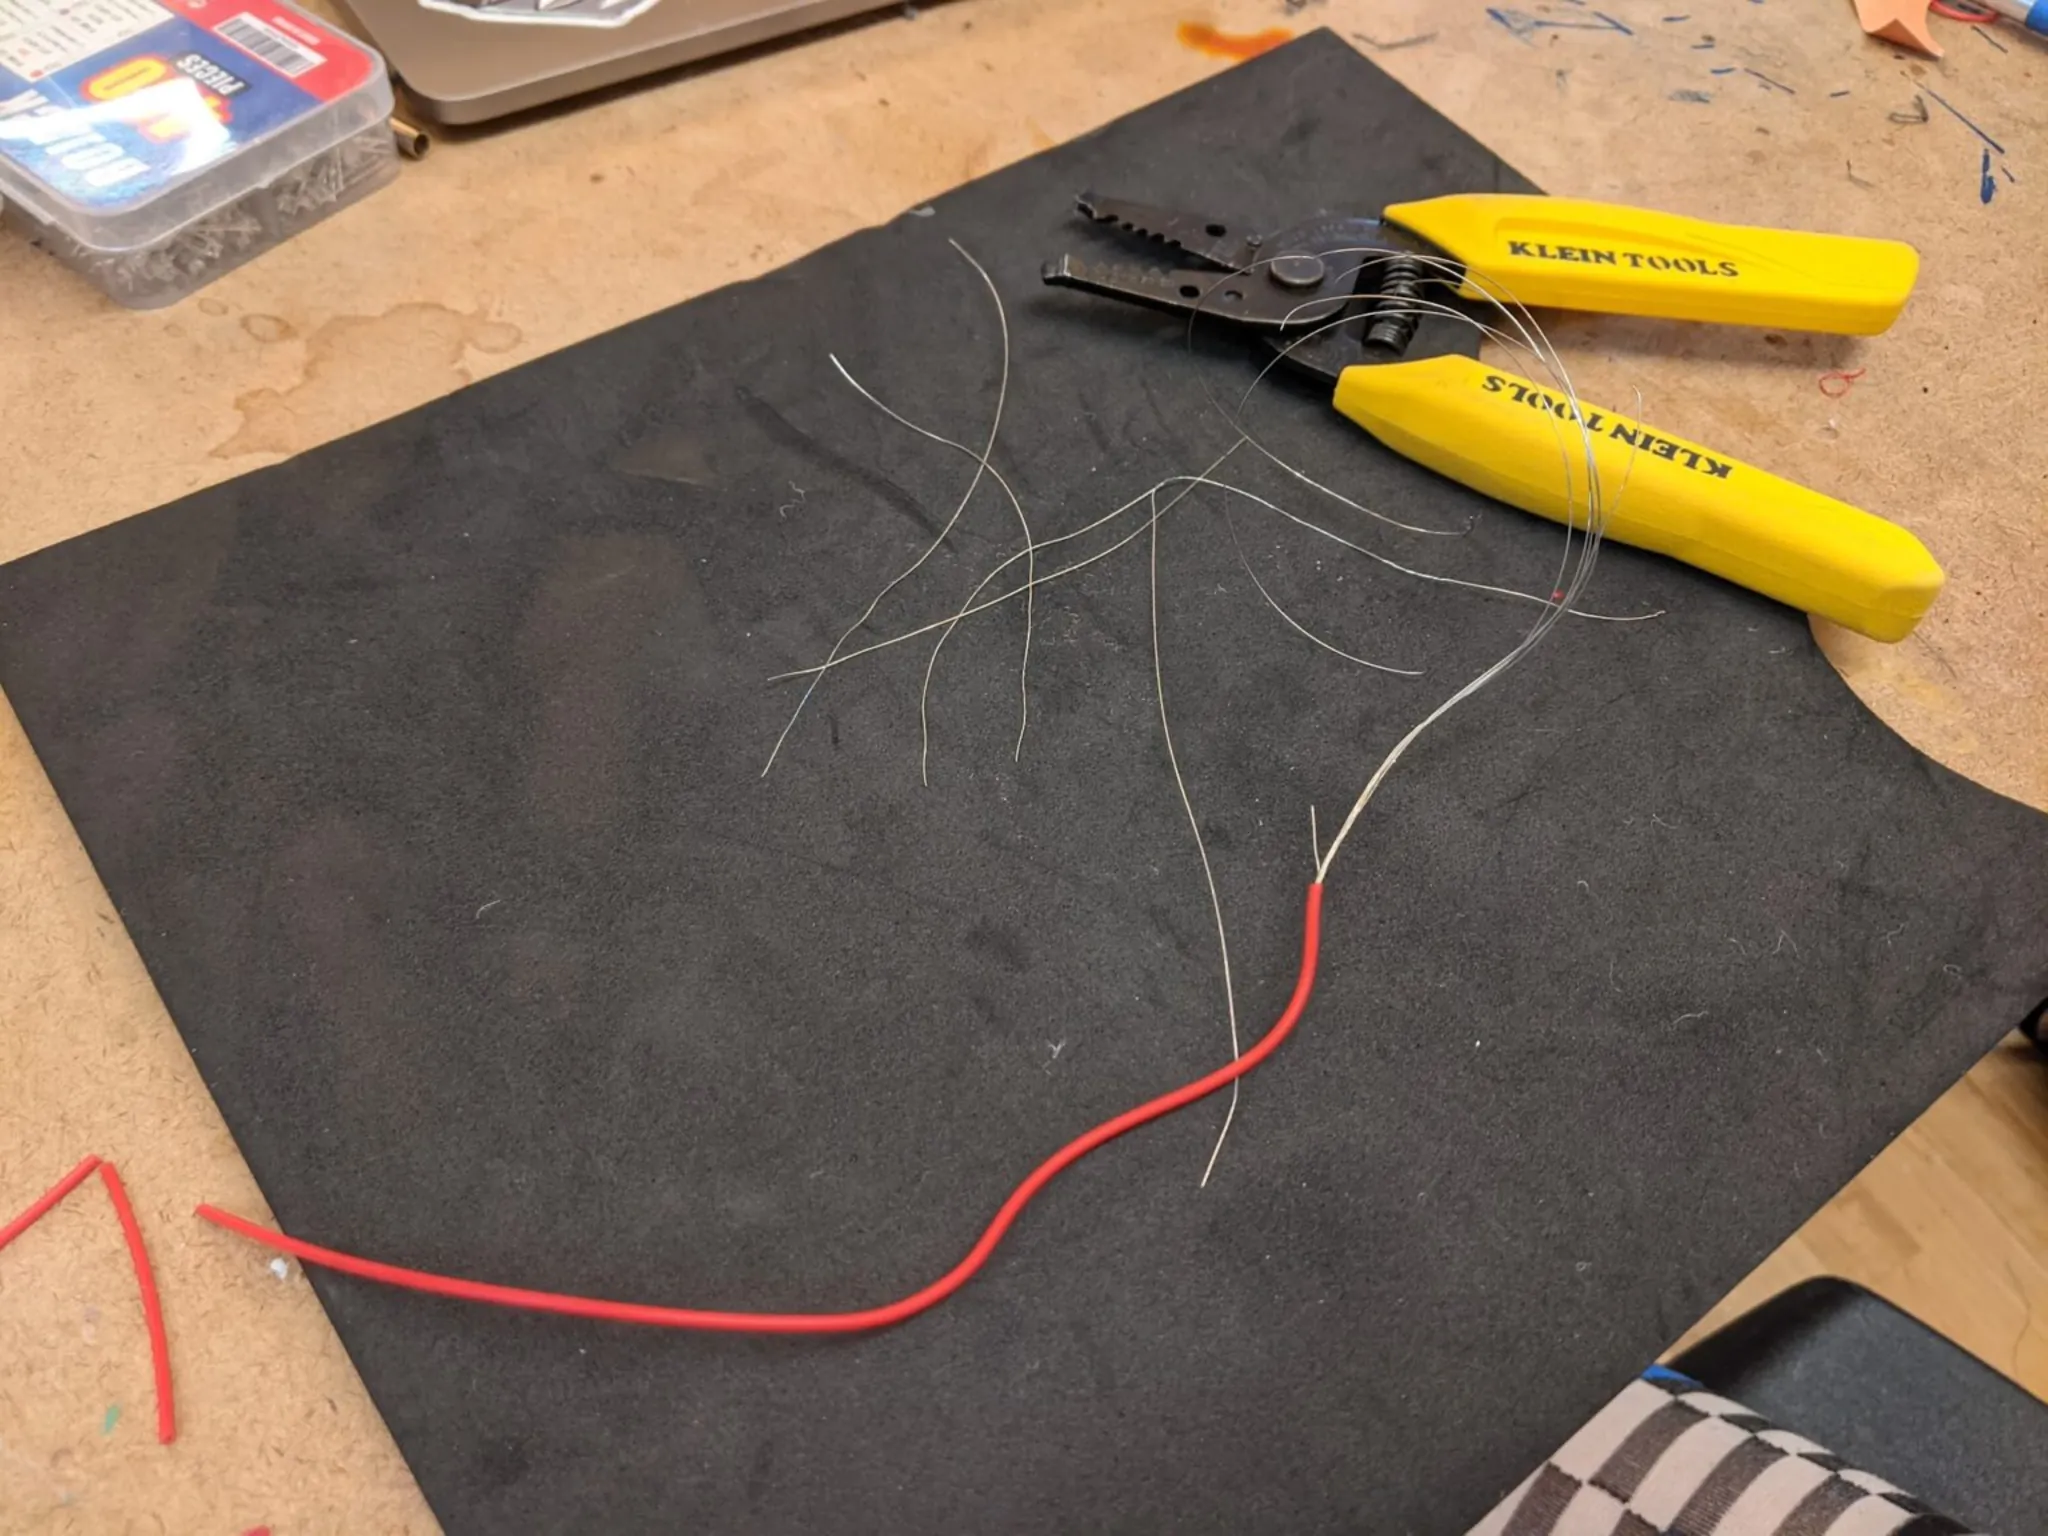
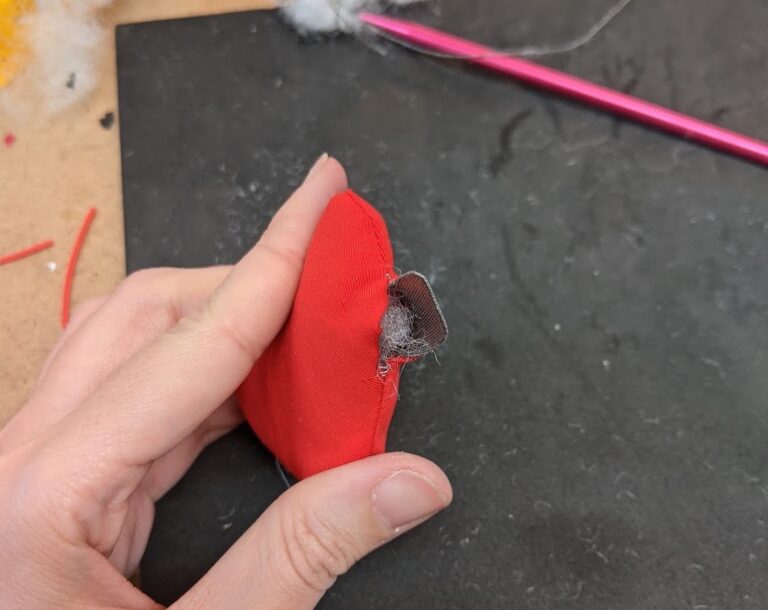
I forgot to pick up conductive wool from the supply, so I made my own makeshift conductive stuffing. I stripped stranded wires and wrapped them around and within a ball of polyester fiber fill. I unfortunately didn’t get a picture of what the mixed wire-stuffing looked like, but I did get a picture of stripping the wires!
Materials
- Conductive fabric, iron on backing
- Polyester fiber fill
- Stranded wires, stripped
- 4-way stretch red polyester spandex
Interaction
You can squish it like a stuffed animal and use that analog value in the same way you would an FSR.
Tips & Troubles
It was also relatively straight-forward, but I guess my biggest pain points were: - Ironing polyester leads to a melted plastic mess, so being sure to be swift in ironing on conductive fabric was very important - Without conductive wool, I was searching for something similarly soft to mix with the fiber fill. Thin wires ended up being the best
Possible Futures
I see this as an FSR replacement, or maybe a good idea for a stuffed animal. In the past, they would have little things inside you HAD to press exactly right to get them to talk, or respond in some other way, so this would be neat for that kind of application.
Experiment #3: Zipper and Pressure Interfaces
Making the Zipper Switch
Sew conductive thread from side of the zipper to the next such that when the zipper closes it completes the circuit.
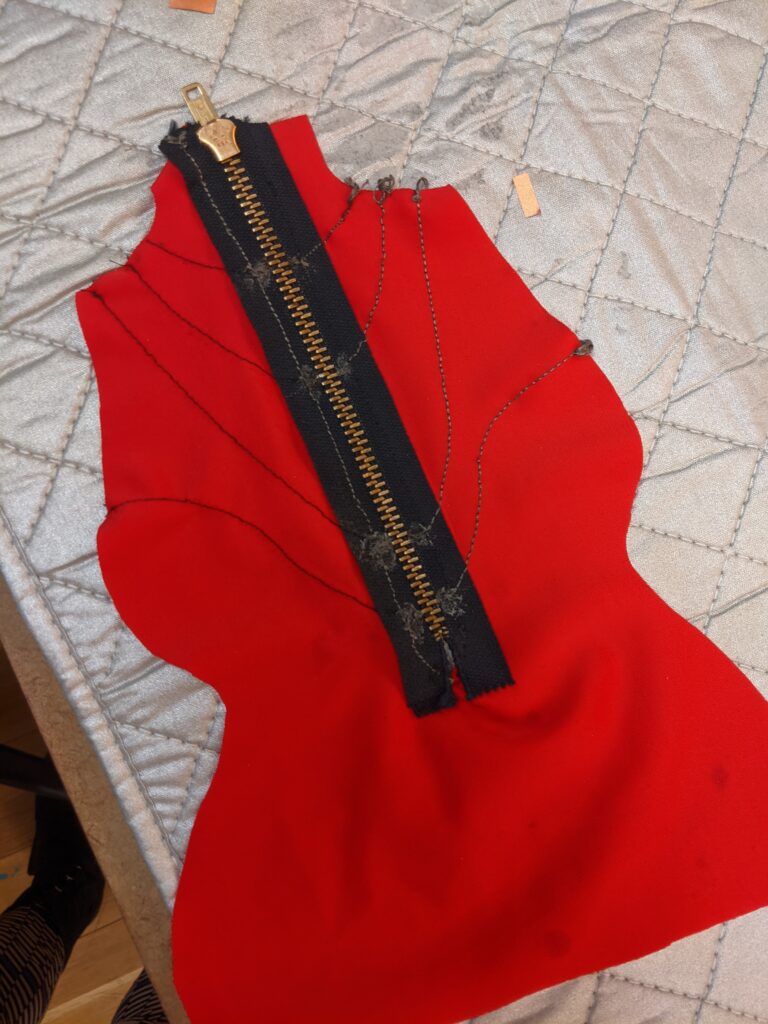
(I asked my roommate to take a video of me using it…and the video she took is so blurry you can’t see anything. Will make another video later)
Making the Boob Buttons
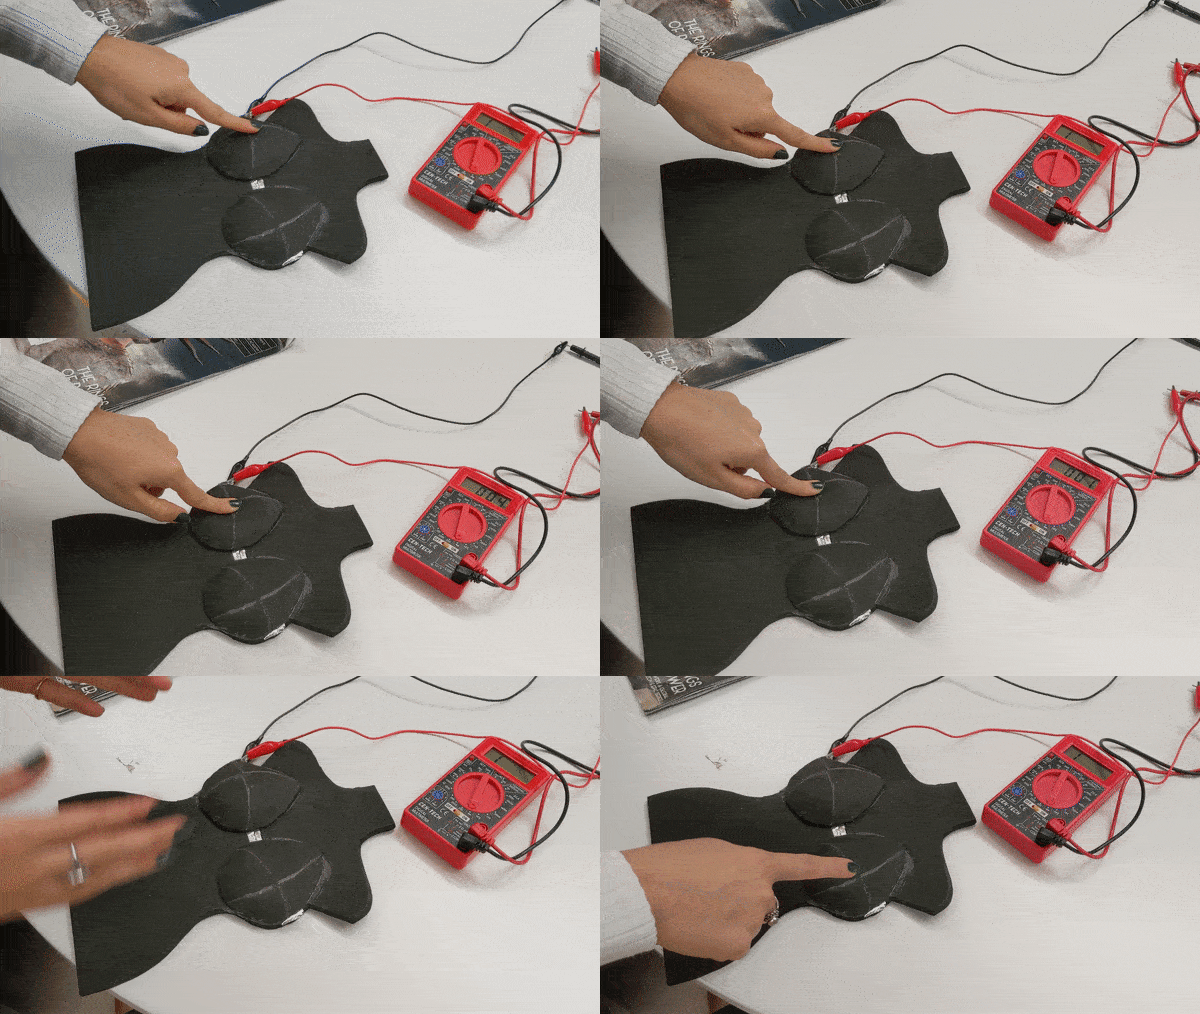
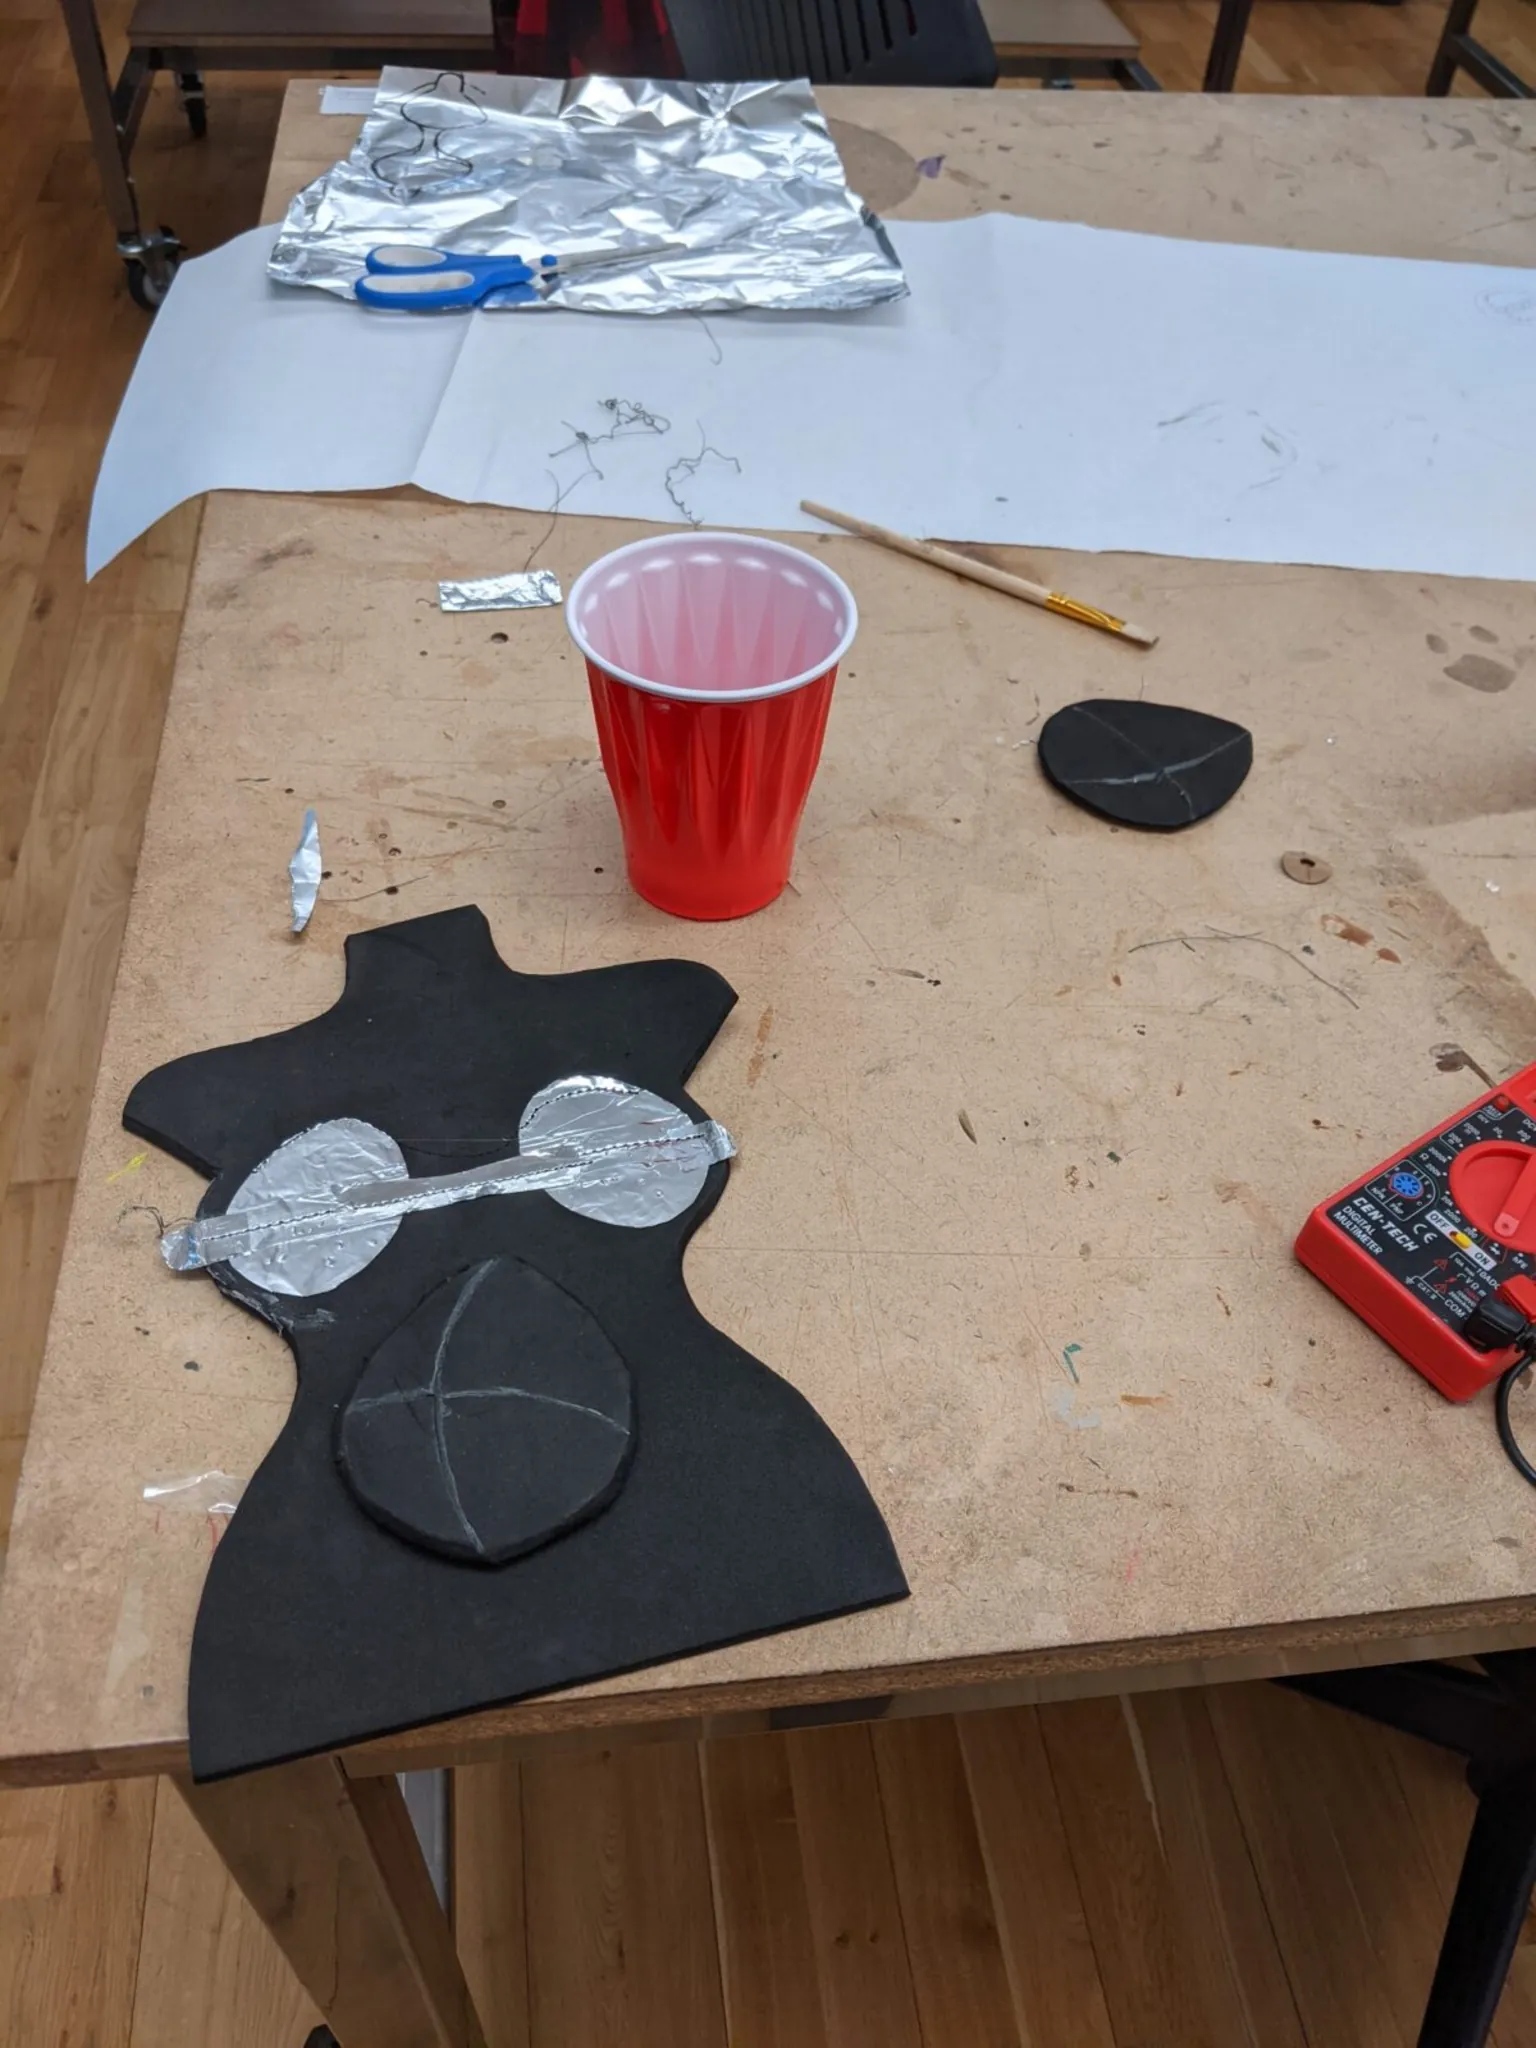
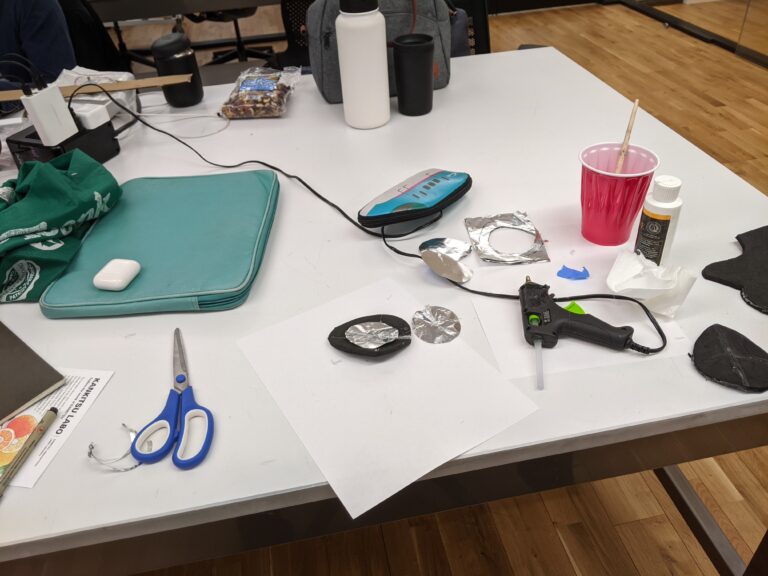
Using EVA foam and aluminum foil, create boob-shaped buttons.
Materials
- Adafruit Circuit Playground Express
- 6mm extra thick EVA foam sheet, black
- 4-way stretch polyester spandex, red
- Nylon thread, black
- Aluminum foil
- Contact cement
- Hot glue
- Conductive thread
Interaction
There are two main interactions here:
- *Digital squishy boobs (soft digital buttons).*The left and right are both connected to ground, but can be read from 2 separate data pins. If you depress the top to the bottom plate, it acts just like a button.
- *Little red dress zipper switch (multiple digital switches).*Each of the necklines that connect to the zipper go to separate digital pins and read on or off depending on whether the zipper is zipped or unzipped at that location.
Tips & Troubles
- Aluminum foil sucks and rips a lot. I would have used copper tape or conductive fabric if I had any left!
- I used hot glue to affix the aluminum foil to the foam. I also used hot glue to try and pin down the fraying conductive thread. In the future, I’d rather try a less messy and less stringy type of glue.
- Sewing close to a zipper tooth while still allowing the zipper to move freely is VERY hard. Maybe using conductive fabric or some other means to extend the zipper teeth to be connected with thread would be better.
- The zipper teeth are supposed to act as digital inputs, but it was hard to not get very noisy data. Ultimately, I ended up reading them as analog, but assigning a threshold such that above is 1 and below is 0, essentially making it act like a digital input.
Possible Futures
I’m thinking of both cosplay and physical computing ideas and super pumped about potential outfits or costumes that can change some state, either on itself like through lights or with a projection or other program on the network, depending on how you’re wearing it or how others interact with it.